Go Back
There’s something undeniably delightful about homemade fruit preserves. Whether it’s the luscious spread on a warm biscuit, a topping for pancakes, or a sweet addition to yogurt, homemade jams encapsulate the essence of fresh fruits, capturing their vibrant flavors at their peak. Among the myriad of fruits that lend themselves beautifully to jam-making, blackberries stand out with their rich, sweet-tart flavor and deep purple hue. Making blackberry jam at home is not only a rewarding experience but also a way to preserve the fleeting taste of summer, allowing you to enjoy the delightful essence of this berry year-round.

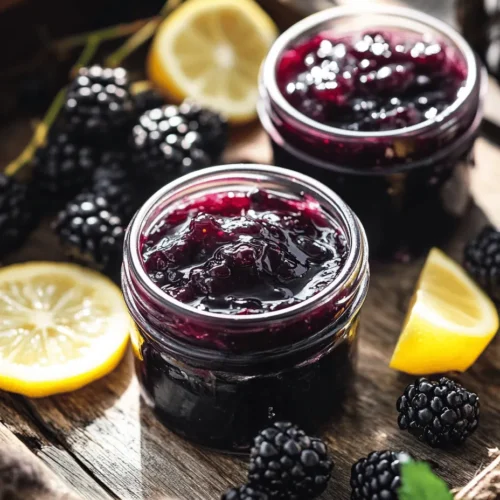
Best Homemade Blackberry Jam

Discover the joy of making your own delicious Blackberry Jam with this easy homemade recipe! Using just fresh blackberries, sugar, lemon juice, and fruit pectin, you can create a sweet, tangy treat that’s perfect for spreading on toast or adding to desserts. This recipe yields about 6 cups of jam, allowing you to enjoy summer's flavor all year round. Follow simple steps, and enjoy the satisfaction of canning your very own berry masterpiece!

Ingredients
  

4 cups fresh blackberries

2 cups granulated sugar

1/4 cup lemon juice (freshly squeezed)

1 package (1.75 oz) fruit pectin (such as Sure-Jell)

1/2 teaspoon butter (optional, to reduce foam)

Instructions
 

Prepare the Blackberries: Rinse the blackberries under cool water and remove any stems or leaves. In a large mixing bowl, gently mash the berries with a fork or potato masher until they reach your desired consistency (smooth or chunky).

    Combine Ingredients: In a large saucepan, combine the mashed blackberries, sugar, and lemon juice. Stir well, then let it sit for about 10 minutes. This will allow the sugar to dissolve and the fruit to release its juices.

      Cook the Mixture: Add the fruit pectin to the saucepan and stir until it’s well mixed. Bring the mixture to a boil over medium-high heat, stirring constantly. Once boiling, continue to cook for 1-2 minutes until it thickens slightly.

        Test for Doneness: To check if the jam is ready, place a spoonful on a cold plate. Let it sit for a minute and then run your finger through the jam; if it holds its shape, it’s done. If not, continue boiling for another minute before testing again.

          Add Butter (Optional): If you wish, stir in the butter to reduce foam and improve clarity.

            Jar the Jam: Remove the saucepan from heat. Carefully pour the hot jam into sterilized jars, leaving about 1/4 inch of headspace. Wipe the rims of the jars with a clean cloth to ensure a good seal.

              Seal and Process: Place the lids on the jars and screw on the bands until they're fingertip-tight. If you plan to can the jam for longer shelf life, you can process the jars in a boiling water bath for 5-10 minutes.

                Cool Down: Remove the jars from the water bath and let them cool completely on a clean dish towel or cooling rack. As they cool, you'll hear the satisfying pop of the lids sealing.

                  Store: Once cool, check the seals and store the jam in a cool, dark place. Unsealed jars can be refrigerated and used within a few weeks.

                    Prep Time: 25 minutes | Total Time: 1 hour 15 minutes | Servings: Makes about 6 cups of jam