
Introduction
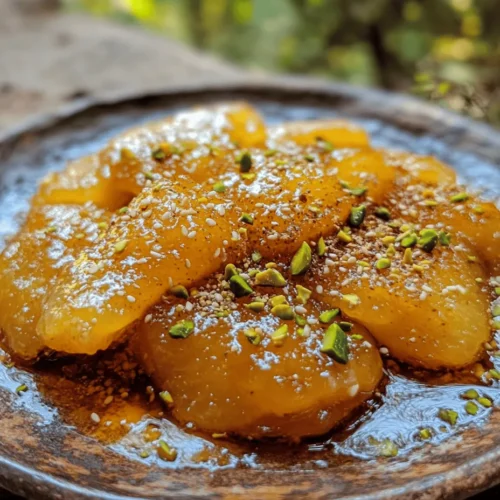
If you are looking to indulge in a traditional sweet treat that embodies warmth and cultural significance, look no further than Lokma. This delightful dessert, often found in Middle Eastern and Mediterranean cuisines, is a favorite among many for its fluffy texture and irresistible honey syrup coating. Lokma is not just a dessert; it’s a symbol of celebration, shared among family and friends during festive occasions and gatherings. The process of making Lokma can be a rewarding experience, allowing you to create these little bites of heaven right in your own kitchen.
In this article, we will delve into the rich history and cultural importance of Lokma, explore the essential ingredients that contribute to its unique flavor and texture, and provide you with a comprehensive step-by-step guide to creating this delectable treat. Whether you are a seasoned baker or a novice in the kitchen, this recipe will lead you through each stage of the process, ensuring that you can enjoy homemade Lokma that is just as good as what you would find in a local bakery.
The History and Cultural Significance of Lokma
Lokma has a storied history that traces back to the Ottoman Empire, where it was initially crafted as a simple fried dough ball. Over the centuries, this treat spread across various regions, adapting to local tastes and ingredients along the way. In Turkey, for example, Lokma is often served during special occasions, such as weddings, funerals, and religious festivals. It is customary to distribute Lokma to friends and family as a gesture of goodwill and to celebrate communal bonds.
In Greece, Lokma is known as “loukoum,” and it is often flavored with cinnamon or nuts, reflecting the local palate. The dessert has also made its way to other parts of the Mediterranean, each region adding its own twist to the classic recipe. Despite these variations, the core elements of Lokma remain the same: dough that is fried to a golden perfection and then drenched in a sweet syrup. The warm, fluffy bites are not only a treat for the taste buds but also a reminder of shared cultural heritage and tradition.
Today, Lokma continues to be a beloved dessert, enjoyed at various festive events, and it has even found its way into the hearts of dessert enthusiasts around the world. The popularity of Lokma has only grown, making it a must-try for anyone looking to explore the rich flavors of traditional Middle Eastern and Mediterranean desserts.
Essential Ingredients for Making Lokma
To create the perfect Lokma, it’s essential to use the right ingredients, as each one plays a crucial role in the final outcome. Here’s a breakdown of the key components you will need:
All-Purpose Flour
All-purpose flour is the foundation of the Lokma dough, providing the necessary structure and texture. It creates a light and fluffy interior while ensuring that the outer layer becomes golden and crispy when fried.
Granulated Sugar
Sugar not only adds sweetness to the dough but also plays a vital role in activating the yeast. The sugar feeds the yeast as it ferments, helping the dough rise and develop that characteristic fluffiness.
Active Dry Yeast
As the primary leavening agent, active dry yeast is crucial for achieving the airy texture of Lokma. It ferments the sugars in the dough, producing carbon dioxide that causes the dough to expand. Proper activation of the yeast is key to successful Lokma.
Salt
Salt might seem like a minor ingredient, but it serves as a flavor enhancer, balancing the sweetness of the Lokma. It also strengthens the dough structure, ensuring that the final product is both tender and robust.
Warm Water
Warm water is essential for activating the yeast. The ideal temperature for the water should be around 110°F to 115°F (43°C to 46°C), which provides the perfect environment for the yeast to thrive without killing it.
Vegetable Oil
Vegetable oil is used both in the dough and for frying. It helps to achieve a smooth texture in the dough and contributes to the crispiness of the fried Lokma. Using oil with a high smoke point is important to prevent burning during frying.
Honey
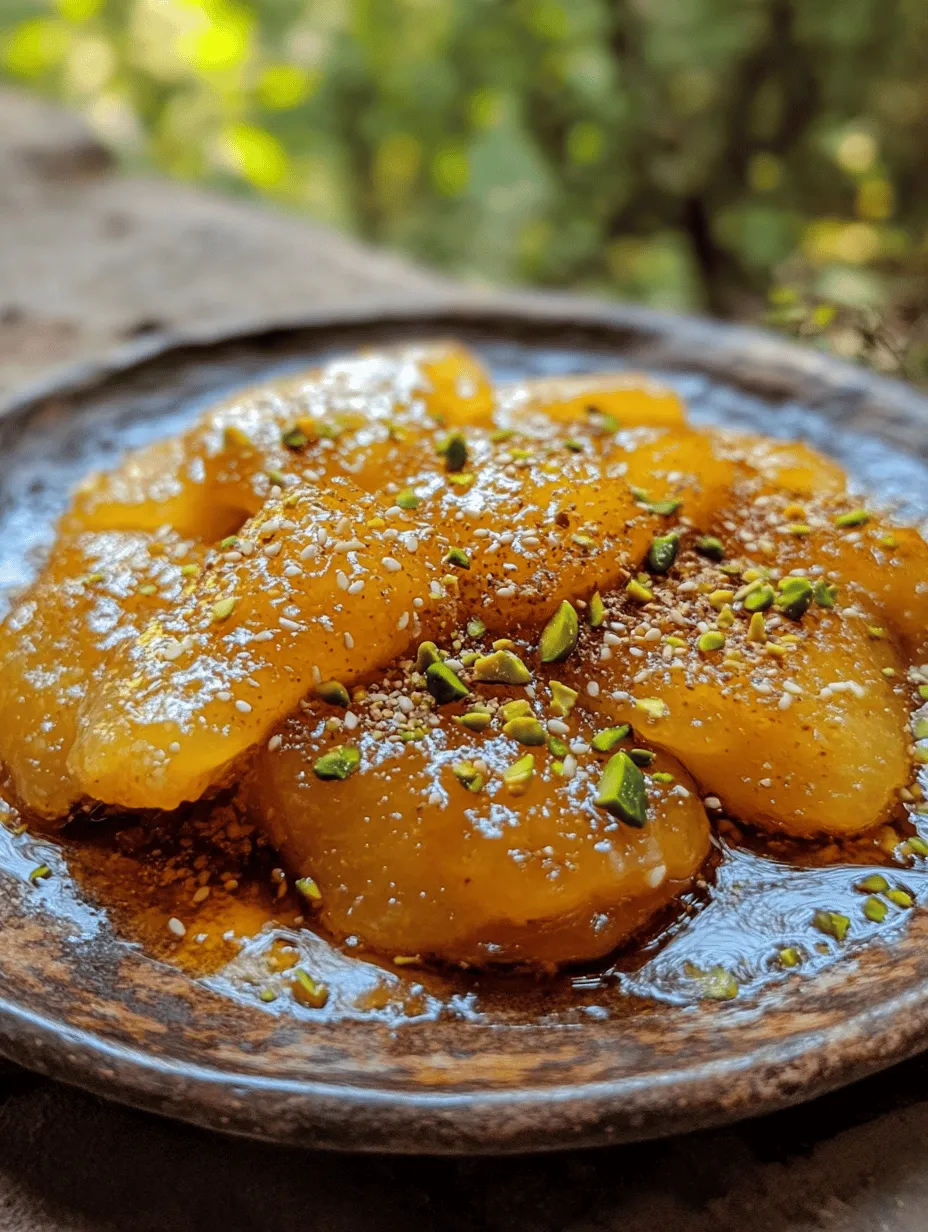
Honey is the star ingredient for the syrup that coats the Lokma. It adds a distinct flavor and natural sweetness, enhancing the overall taste of the dessert. The syrup not only sweetens the Lokma but also gives it a beautiful glossy finish.
Vanilla Extract
Adding a splash of vanilla extract to the syrup elevates the flavor profile, giving the Lokma an aromatic quality that beautifully complements the sweetness of the honey.
Optional Garnishes
For an extra touch, you can sprinkle sesame seeds or crushed pistachios on top of the Lokma before serving. These garnishes add texture and a nutty flavor, enhancing the overall experience.
Step-by-Step Guide to Making Lokma
Making Lokma at home may seem intimidating, but with the right guidance, it can be a fun and rewarding process. Below, we outline the critical initial steps to get you started on your Lokma journey.
Activating the Yeast
The first step in making Lokma is to activate the yeast. This process is crucial for ensuring your dough rises properly. Begin by measuring out the warm water in a bowl and adding the granulated sugar. Stir gently until the sugar dissolves. Next, sprinkle the active dry yeast over the surface of the water and let it sit for about 5 to 10 minutes. During this time, you should see the yeast start to froth and bubble, indicating that it is alive and ready to work its magic.
Preparing the Dough
While the yeast is activating, prepare the dry ingredients. In a large mixing bowl, combine the all-purpose flour and salt. Mix these ingredients thoroughly to ensure that the salt is evenly distributed, as it is important for flavor and dough structure. Once the yeast mixture is ready, create a well in the center of the flour mixture and pour in the activated yeast along with any remaining warm water.
Using a wooden spoon or spatula, begin to mix the ingredients together, incorporating the flour into the wet mixture until it starts to come together. The dough should be slightly sticky but manageable. If the dough feels too dry, add a little more warm water, one tablespoon at a time, until you achieve the right consistency.
Achieving the Right Dough Consistency
Once the mixture has come together, it’s time to knead the dough. Transfer it to a clean, lightly floured surface and begin kneading it with your hands. Kneading is essential as it develops the gluten in the flour, which gives the Lokma its structure and chew. Knead the dough for about 8 to 10 minutes, or until it becomes smooth and elastic. If the dough sticks to your hands, sprinkle a little more flour on the surface, but be careful not to add too much, as this can make the Lokma dense.
Kneading the Dough
After kneading, shape the dough into a ball and place it in a lightly oiled bowl, turning it to coat the surface with oil. Cover the bowl with a clean kitchen towel or plastic wrap and allow the dough to rise in a warm, draft-free area for about 1 to 1.5 hours, or until it has doubled in size. This step is vital for the fluffiness of your Lokma, so be patient and let the yeast work its magic.
As the dough rises, you can prepare the honey syrup that will coat the Lokma perfectly. Simply combine honey, water, and vanilla extract in a saucepan and heat gently until the honey dissolves. This syrup will be ready when the dough is finished rising, ensuring that your Lokma is warm and coated in sweet goodness as soon as they come out of the fryer.
By following these initial steps, you will be well on your way to creating delicious and irresistible Lokma that will delight your family and friends. Stay tuned for the next part, where we will cover the frying process and how to serve your delightful creations!
Techniques for Kneading and Signs of Readiness
Kneading is a crucial step in making Lokma, as it develops the gluten structure in the dough. To knead effectively, use the heel of your hands to push the dough away from you, then fold it back over itself. Rotate the dough a quarter turn and repeat the process. This should take about 8 to 10 minutes. The dough is ready when it becomes smooth, elastic, and slightly tacky to the touch. The best test is the “windowpane test”: take a small piece of dough and stretch it gently. If it stretches thin without tearing, it’s perfect for the next step.
First Rise: Importance of Atmosphere and Timing
The first rise, or fermentation, is essential for flavor development and texture. During this time, your dough will double in size as yeast ferments the sugars, producing carbon dioxide that creates air pockets. Ideally, this should take about 1 to 1.5 hours, depending on the temperature of your kitchen. A warmer environment speeds up the fermentation process, while cooler areas slow it down.
Tips for the Ideal Rising Environment
To create the optimal environment for dough rising, place your mixing bowl in a warm, draft-free area. If your kitchen is chilly, you can turn on the oven to the lowest setting for a few minutes and then turn it off, placing the dough inside. Alternatively, covering the bowl with a damp kitchen towel can help trap warmth and moisture, ensuring an ideal rising environment.
Making the Honey Syrup
The honey syrup is what makes Lokma truly irresistible. It’s a sweet, sticky glaze that gives each bite that signature sweetness. To prepare the syrup, combine 1 cup of honey, 1 cup of sugar, and 1 cup of water in a saucepan. Bring to a boil over medium heat, stirring until the sugar dissolves. Reduce the heat and simmer for about 10 minutes until slightly thickened. Once done, remove from heat and allow it to cool. For an extra layer of flavor, consider adding a pinch of cinnamon or a splash of lemon juice.
Step-by-Step Instructions and Consistency Checks
1. Combine Ingredients: In a large bowl, mix together flour, sugar, yeast, and salt. Gradually add warm water until the dough comes together.
2. Knead: Transfer the dough to a floured surface and knead until smooth and elastic.
3. First Rise: Place the dough in a greased bowl, cover it, and let it rise until doubled in size, about 1 to 1.5 hours.
4. Make Honey Syrup: While the dough rises, prepare the honey syrup as detailed above.
5. Check the Dough: After the first rise, gently press your finger into the dough. If it springs back slowly, it’s ready for the next step.
Shaping the Lokma
Once the dough has risen, it’s time to shape the Lokma. This is where the fun begins! Divide the dough into small, equal pieces—about the size of a golf ball. Lightly oil your hands to prevent sticking and roll each piece into a smooth ball. Alternatively, you can shape them into small rings by inserting your finger into the center of each dough ball and gently pulling it apart to create a hole.
Techniques for Portioning and Forming the Dough
For even results, consider using a kitchen scale to weigh each piece of dough. This ensures uniformity in size and cooking time. If you’re aiming for the classic Lokma shape, make sure the hole in the center is large enough to prevent it from closing during frying.
Second Rise: Preparing for Frying
After shaping, let the Lokma rest for an additional 30 minutes. This second rise allows the dough to relax and develop further, ensuring a light and airy texture after frying. During this time, it’s also essential to prepare your frying oil. Use a heavy-bottomed pot filled with about 2 inches of oil, heating it to around 350°F (175°C). A kitchen thermometer can help maintain the right temperature.
Importance of Resting and Oil Temperature
Resting the shaped Lokma before frying allows the yeast to continue working, leading to a fluffier texture. The oil temperature is critical as well: too hot, and the outside will burn while the inside remains raw; too cool, and the dough will absorb excess oil and become greasy.
Frying the Lokma
Gently place the dough balls into the hot oil, being careful not to overcrowd the pot. Fry them in batches, allowing enough space for them to expand. Cook for about 4-5 minutes, turning occasionally, until they are golden brown. You’ll know they’re done when they float to the surface and have a beautiful, deep golden color.
Tips for Achieving Perfect Golden Brown Color
To achieve that perfect golden color, adjust the heat as needed. If the oil is smoking, it’s too hot; reduce the heat. Conversely, if the Lokma aren’t browning after a few minutes, increase the temperature slightly. Patience is key!
Safety Precautions When Frying
Frying can be hazardous, so keep safety in mind. Always use a deep pot to prevent splatters, and never leave hot oil unattended. Keep a lid nearby in case of flare-ups, and avoid adding wet items to hot oil to prevent dangerous splashes.
Draining and Coating in Syrup
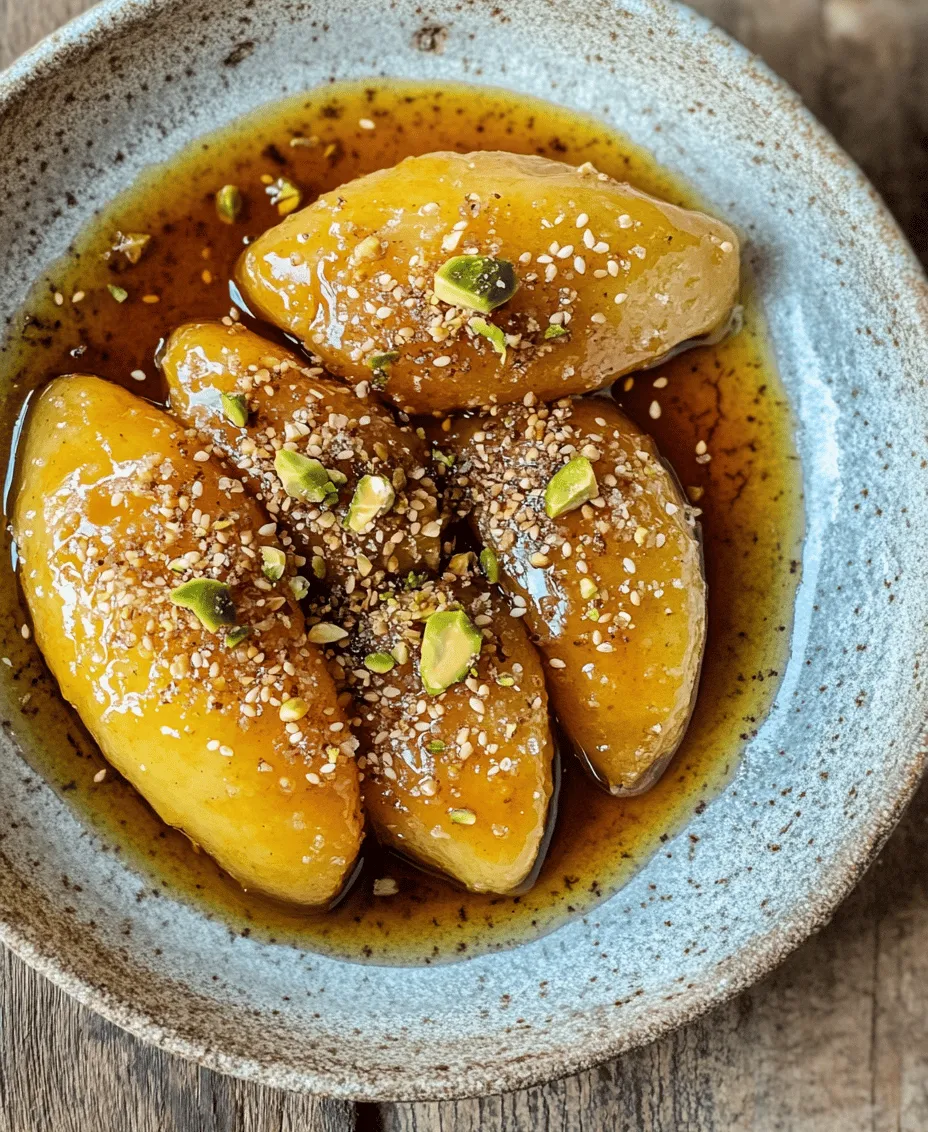
Once the Lokma are golden, use a slotted spoon to remove them from the oil, letting excess oil drain off. Immediately transfer them to the prepared honey syrup, allowing them to soak for about 30 seconds. This step is crucial for ensuring the sweetness penetrates the dough.
Techniques for Proper Syrup Absorption
To ensure proper absorption of the syrup, don’t let the Lokma sit in the syrup for too long, as they can become overly soggy. A quick dip will coat them perfectly without losing their lightness. You can also place them on a wire rack after coating to help excess syrup drip off.
Final Garnishing
Lokma can be garnished in various ways. Dusting them with powdered sugar or cinnamon adds an appealing touch. Chopped nuts such as pistachios, walnuts, or almonds can also be sprinkled on top for added flavor and crunch. For a festive presentation, consider serving them on a decorative platter with a drizzle of additional honey.
Nutritional Information of Lokma
Each serving of Lokma (approximately 3 pieces) contains around 240 calories, with 3g of protein, 42g of carbohydrates, and 8g of fat. While Lokma is a sweet treat, it’s essential to enjoy them in moderation. The balance of ingredients, particularly the use of honey, offers some health benefits, including antioxidants. For those looking to modify the recipe for dietary preferences, consider using agave syrup instead of honey for a vegan alternative.
Serving Suggestions and Pairings
Lokma is best enjoyed fresh and warm. They make for an excellent dessert at brunch gatherings or festive occasions. Pair them with a cup of Turkish coffee or a sweet mint tea for a delightful experience. For a more elaborate presentation, consider creating a dessert platter that includes fresh fruits, yogurt, and an assortment of nuts alongside your Lokma.
Conclusion
Lokma’s delightful flavor and texture make it a beloved treat that captures the essence of tradition. With its golden exterior and tender, syrup-soaked interior, it offers an irresistible sweet experience. Making Lokma at home not only allows you to savor its authentic taste but also provides a wonderful opportunity to share this cherished dessert with loved ones. Embrace the joy of creating and sharing these sweet morsels, and let the delightful aroma fill your home as you indulge in this culinary tradition.