
Crepes are a delightful culinary creation that can be enjoyed in countless ways. These thin, delicate pancakes are beloved for their versatility, making them an ideal choice for breakfast, dessert, or even as a savory meal. If you’ve ever walked through a bustling Parisian street, you might have caught the enticing aroma of freshly made crepes wafting through the air, inviting you to indulge. Among the many varieties, Dreamy Vanilla Crepes stand out for their simple elegance and delectable flavor, making them a perfect choice for any occasion.
Whether you are starting your day, celebrating a special event, or simply craving a sweet treat, vanilla crepes are sure to impress. They are incredibly easy to make and can be dressed up with various toppings to suit any palate. The rich vanilla flavor, combined with the light and airy texture of the crepes, creates a dreamy experience that beckons you for another bite.
Understanding Crepes: A Culinary Delight
Crepes have a rich history that dates back to the 13th century in Brittany, France. Originally, they were made from buckwheat flour, giving rise to the savory galette, which is still popular today. However, the modern version, made with all-purpose flour, is what most people recognize and love today. The beauty of crepes lies in their thinness and flexibility, allowing them to be filled with a variety of ingredients, both sweet and savory.
The primary distinction between sweet and savory crepes is the type of filling used. Sweet crepes, like our Dreamy Vanilla Crepes, are often filled with fruits, creams, and sweet sauces. In contrast, savory crepes might include ingredients such as cheese, ham, and vegetables. This versatility has allowed crepes to become a staple in numerous cuisines around the world, from French galettes to Japanese dorayaki, where they are often paired with sweet red bean paste.
Crepes are not just a dish; they represent culinary artistry and cultural significance. In France, they are often enjoyed during the Chandeleur festival on February 2nd, a day dedicated to celebrating the arrival of spring. In Japan, they are often served as street food, filled with a variety of ingredients ranging from whipped cream to matcha. Each culture has embraced crepes, customizing them to reflect local tastes and traditions.
Ingredients Breakdown for Dreamy Vanilla Crepes
Creating the perfect Dreamy Vanilla Crepes starts with understanding the essential ingredients. Each component plays a crucial role in developing the texture, flavor, and overall success of the dish:
– All-Purpose Flour: This is the backbone of the crepe batter. All-purpose flour provides the right structure and texture, giving the crepes their signature thin and delicate nature. For those seeking a gluten-free option, alternatives such as almond flour or gluten-free blends can also work well.
– Eggs: Eggs are vital for binding the batter together and adding richness. They contribute to the overall flavor and help create that melt-in-your-mouth texture that crepes are known for. Make sure to use fresh eggs for the best results.
– Milk: The type of milk used can significantly impact the flavor and texture of your crepes. Whole milk will yield a richer taste, while low-fat or non-dairy alternatives like almond or oat milk can be used for a lighter version. The key is to achieve a smooth batter consistency.
– Sugar and Vanilla Extract: Sugar is essential for enhancing the flavor profile of the crepes, providing just the right amount of sweetness. Pure vanilla extract amplifies the aroma and taste, making the crepes even more delightful. For a gourmet touch, consider using vanilla bean paste or scraping fresh vanilla seeds into the batter.
– Salt and Butter: A pinch of salt is crucial for balancing flavors, while melted butter adds richness and ensures the crepes cook to a perfect golden brown. Using unsalted butter allows you to control the level of salt in the recipe.
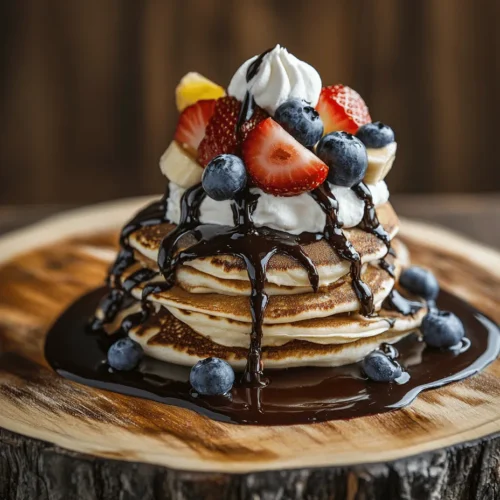
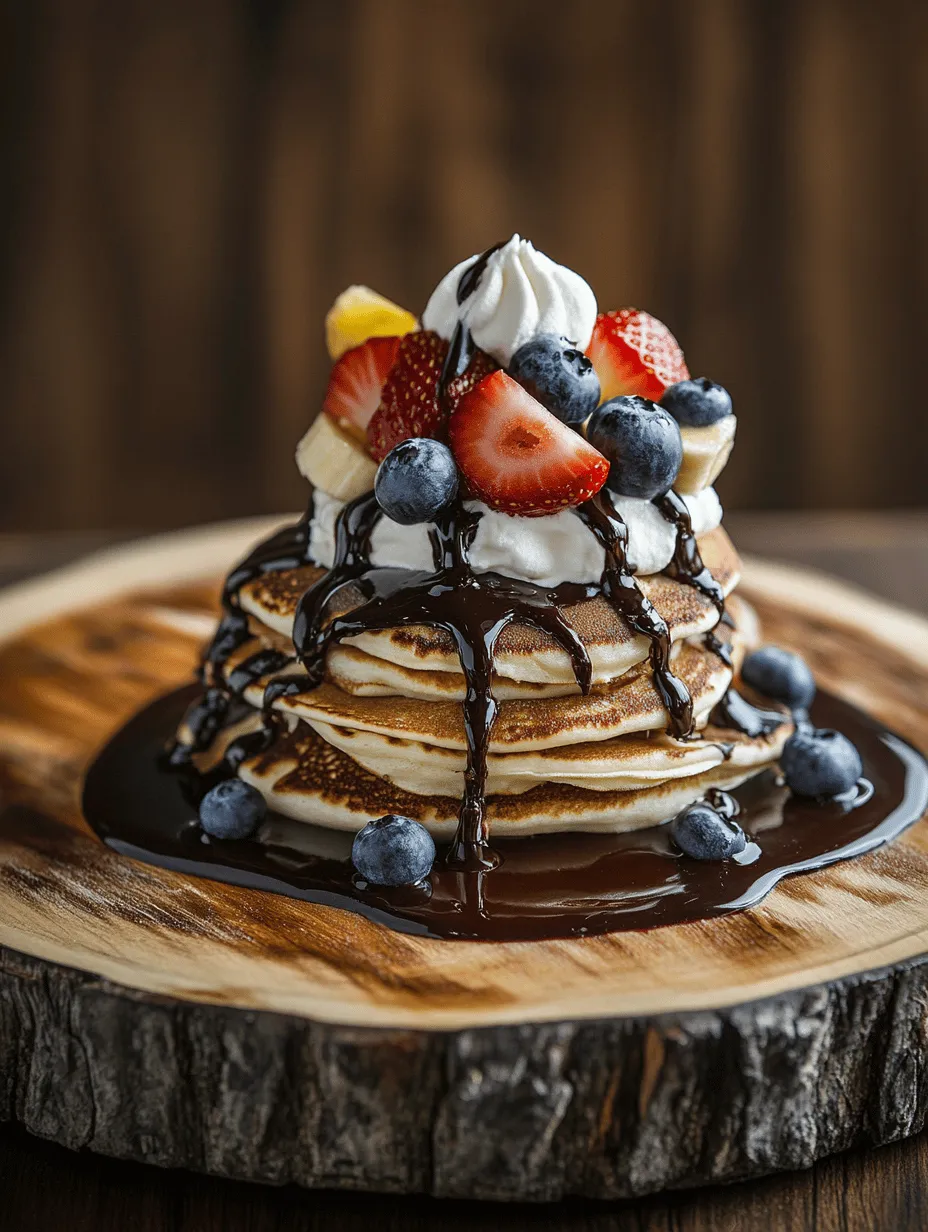
Once you have these primary ingredients, the possibilities for toppings are endless. Fresh fruits like strawberries, bananas, or blueberries can add a burst of freshness and color. For a more indulgent experience, whipped cream, chocolate sauce, or a drizzle of maple syrup can elevate your crepes to new heights.
Step-by-Step Guide to Making Dreamy Vanilla Crepes
Now that you have a grasp of the ingredients, it’s time to dive into the preparation of the Dreamy Vanilla Crepes. This step-by-step guide will ensure that you create the perfect crepes every time.
Preparation of the Batter
The first step in crafting your Dreamy Vanilla Crepes is to prepare the batter. Start by combining the all-purpose flour, sugar, and salt in a large mixing bowl. This dry mixture creates the foundation for your crepes.
Next, crack the eggs into a separate bowl and whisk them until they are fully blended. Gradually add the eggs to the dry ingredients, stirring gently to incorporate them without creating lumps.
Now, it’s time to add the milk. Pour in the milk slowly while continuing to whisk the batter. This technique is essential to achieve a smooth, lump-free mixture. If you have a blender, you can also use it to combine the ingredients, which can make the process even easier.
One crucial tip for achieving tender crepes is to allow the batter to rest. Cover the mixing bowl with plastic wrap or a clean kitchen towel and let it sit at room temperature for at least 30 minutes. Resting allows the flour to fully hydrate and the gluten to relax, resulting in a more tender crepe.
Cooking Techniques
Once the batter has rested, it’s time to cook the crepes. Heat a non-stick skillet or crepe pan over medium heat. Lightly grease the pan with butter or cooking spray to prevent sticking.
To cook the crepes, pour a small amount of batter into the center of the pan, then quickly tilt and swirl the pan to spread the batter evenly across the surface. Aim for a thin layer to ensure the crepes cook evenly.
Cook the crepe for about 1-2 minutes or until the edges begin to lift and the bottom is lightly golden. Gently flip the crepe using a spatula and cook for an additional minute on the other side. Repeat this process, stacking the cooked crepes on a plate as you go.
For the best results, keep the heat consistent and adjust as needed to prevent burning. If you find that your crepes are cooking too quickly, reduce the heat slightly.
With this foundational knowledge and the steps outlined, you’re well on your way to making your own Dreamy Vanilla Crepes that are sure to impress. Enjoy the process and let your creativity shine through with your choice of toppings and fillings!
Choosing the Right Pan and Heat Settings
When it comes to making the perfect Dreamy Vanilla Crepes, your choice of pan can significantly impact the outcome. A non-stick skillet or a crepe pan is ideal due to its smooth surface, which allows for easy flipping and minimal sticking. Make sure your pan is appropriately sized; a 10 to 12-inch skillet works well for standard-sized crepes, ensuring they cook evenly without being too thick.
Heat settings are crucial for achieving that golden-brown, delicate texture. Start by preheating your pan over medium heat, allowing it to become uniformly hot. Once heated, reduce the temperature to medium-low for cooking each crepe. This ensures that the batter has enough time to spread and set without burning. If you’re unsure, a simple test is to drop a small amount of batter onto the pan; it should sizzle gently. If it browns too quickly, lower the heat further.
Tips for Pouring and Swirling the Batter for Even Crepes
Pouring the batter into the pan requires a gentle touch. Use a measuring cup or a ladle to scoop out the batter, but don’t pour it directly into the pan. Instead, pour it into the center of the preheated pan and immediately begin to swirl the pan in a circular motion. This will help the batter spread evenly across the surface, creating a thin layer. If you find that the batter is too thick or not spreading enough, you can thin it with a bit more milk or water until it reaches the desired consistency.
For a flawless crepe, aim for a very thin layer of batter. A good rule of thumb is to use about 1/4 cup of batter per crepe, adjusting as necessary based on the size of your pan. Keep an eye on the edges; they should start to lift slightly from the pan when the crepe is ready to flip.
Flipping Techniques to Achieve Perfect Crepes
Flipping crepes can be daunting, but with some practice, you’ll master this technique. Once the crepe has cooked for about 1 to 2 minutes and the edges are beginning to lift, it’s time to flip. You can use a spatula to gently lift one edge and then slide it under the crepe. With a quick flick of the wrist, flip the crepe over to cook the other side for another 1 to 2 minutes until it’s lightly browned.
Alternatively, if you’re feeling confident, use your fingers to grab the edge of the crepe and flip it. Just be cautious as the pan will be hot. Regardless of the method, practice makes perfect, and don’t be discouraged by the occasional tear — they’ll still taste delicious!
Stacking and Storing Crepes Post-Cooking
Once you’ve cooked all your crepes, it’s essential to stack them properly to prevent sticking. Layer each crepe with a small piece of parchment paper or wax paper between them. This not only keeps them from sticking but also makes it easy to separate them when you’re ready to serve.
How to Keep Crepes Warm Without Drying Out:
If you’re cooking multiple crepes and want to keep them warm, place the stack on a plate and cover it with a clean kitchen towel or foil. This will trap heat while preventing the crepes from drying out. You can also place the plate in a warm oven (set at the lowest temperature) for up to 30 minutes without compromising their texture.
Best Practices for Storing Leftovers:
If you have leftover crepes, let them cool completely before storing. Place them in an airtight container, separated by layers of parchment paper, and refrigerate for up to 3 days. For longer storage, you can freeze them. Ensure they’re well-wrapped in plastic wrap or placed in a freezer-safe bag, where they can last for up to 2 months. To reheat, simply place them in a skillet over low heat or microwave them for a few seconds until warm.
Serving Suggestions for Dreamy Vanilla Crepes
Creative Ways to Serve Crepes:
Dreamy Vanilla Crepes can be enjoyed in a multitude of ways. The versatility of these crepes allows you to tailor them to any meal or occasion.
Breakfast Ideas:
Start your day with a healthy twist by filling your crepes with Greek yogurt, fresh berries (like strawberries, blueberries, or raspberries), and a drizzle of honey. This combination offers a refreshing and nutritious breakfast that balances protein with natural sweetness.
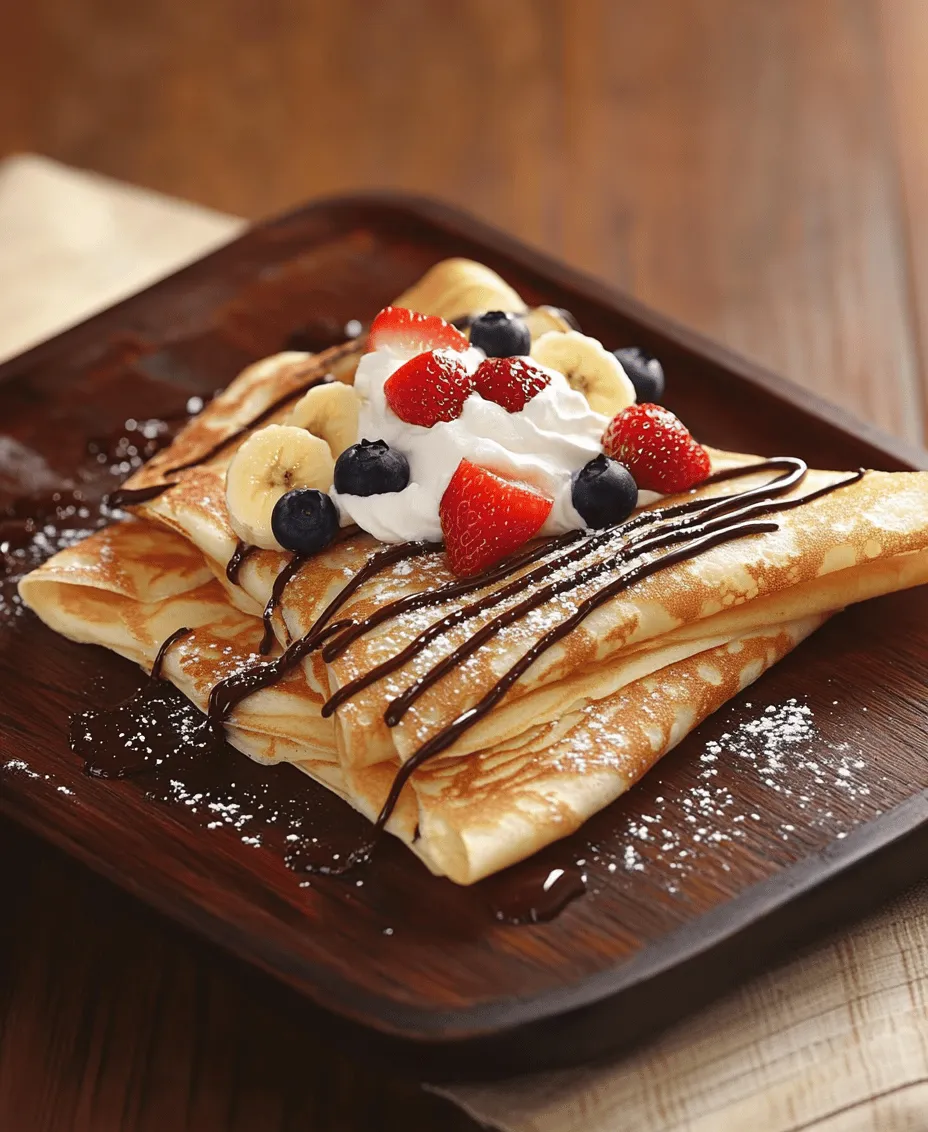
Dessert Options:
For a delightful dessert, layer your crepes with whipped cream, slices of seasonal fruits, and a drizzle of chocolate or caramel sauce. You can also sprinkle some powdered sugar on top for an elegant touch. The combination of flavors and textures will leave your guests amazed.
Savory Adaptations for a Unique Twist:
If you’re feeling adventurous, try savory fillings. Consider using sautéed spinach, mushrooms, and feta cheese or roasted vegetables with a sprinkle of fresh herbs. This adaptation transforms your crepes into a sophisticated brunch option that’s sure to impress.
Pairing Beverages with Crepes:
When it comes to beverage pairings, your choices can elevate the entire dining experience.
Coffee and Tea Recommendations:
A cup of freshly brewed coffee pairs beautifully with sweet crepes, providing a delightful contrast. For a lighter option, consider serving with herbal tea, which complements the delicate flavors without overpowering them.
Seasonal Beverage Pairings for Festive Occasions:
During festive seasons, consider pairing your crepes with spiced chai or even a warm apple cider. These beverages not only enhance the flavors of the crepes but also add a cozy touch to your meal.
Nutritional Insights of Dreamy Vanilla Crepes
Overview of Nutritional Content Per Serving:
Each serving of Dreamy Vanilla Crepes contains approximately 150 calories, depending on the fillings you choose. They provide a balanced mix of carbohydrates and protein, making them a satisfying option for breakfast, brunch, or dessert.
Discussion on Ingredient Substitutions for Dietary Preferences:
If you or your guests have specific dietary needs, there are plenty of alternatives to consider:
Gluten-Free Options Using Alternative Flours:
To make gluten-free crepes, simply substitute all-purpose flour with a gluten-free flour blend or almond flour. Ensure that the flour blend you choose contains xanthan gum, which helps bind the ingredients together.
Dairy-Free Substitutes for Milk and Butter:
For a dairy-free option, use almond milk, coconut milk, or oat milk in place of regular milk. You can substitute butter with coconut oil or a vegan butter alternative, maintaining the crepes’ delightful texture and flavor.
Balancing Indulgence with Health:
While crepes are a delicious treat, it’s essential to practice portion control and mindful eating. Consider serving smaller crepes and allowing everyone to customize their toppings. This encourages moderation while still enjoying the delightful flavors.
Conclusion: Embracing the Joy of Crepes
Dreamy Vanilla Crepes are not just a meal; they are an experience that brings joy to both the cook and the diners. Their simplicity in preparation and versatility in serving options make them a staple in any kitchen. Whether you fill them with sweet or savory ingredients, the possibilities are endless.
As you embark on your crepe-making journey, remember to experiment with different flavors and toppings. Whether it’s a festive gathering or a casual breakfast, these crepes are sure to impress family and friends. So grab your ingredients, heat your pan, and embrace the joy of making and sharing your Dreamy Vanilla Crepes. Happy cooking!