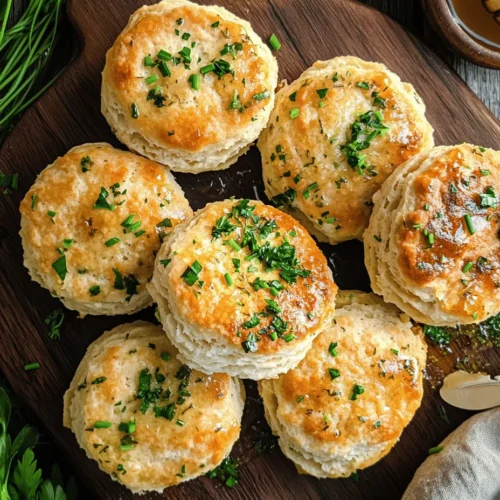

In the world of comfort food, few things rival the warm, flaky goodness of homemade biscuits. These Herbed Buttermilk Bliss Biscuits elevate the classic recipe with a delightful twist of fresh herbs, making them perfect for any meal. Whether you’re serving them at breakfast, alongside a hearty dinner, or as a delightful snack, these biscuits are sure to impress. The combination of rich buttermilk and aromatic herbs creates a depth of flavor that traditional biscuits often lack, transforming a simple side into a culinary highlight. In this article, we will dive deep into the recipe, explore the ingredients, and uncover the techniques that make these biscuits a beloved staple in kitchens everywhere.
Understanding the Ingredients: The Foundation of Flavor
The key to mastering any recipe lies in understanding its ingredients. Each component of the Herbed Buttermilk Bliss Biscuits plays a critical role in creating that sought-after texture and flavor. Let’s examine the essential ingredients that make these biscuits shine.
The Role of All-Purpose Flour
Flour is the backbone of any biscuit. It provides structure and texture, allowing the biscuits to rise and hold their shape while baking. When it comes to biscuit-making, the type of flour you choose can significantly influence the outcome. All-purpose flour is ideal because it has a moderate protein content, which helps create a tender yet sturdy biscuit.
When measuring flour, precision is key. Too much flour can lead to dense biscuits, while too little can make them fall flat. To measure accurately, use the spoon-and-level method: scoop the flour into your measuring cup with a spoon, then level it off with a straight edge. Avoid packing the flour down, as this can result in an excess that would negatively affect the biscuit’s texture.
The Function of Leavening Agents
Leavening agents are crucial for achieving that light, fluffy texture in biscuits. In this recipe, we utilize both baking powder and baking soda to provide lift. Baking powder contains both an acid and a base, allowing it to release carbon dioxide when mixed with wet ingredients. This reaction creates bubbles in the dough, which expand during baking, leading to a rise.
Baking soda, on the other hand, requires an acid to activate. In this recipe, the acidity of buttermilk serves this purpose, enhancing the leavening effect. Additionally, salt plays a vital role in flavor enhancement, bringing out the natural sweetness of the biscuits and balancing the richness of the butter and buttermilk.
Choosing the Right Butter
Butter is another cornerstone of biscuit-making. The significance of using cold, unsalted butter cannot be overstated. Cold butter creates steam as it melts during baking, contributing to the flakiness of the biscuit. Unsalted butter allows you to better control the salt levels in your recipe, ensuring your biscuits are perfectly seasoned.
When incorporating butter into the flour mixture, it’s essential to cut it into small cubes. This technique helps distribute the fat evenly throughout the flour, which is crucial for achieving that desired flaky texture. Use a pastry cutter or your fingers, working quickly to avoid warming the butter too much.
The Magic of Buttermilk
Buttermilk is a key ingredient in these biscuits, adding both moisture and tanginess that elevate the overall flavor profile. Its acidity reacts with the baking soda to create a tender crumb that is both light and airy. Additionally, the fat content in buttermilk contributes to a rich, buttery flavor.
If you don’t have buttermilk on hand, don’t worry—there are substitutes available. You can create a quick buttermilk replacement by mixing one cup of milk (preferably whole) with one tablespoon of lemon juice or white vinegar. Let it sit for about 5-10 minutes until it thickens slightly. This mixture will mimic the tangy flavor and acidity of buttermilk, ensuring your biscuits still turn out delicious.
Fresh Herbs: A Flavorful Twist
One of the standout features of Herbed Buttermilk Bliss Biscuits is the addition of fresh herbs. Recommended herbs such as chives, parsley, and thyme add a vibrant flavor that complements the richness of the buttermilk. Not only do they enhance the overall biscuit experience, but they also bring a burst of color, making your dish visually appealing.
When using fresh herbs, it’s best to chop them finely to ensure even distribution throughout the dough. This way, each bite of biscuit offers a delightful hint of herbaceous flavor. Feel free to experiment with your favorite herbs and adjust the quantities according to your taste preferences.
Optional Ingredients: Sweetness and Variations
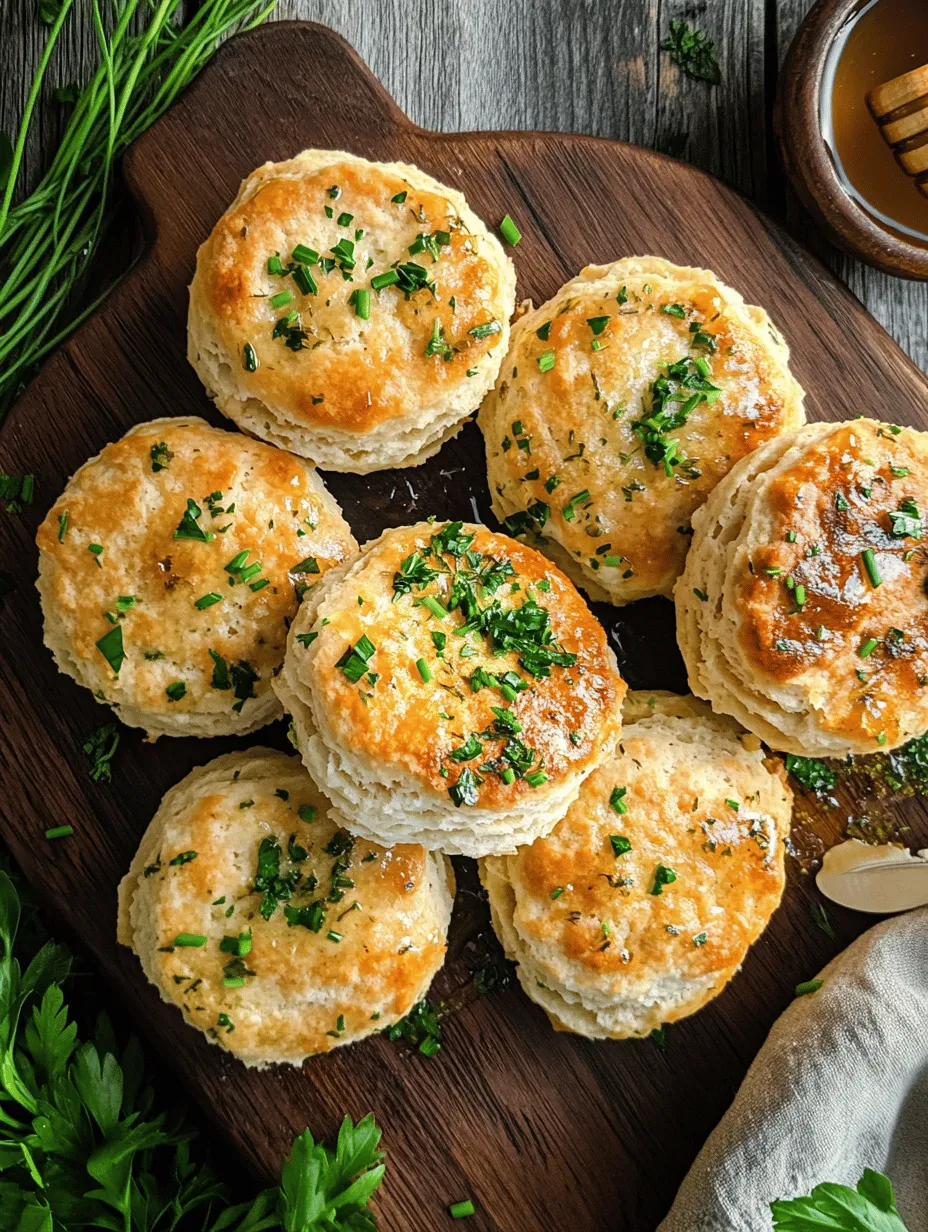
While the base recipe for Herbed Buttermilk Bliss Biscuits is savory, there’s always room for creativity. A touch of honey can be added to balance the flavors, providing a hint of sweetness that pairs beautifully with the herbs. Additionally, consider experimenting with variations and add-ins such as shredded cheese, crispy bacon bits, or even sun-dried tomatoes to personalize your biscuits further.
Step-by-Step Instructions: Making Herbed Buttermilk Bliss Biscuits
Now that we’ve covered the essential ingredients, it’s time to roll up our sleeves and get started on making these delectable biscuits. Before diving into the mixing and baking, let’s ensure that your kitchen is prepped and ready for biscuit-making.
Prepping Your Kitchen for Biscuit Making
Before you begin, gather all the essential tools and equipment you will need. Having everything at hand will make the process smoother and more enjoyable. Here’s a quick list of items you’ll need:
– Mixing bowls (one large and one medium)
– Measuring cups and spoons
– A pastry cutter or two forks
– A rolling pin (if desired)
– A baking sheet lined with parchment paper
– A cooling rack
Proper workspace organization is also crucial for a successful baking experience. Clear your countertop of any clutter and ensure your baking sheet is ready to receive the biscuits once they are formed. Preheating your oven to 425°F (220°C) at this stage is also a good idea, as having a hot oven helps achieve that perfect rise.
Mixing the Dry Ingredients
With your kitchen prepped, it’s time to start mixing the dry ingredients. In your large mixing bowl, combine the all-purpose flour, baking powder, baking soda, salt, and freshly ground black pepper. The pepper adds a subtle warmth and enhances the overall flavor of the biscuits.
To achieve an even blend, use a whisk to sift the dry ingredients together. This step helps aerate the flour, ensuring that the leavening agents are evenly distributed throughout the mixture. A well-mixed dry base is essential for achieving consistency in your biscuits.
Incorporating Butter: Techniques for Success
Now comes the fun part—incorporating the cold butter into the flour mixture. Take your chilled, unsalted butter and cut it into small cubes. Add the butter cubes to your flour mixture and use your pastry cutter or your fingers to work the butter into the flour.
The goal here is to create a mixture that resembles coarse crumbs, with small pea-sized pieces of butter still visible. This technique ensures that the butter remains cold and creates pockets of fat that will melt during baking, resulting in flaky layers. Be careful not to overwork the dough, as this can lead to tough biscuits.
Once the butter is incorporated, it’s time to add the buttermilk and fresh herbs, bringing us one step closer to enjoying the delightful Herbed Buttermilk Bliss Biscuits.
Achieving the Right Texture When Mixing in Butter
The foundation of great biscuits lies in the texture of the dough, which is directly influenced by how you incorporate the butter. The goal is to achieve a light, flaky biscuit, which requires a specific approach when mixing in butter. Start with cold, unsalted butter, as it will help create steam when it melts during baking, leading to those desired flaky layers.
Technique: Cut the butter into small cubes and add it to your dry ingredients. Use a pastry cutter, two forks, or your fingertips to work the butter into the flour mixture. The key is to mix until the butter resembles tiny peas, with some larger chunks remaining. This ensures that as the biscuits bake, the butter melts and creates air pockets, yielding a tender texture.
Common Mistakes to Avoid:
1. Overmixing: One of the most common pitfalls is overmixing the butter into the flour. If the mixture becomes too homogeneous, your biscuits will lose their flakiness.
2. Using Warm Butter: Warm or softened butter can lead to greasy biscuits, as it will not create the necessary steam during baking.
3. Not Using Enough Butter: While you might be tempted to reduce the butter for health reasons, it is essential for texture and flavor in biscuits.
Folding in Fresh Herbs
Herbs add an incredible depth of flavor to your biscuits, but it’s crucial to incorporate them properly to avoid overmixing the dough.
Techniques for Evenly Distributing Herbs:
Gently fold in the chopped fresh herbs right after combining your wet and dry ingredients. Use a spatula or wooden spoon and make a few gentle folds, turning the mixture over itself. This technique minimizes gluten development, which can make biscuits tough.
Benefits of Fresh Herbs vs. Dried:
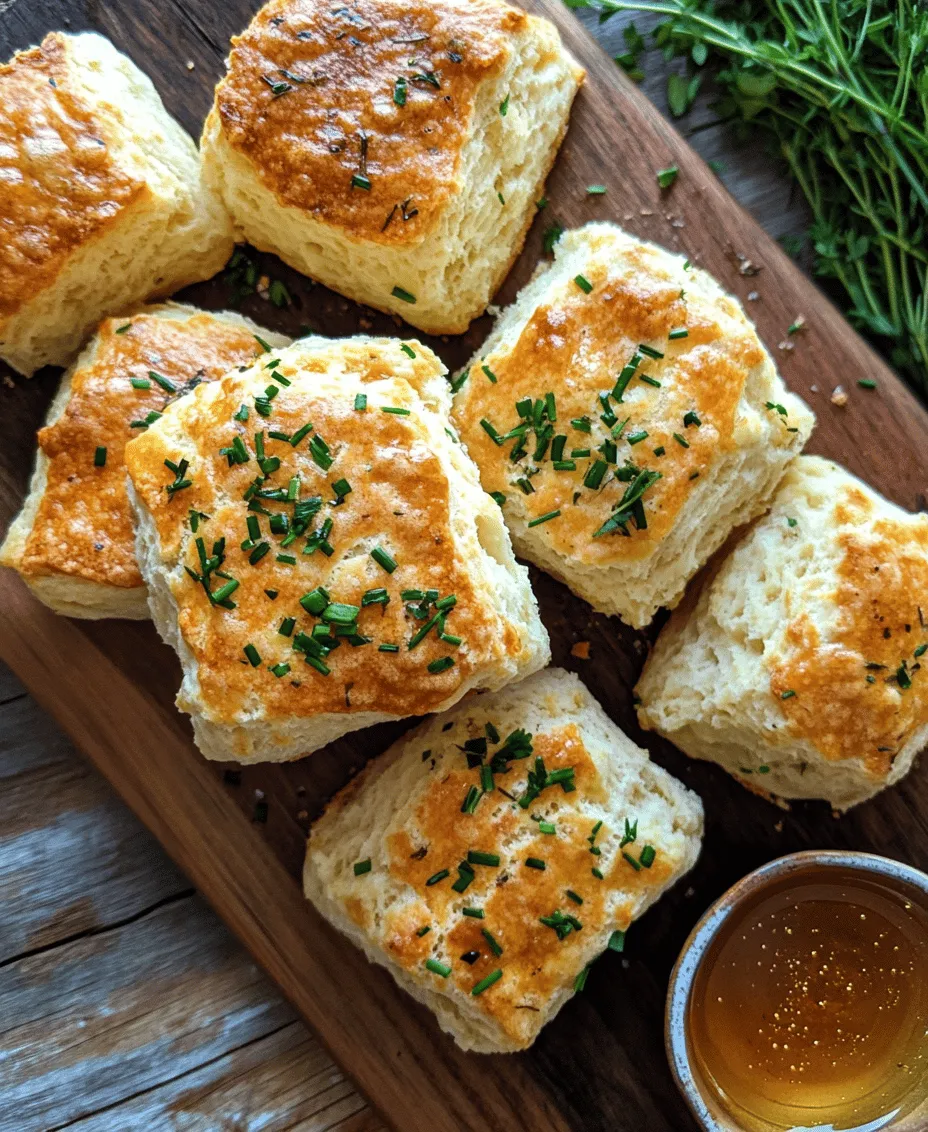
Fresh herbs provide a vibrant flavor that dried herbs simply cannot match. They also add a burst of color, enhancing the visual appeal of your biscuits. Fresh herbs have essential oils that release during baking, creating a more aromatic experience. For this recipe, consider using fresh rosemary, thyme, or chives for a delightful herbal infusion.
Combining Wet and Dry Ingredients
The process of mixing buttermilk with the dry ingredients is vital in achieving the right consistency for your biscuit dough.
Best Practices for Mixing:
Pour the buttermilk into the dry mixture gradually, stirring gently with a spatula. The goal is to moisten the flour without overworking it. Stop mixing once the ingredients come together; it’s perfectly fine if the dough appears slightly shaggy. This means you’ve retained enough air in the mixture to create a light, fluffy biscuit.
Signs of Perfect Biscuit Dough:
The dough should be slightly sticky but manageable. If it’s too dry, add a splash more buttermilk; if it’s too wet, sprinkle in a tad more flour. The right consistency will hold together but not cling excessively to your hands.
Shaping and Cutting the Biscuits
Once your dough is ready, it’s time to shape and cut your biscuits.
Techniques for Gently Patting and Folding the Dough:
Flour your work surface generously to prevent sticking. Turn the dough onto the floured surface and gently pat it into a rectangle, about 1-inch thick. Avoid using a rolling pin, as this can compress the dough and inhibit its rise. Instead, use your hands to gently shape it. If desired, fold the dough over itself a couple of times to create layers, which will enhance flakiness.
Tips on Using a Biscuit Cutter Effectively:
When cutting the biscuits, use a sharp biscuit cutter and press straight down without twisting. Twisting can seal the edges, preventing the biscuits from rising properly. Space the biscuits about one inch apart on the baking sheet to allow for even baking.
Baking to Perfection
The right baking time and temperature are crucial to achieving the perfect biscuit.
Recommended Baking Times and Temperatures:
Preheat your oven to 425°F (220°C). Place the biscuits on a parchment-lined baking sheet and bake for 12 to 15 minutes, or until they are golden brown on top. Keep an eye on them towards the end of the baking time to prevent overbaking.
How to Recognize When Biscuits Are Done:
Your biscuits are ready when they are lightly golden brown and have risen beautifully. You can also tap the top; a hollow sound indicates they are baked through. For extra assurance, you can check the internal temperature, which should reach around 200°F (93°C).
Serving Suggestions: Enjoying Your Herbed Buttermilk Bliss Biscuits
Now that your biscuits are baked to perfection, let’s explore how to enjoy them.
Classic Pairings:
These herbed biscuits are delicious on their own but pair wonderfully with traditional accompaniments. Serve them warm with a pat of butter and a dollop of jam for breakfast or brunch. They also work beautifully alongside a hearty soup or salad for a comforting dinner.
Creative Serving Ideas:
Transform your biscuits into a meal by using them as the base for sandwiches or sliders. Layer with roasted turkey, fresh greens, and a herb aioli for a delightful lunch. They also complement rich soups like butternut squash or tomato basil, providing a satisfying crunch and flavor contrast.
Storing and Reheating: Keeping the Bliss Alive
Proper storage is key to maintaining the freshness of your biscuits.
Best Practices for Storage:
Store the cooled biscuits in an airtight container at room temperature for up to two days. For longer-term storage, you can freeze the biscuits. Place them in a single layer on a baking sheet until frozen, then transfer them to a freezer-safe bag or container. They can be stored in the freezer for up to three months.
Reheating Techniques:
To reheat, preheat your oven to 350°F (175°C). Place the biscuits on a baking sheet and cover them loosely with foil to prevent over-browning. Heat for about 10-15 minutes, or until warmed through. This method helps restore their flaky texture, making them taste freshly baked.
Conclusion: The Joy of Homemade Biscuits
Herbed Buttermilk Bliss Biscuits are not just a recipe; they are an experience that brings comfort and joy to the table. By understanding the ingredients and following the simple steps outlined in this article, anyone can create these delightful biscuits from scratch. Whether you savor them fresh from the oven or enjoy them later, these biscuits are sure to become a cherished part of your culinary repertoire. Embrace the warmth and flavor of homemade biscuits, and let each bite transport you to a place of comfort and satisfaction.