
Introduction
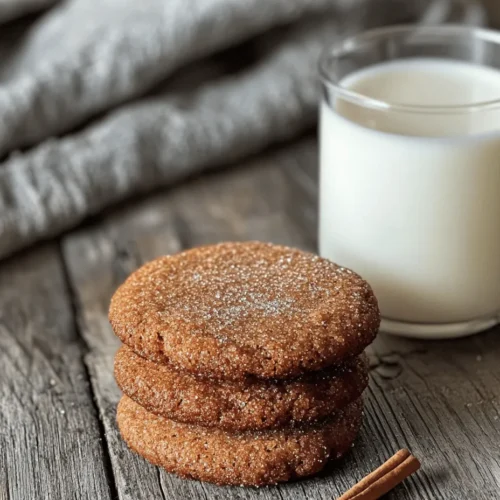
There’s something undeniably comforting about homemade cookies, especially when they fill the kitchen with the warm, spiced aromas of baking. Among the myriad cookie varieties, chewy molasses cookies stand out, evoking nostalgic memories of family gatherings and cozy afternoons. These delightful treats, with their rich flavors and satisfying texture, have earned a special place in the hearts of cookie lovers everywhere.
Molasses cookies are not just any sweet indulgence; they embody a unique blend of spices and sweetness that results in a chewy texture that is both hearty and comforting. The deep, caramel-like flavor of molasses combined with the warmth of ginger, cinnamon, and cloves creates an irresistible treat that is perfect for any occasion. Whether it’s a chilly winter night or a festive holiday celebration, these cookies provide a sense of warmth and comfort that is hard to resist.
The Origin of Molasses Cookies
To truly appreciate the allure of chewy molasses cookies, it’s essential to delve into their rich history. Molasses itself has been a staple in baking for centuries, with origins that trace back to ancient civilizations. Initially derived from sugarcane, molasses became widely used in the 18th century, especially in North America, where it was readily available due to the sugarcane plantations.
Historically, molasses was not just a sweetener; it played a significant role in the diets of early Americans. It was often used in baking, giving rise to various types of cookies, cakes, and breads. The tradition of baking molasses cookies has cultural significance in many regions, particularly in New England, where they are often associated with holiday celebrations and family gatherings.
Many families have cherished recipes passed down through generations, and each batch of cookies comes with its own set of stories. For instance, I remember baking molasses cookies with my grandmother during the holidays. The kitchen would be filled with laughter and the smell of spices, and we would eagerly await the moment the cookies were ready, sharing them with friends and family. This personal connection to the baking process is a part of what makes chewy molasses cookies so beloved.
Essential Ingredients for Chewy Molasses Comfort Cookies
The magic of chewy molasses comfort cookies lies in the carefully selected ingredients that create their signature flavor and texture. Each component plays a vital role in achieving the perfect cookie, so let’s explore the essential ingredients that make these cookies truly special.
– All-Purpose Flour: The foundation of any cookie, all-purpose flour provides the necessary structure. It helps bind the ingredients together, ensuring that the cookies hold their shape while baking. The right balance of flour also contributes to the chewiness that we love in molasses cookies.
– Baking Soda: This leavening agent is crucial for creating the ideal texture. Baking soda reacts with the acidic components in molasses, allowing the cookies to rise slightly and become fluffy yet chewy. It’s important to measure accurately, as too much baking soda can lead to overly puffy cookies.
– Spices: The blend of ginger, cinnamon, and cloves is what gives molasses cookies their distinctive flavor profile. Ginger adds warmth and a bit of a zing, while cinnamon contributes sweetness and depth. Cloves offer a subtle earthiness that rounds out the flavor, creating a harmonious blend that dances on the palate.
– Unsalted Butter: Fat is a critical element in baking, and unsalted butter is preferred for its ability to add richness without altering the overall flavor profile. The butter not only contributes to the cookies’ tenderness but also enhances their chewiness. Be sure to use room temperature butter for easier mixing.
– Brown Sugar vs. Granulated Sugar: In this recipe, brown sugar is favored over granulated sugar for its higher moisture content and caramel-like flavor. The molasses present in brown sugar not only sweetens the cookies but also adds to their overall chewiness, making them more delightful.
– Molasses: The star of the show, molasses is what truly defines these cookies. Its unique flavor profile—rich, sweet, and slightly tangy—pairs beautifully with the spices. Additionally, molasses contributes moisture to the dough, ensuring that the cookies remain soft and chewy even after baking.
– Egg and Vanilla Extract: The egg acts as a binding agent, helping to bring all the ingredients together and providing structure. Meanwhile, vanilla extract enhances the overall flavor, adding a subtle sweetness that complements the spices and molasses perfectly.
For those with dietary restrictions, there are some excellent substitutions available. Gluten-free all-purpose flour can replace regular flour, while flaxseed meal mixed with water can serve as a vegan alternative to eggs. Additionally, for a dairy-free option, coconut oil can be used in place of butter, although it may alter the flavor slightly.
Step-by-Step Instructions for Perfect Cookies
Now that we have covered the essential ingredients, it’s time to roll up our sleeves and get started on making these delectable chewy molasses cookies. Here’s a detailed breakdown of the steps you’ll need to follow for cookie perfection.
1. Preheat the Oven: The first step in any baking endeavor is preheating your oven. Set it to 350°F (175°C) to ensure even baking. Preheating is crucial as it helps the cookies to bake uniformly, giving them a nice rise and golden-brown edges.
2. Prepare Your Baking Sheets: Line your baking sheets with parchment paper or silicone baking mats. This prevents the cookies from sticking and ensures that they bake evenly, making cleanup a breeze.
3. Mix the Dry Ingredients: In a medium bowl, whisk together the all-purpose flour, baking soda, ginger, cinnamon, cloves, and a pinch of salt. This step is important as it ensures that the leavening agent and spices are evenly distributed throughout the flour.
4. Cream the Butter and Sugars: In a large mixing bowl, beat the unsalted butter, brown sugar, and granulated sugar together using an electric mixer. Mix on medium speed until the mixture is light and fluffy—this should take about 2-3 minutes. The creaming process incorporates air into the dough, contributing to a light texture.
5. Add the Molasses and Egg: With the mixer on low speed, add the molasses and egg to the butter-sugar mixture. Mix until fully combined. Don’t forget to scrape down the sides of the bowl to ensure all ingredients are incorporated.
6. Combine Dry and Wet Ingredients: Gradually add the dry mixture to the wet ingredients, mixing just until combined. Be careful not to overmix, as this can lead to tough cookies. The dough should be thick and slightly sticky.
These initial steps are crucial in laying the groundwork for your chewy molasses cookies. Each action contributes to the overall flavor and texture, ensuring that every bite is a delightful experience.
In the following section, we will continue with the remaining steps, guiding you through the process of shaping, baking, and storing these irresistible cookies. Get ready for a journey into the heart of baking, where the magic of chewy molasses comfort cookies unfolds.
Mixing Dry Ingredients
The foundation of any great cookie begins with properly mixed dry ingredients. In the case of Chewy Molasses Comfort Cookies, this includes flour, baking soda, salt, and spices such as cinnamon and ginger. It’s essential to ensure that your leavening agents and spices are evenly distributed throughout the flour. Start by whisking together all your dry ingredients in a medium-sized bowl. This step not only combines the elements but also aerates the flour, leading to a lighter texture in your cookies.
When measuring flour, make sure to spoon it into your measuring cup rather than scooping directly from the bag, which can compact the flour and yield inaccurate results. Once combined, set the dry mixture aside while you prepare the wet ingredients. This methodical approach will ensure that each bite of your cookie is bursting with flavor and has a consistent texture.
Creaming Butter and Sugar
The creaming process is a critical step that influences the texture of your cookies. Begin with softened butter; this allows for easier mixing and helps incorporate air into the mixture. Using a stand mixer or hand mixer, blend the butter and sugars (both brown and granulated) on medium speed until the mixture turns light and fluffy. This typically takes about 2-3 minutes. The creaming process is essential because it creates tiny air pockets in the butter, which will expand as the cookies bake, contributing to their chewy texture.
Ensure that you scrape down the sides of the bowl periodically to incorporate all ingredients evenly. The color of your butter and sugar mixture should be pale yellow, and it should have a fluffy consistency that holds some shape. This step is crucial; under-creaming can lead to dense cookies, while over-creaming can result in overly airy cookies that spread too much during baking.
Incorporating Wet Ingredients
Next, it’s time to incorporate your wet ingredients into the creamed butter and sugar. Start by adding the molasses, an egg, and a splash of vanilla extract. Mix on low speed until just combined. It’s important not to overwork the dough at this stage because doing so can lead to the development of gluten, which can make your cookies tough rather than chewy.
Once the wet ingredients are thoroughly mixed in, gradually add the dry mixture. Continue to mix on low speed until you see no streaks of flour. The dough should be soft and slightly sticky—a perfect consistency for chewy cookies.
Chilling the Dough
Chilling the dough is a step that some may overlook, but it plays an important role in the final texture and flavor of your cookies. When you chill the dough, the fats within the butter solidify, which helps the cookies hold their shape during baking. Additionally, refrigerating the dough allows the flavors to meld together, enhancing the overall taste.
Aim to chill your dough for at least 30 minutes—this will make it easier to handle when forming the cookies. If you’re short on time, even a brief chill can help, but the longer you can wait, the better the results will be.
Forming and Rolling Cookies
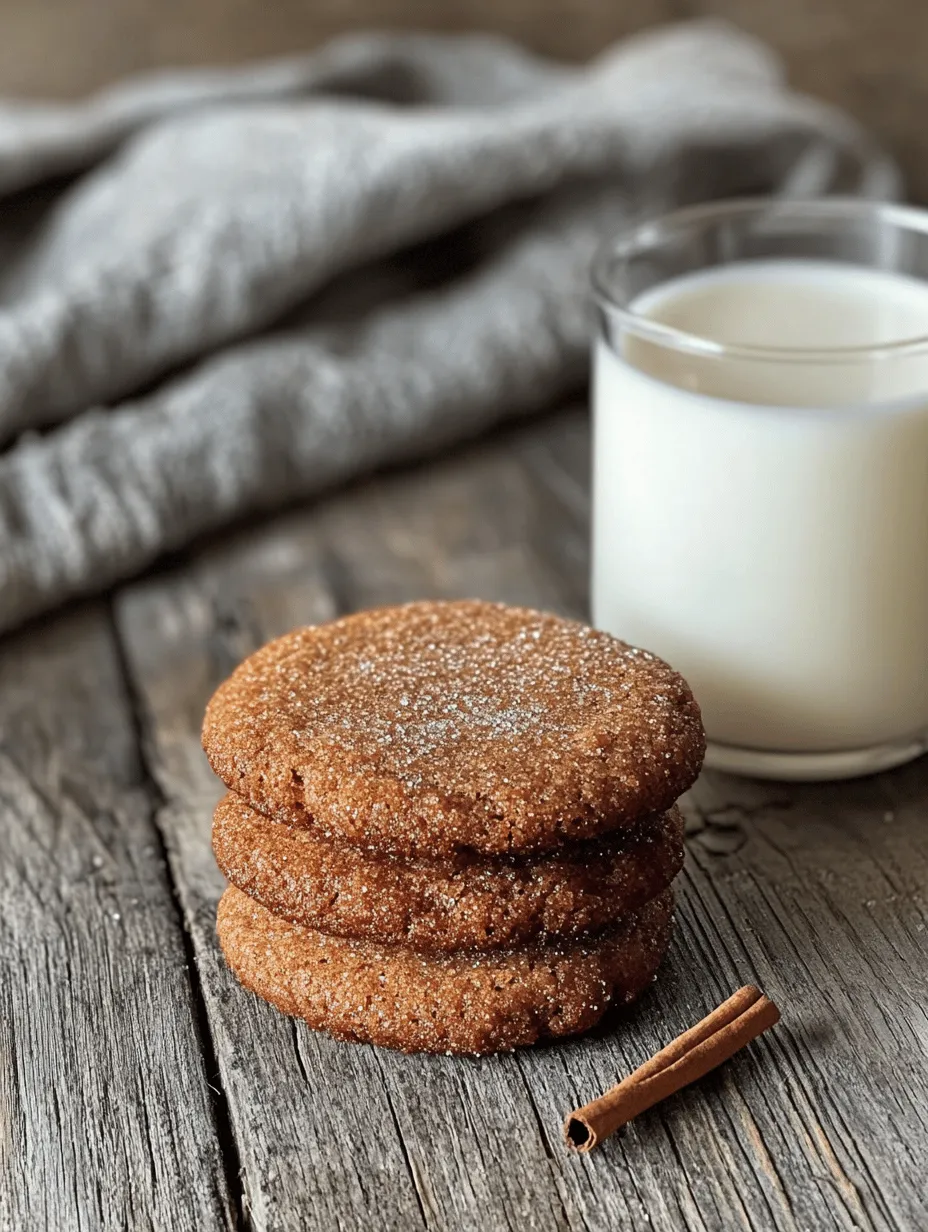
Once your dough is chilled, it’s time to form the cookies. For uniformity, use a cookie scoop or tablespoon to portion out the dough. Roll each portion into a ball between your palms, and then roll the ball in sugar if you desire a sparkling finish. Place the balls on a baking sheet lined with parchment paper, ensuring they have enough space to spread during baking.
If you prefer a flatter cookie, gently press each ball down with the palm of your hand or the bottom of a glass. However, be cautious not to flatten them too much, as this may affect their chewy texture.
Baking
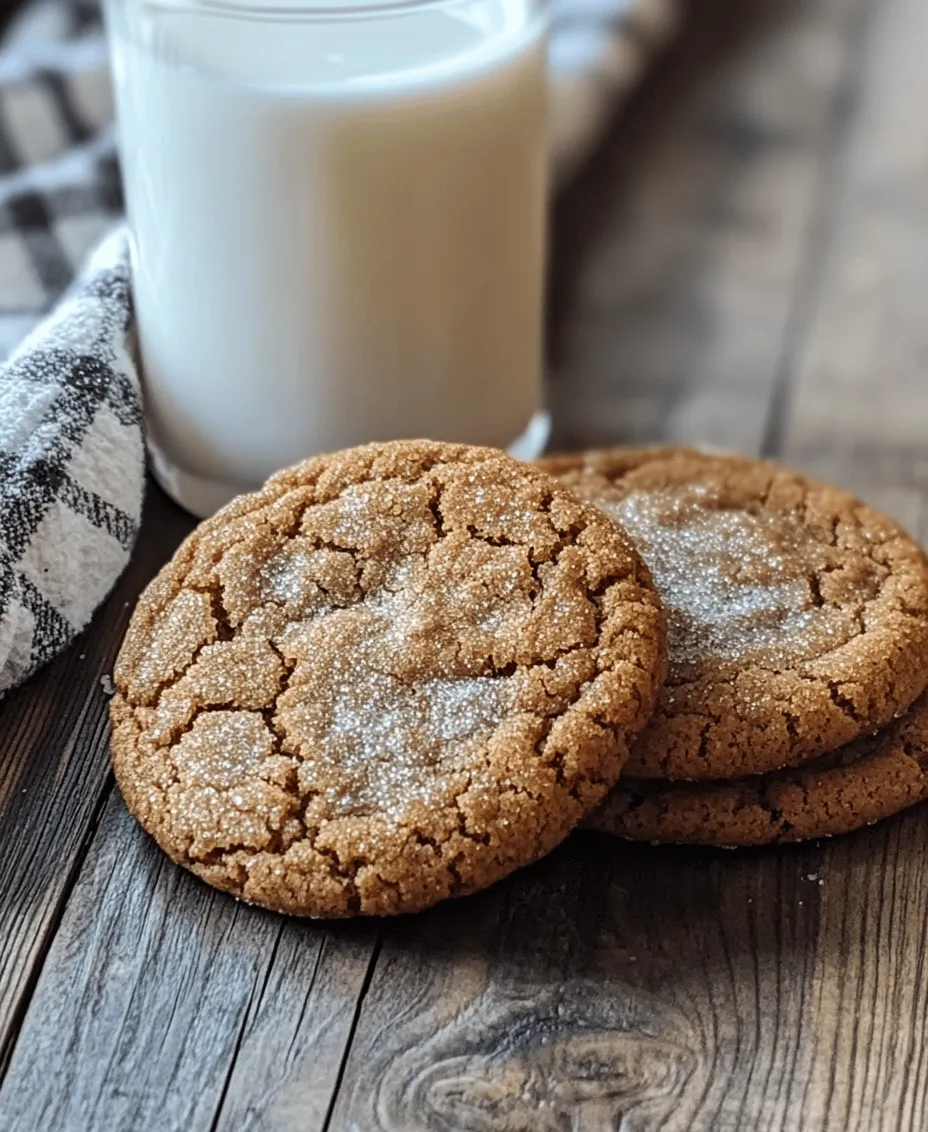
Preheat your oven to 350°F (175°C) and place the cookie trays on the center rack for even baking. The magic of baking happens when the heat causes the dough to rise and spread. Keep an eye on your cookies, as they typically bake in about 10-12 minutes. You’ll know they’re done when the edges are set, but the centers still appear slightly soft and underbaked. This residual heat will continue to cook the cookies once removed from the oven, ensuring they maintain a chewy center.
Cooling
Allow your cookies to cool on the baking sheet for about 5 minutes before transferring them to a wire rack. Cooling is crucial for developing the final texture and flavor of the cookie. During this time, the cookies will firm up and become easier to handle, while the flavors deepen as they cool. A warm cookie fresh from the oven is delightful, but letting them sit also allows for the perfect balance of chewy and slightly crisp edges.
The Science Behind Chewy Cookies
Understanding the science behind what makes a cookie chewy versus crunchy can enhance your baking skills. A chewy cookie retains moisture, which is often a result of high sugar content and the use of brown sugar—like in our molasses comfort cookies. The molasses adds not only sweetness but also moisture, contributing to that beloved chewy texture.
Another essential factor is the mixing process. Ensuring you don’t overmix the dough is vital because overworking it can lead to gluten development—resulting in tougher cookies rather than the desired chewiness. A careful balance of ingredients and techniques can create cookies that delight and satisfy.
Serving Suggestions and Pairings
Chewy Molasses Comfort Cookies are versatile treats that pair beautifully with a variety of beverages. A classic pairing is a glass of cold milk, which complements the rich flavors of the cookies perfectly. For those who enjoy warm drinks, consider serving these cookies with a cup of hot tea or coffee, where the spices will enhance the experience.
If you’re looking to elevate your serving suggestions, consider enjoying the cookies warm with a scoop of vanilla ice cream, creating a delightful contrast between the warmth of the cookie and the cold of the ice cream. For a more elaborate dessert platter, include fruits, nuts, or other holiday-themed treats alongside your cookies.
You can also experiment with seasonal variations or add-ins. Consider folding in chocolate chips, nuts, or even dried fruits like cranberries or cherries for a unique twist on the traditional recipe.
Storing and Freezing Tips
To maintain the freshness of your cookies, store them in an airtight container at room temperature for up to a week. Placing a slice of bread in the container can help keep the cookies soft by absorbing any excess moisture.
If you want to prep ahead, freezing the dough is a great option. Portion the cookie dough into balls and freeze them on a baking sheet until solid. Once frozen, transfer the dough balls to a zip-top freezer bag, where they can be stored for up to three months. When you’re ready to bake, simply preheat your oven and bake the frozen dough balls directly, adding an extra minute or two to the baking time.
Conclusion
Baking Chewy Molasses Comfort Cookies is not just about creating a delicious treat; it’s about the joy of the process—measuring, mixing, and shaping each cookie with care. As you enjoy the aroma wafting through your kitchen, take a moment to appreciate the simple pleasure of baking.
These cookies are perfect for sharing with friends and family, creating lasting memories around the kitchen table. The comforting nature of homemade cookies brings warmth and joy, making them a cherished addition to any gathering. So gather your ingredients, roll up your sleeves, and dive into this delightful baking adventure. The rewards are sure to be sweet!