Introduction
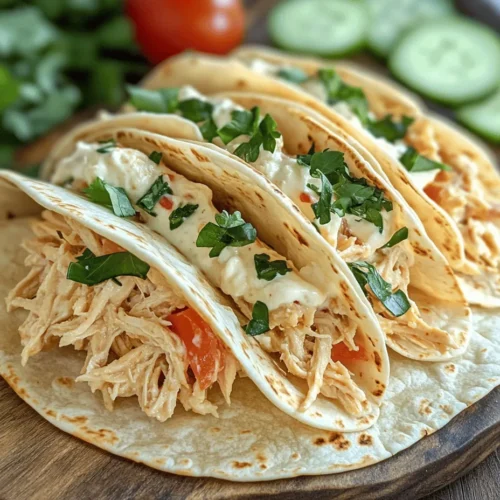
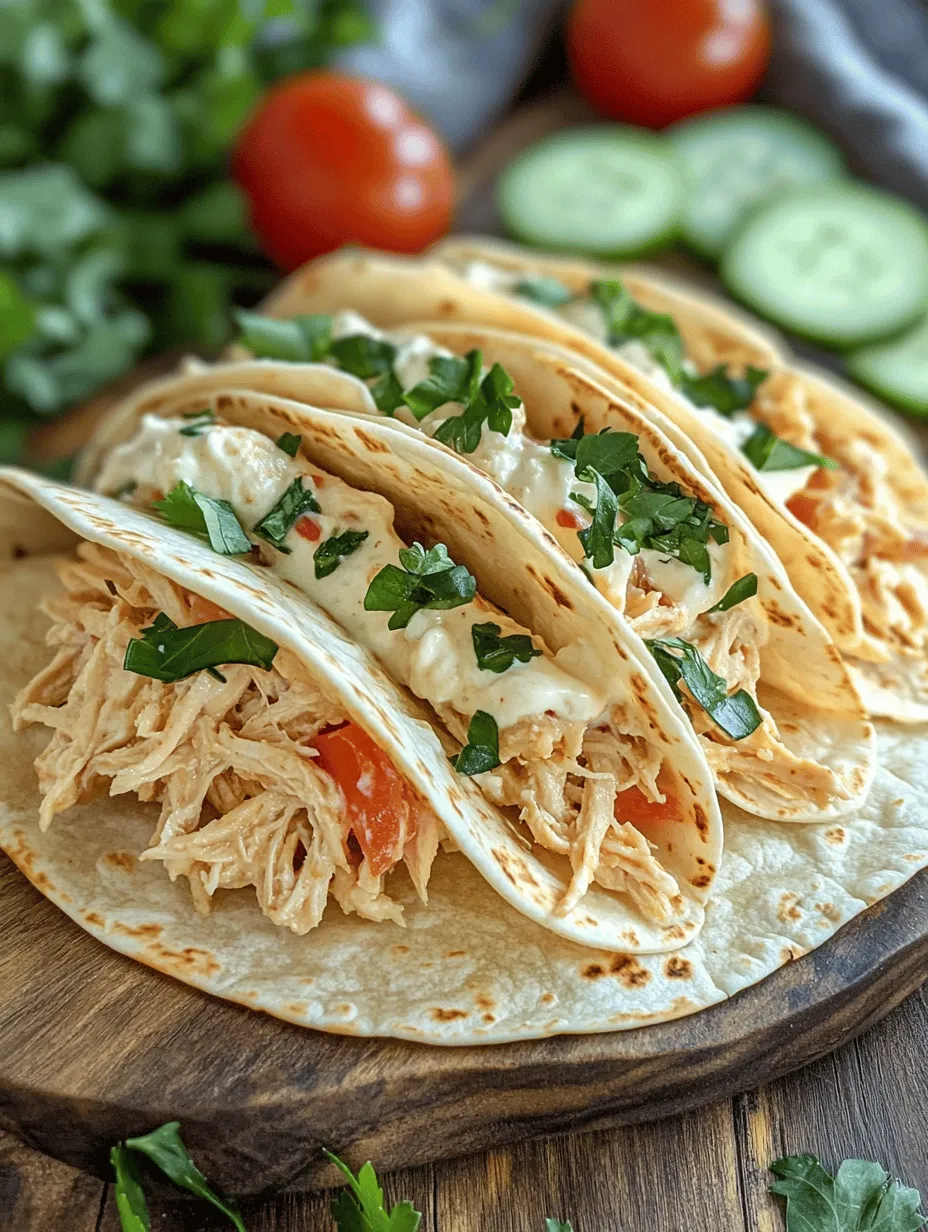
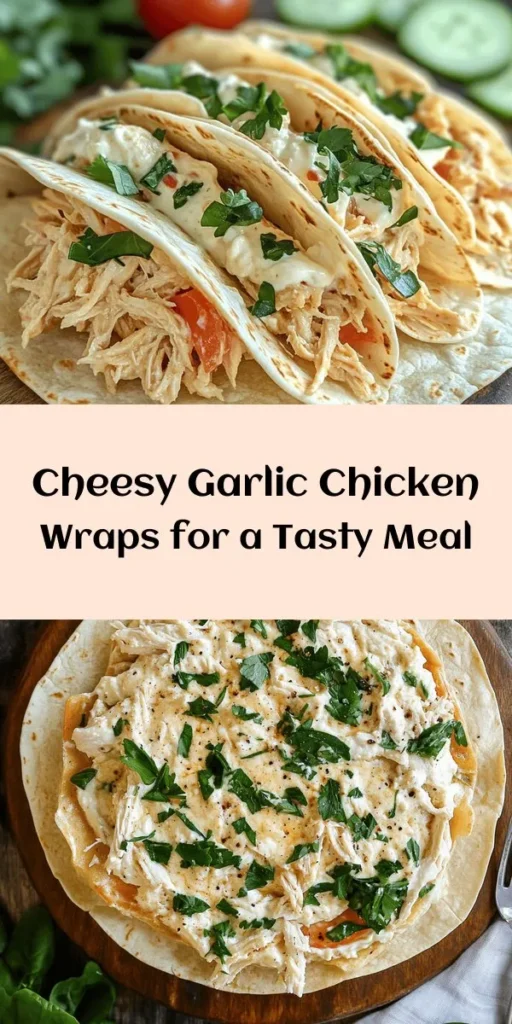
If you’re searching for a quick, delicious, and family-friendly meal, look no further than cheesy garlic chicken wraps. This delightful dish combines the rich flavors of creamy cheese, aromatic garlic, and tender chicken, all wrapped up in a soft tortilla. Wraps are a versatile option, making them suitable for lunch, dinner, or even a satisfying snack. They can be prepared in no time, making them an excellent choice for busy weekdays or casual gatherings.
The beauty of cheesy garlic chicken wraps lies not only in their mouthwatering taste but also in their adaptability. You can easily customize the fillings to cater to various dietary preferences, ensuring that everyone at the table will find something they love. Whether you prefer a classic approach or want to experiment with different ingredients, these wraps offer endless possibilities.
Understanding Cheesy Garlic Chicken Wraps
Cheesy garlic chicken wraps are a delightful fusion of flavors and textures. The star of the show is, of course, the chicken, which serves as a hearty base. When combined with a creamy cheese mixture and infused with garlic, every bite becomes a savory experience. The wraps can be enjoyed warm, with the cheese melted to perfection, or served cold, making them an excellent choice for meal prep.
The flavor profile of these wraps is rich and satisfying, with the garlic providing a robust kick that complements the creaminess of the cheese. You can easily vary the recipe to suit your taste preferences or dietary needs. For instance, consider adding some sautéed mushrooms for an earthy flavor or spicy jalapeños for those who crave a bit of heat. The possibilities are virtually endless, allowing you to create a personalized wrap that reflects your culinary style.
Ingredients Overview
To make the perfect cheesy garlic chicken wraps, you’ll need a selection of fresh and flavorful ingredients. Each component plays a crucial role in achieving the ultimate taste and texture. Let’s break down the key ingredients:
Chicken
The foundation of any good wrap is the chicken. For this recipe, it’s essential to use cooked chicken, which can be prepared in various ways, such as poaching, grilling, or baking. You can utilize leftover roast chicken or rotisserie chicken for convenience, or opt for fresh chicken breasts or thighs. When it comes to texture, you can choose to shred the chicken for a more tender bite or dice it into small pieces for a chunkier feel.
Cream Cheese
Cream cheese is a vital ingredient in this recipe, as it contributes to the wraps’ creamy texture. It serves as the base for the cheesy filling, binding the chicken and other ingredients together while adding richness. For a lighter alternative, you can opt for reduced-fat cream cheese or even Greek yogurt, which provides a similar creaminess with added protein.
Cheeses
Mozzarella cheese is the primary cheese used in this recipe due to its excellent melting properties. Its mild flavor pairs perfectly with the other ingredients, allowing the garlic and herbs to shine through. For a more flavorful twist, consider mixing in some sharp cheddar or pepper jack cheese, which will add a delightful kick to your wraps.
Garlic
Garlic is the heart of the flavor in cheesy garlic chicken wraps. Fresh garlic cloves will deliver a more robust flavor compared to powdered garlic. When using fresh garlic, be sure to finely mince it to ensure even distribution throughout the filling. If you’re pressed for time, garlic powder can be a convenient alternative, but fresh garlic truly elevates the dish.
Herbs
Fresh herbs, particularly parsley, add a burst of color and freshness to the wraps. Parsley complements the creaminess of the cheese and the savory notes of the garlic, providing a well-rounded flavor. Feel free to experiment with other herbs, such as cilantro or chives, to tailor the taste to your liking.
Tortillas
The type of tortilla you choose can significantly affect the final product. Flour tortillas are soft and pliable, making them an ideal choice for wraps. Whole wheat tortillas offer a healthier option, while corn tortillas are gluten-free and can add a unique texture. You can even use low-carb alternatives if you’re watching your carb intake.
Vegetable Additions
Adding fresh vegetables not only enhances the flavor of your wraps but also boosts their nutritional value. Fresh spinach provides a nice crunch and is packed with vitamins. Sliced tomatoes add juiciness, while cucumbers contribute a refreshing crunch. Feel free to get creative by incorporating other veggies like bell peppers, avocado, or even shredded carrots.
Preparation Steps
Now that you have a clear understanding of the ingredients, let’s dive into the preparation process for these cheesy garlic chicken wraps. Follow these step-by-step instructions to create a delicious filling that will have everyone asking for seconds.
Making the Chicken Mixture
1. Prepare the Chicken: If you’re starting with raw chicken, cook it using your preferred method. Once cooked, allow it to cool slightly before shredding or dicing it into small pieces. If using leftover chicken, ensure it is shredded or chopped into bite-sized pieces.
2. Mix the Cheese and Garlic: In a medium-sized mixing bowl, add the cream cheese and your choice of shredded mozzarella cheese. To this mixture, add the minced garlic. If you’re using fresh garlic, ensure it is finely chopped to prevent any large pieces from overwhelming the filling.
3. Combine with Chicken: Once the cheese and garlic are well mixed, fold in the cooked chicken. Use a spatula to gently combine the ingredients until the chicken is evenly coated in the creamy cheese mixture.
4. Add Fresh Herbs: Chop your fresh parsley and sprinkle it into the chicken mixture. This step adds a pop of color and flavor. Mix again to ensure the herbs are evenly distributed throughout the filling.
5. Season to Taste: At this point, taste the mixture and adjust the seasoning if necessary. You may want to add salt, pepper, or even a pinch of red pepper flakes for some heat, depending on your preference.
6. Prepare the Tortillas: If you prefer warm tortillas, lightly heat them in a pan or microwave for a few seconds until they are pliable. This will make rolling easier and enhance the overall texture of your wraps.
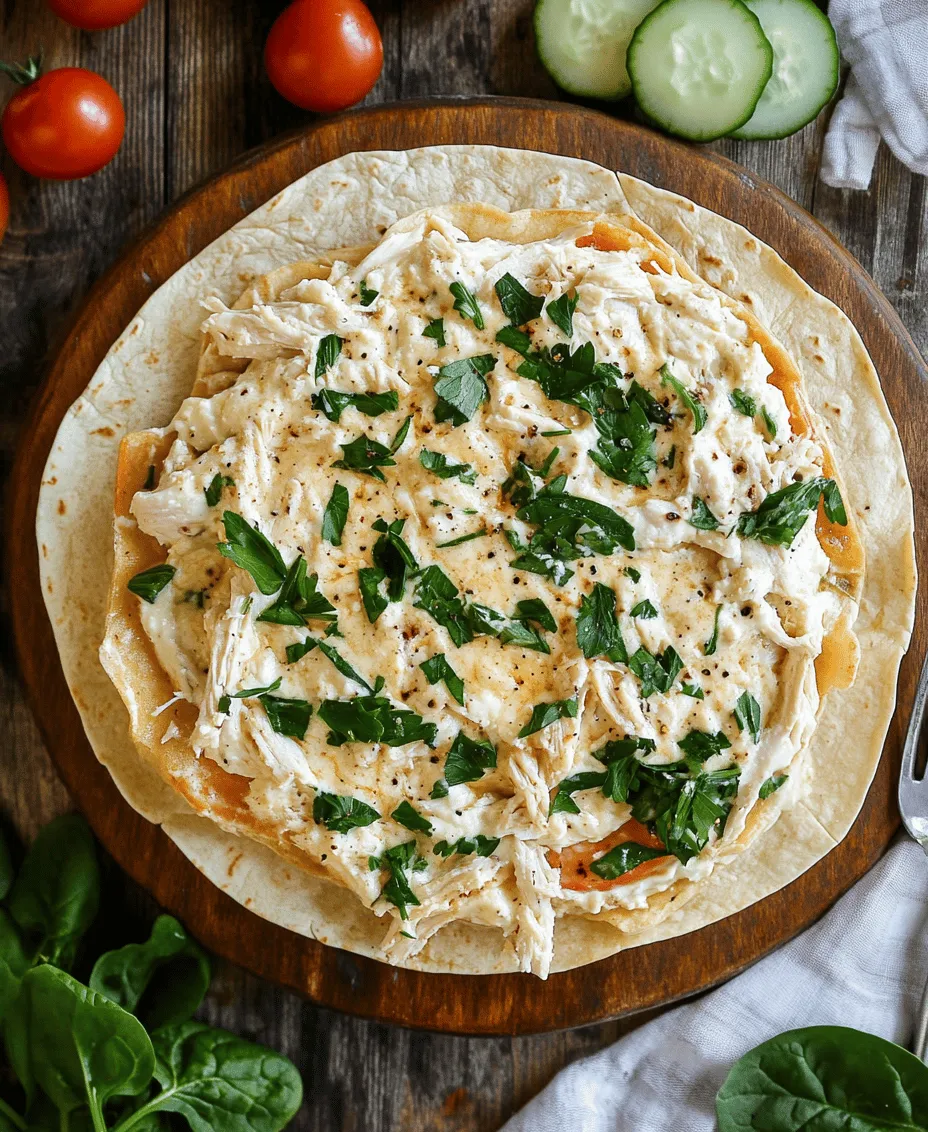
7. Assemble the Wraps: Lay each tortilla flat on a clean surface. Spoon a generous amount of the cheesy chicken mixture onto the center of each tortilla, leaving enough space around the edges to fold and roll.
8. Wrap It Up: Carefully fold the sides of the tortilla over the filling, then roll it from the bottom up, tucking it in as you go to create a tightly sealed wrap. Repeat this process for each tortilla until all the filling is used up.
These initial steps set the foundation for your cheesy garlic chicken wraps, ensuring that each bite is bursting with flavor and texture. In the next part of this article, we will explore the cooking methods to make your wraps irresistibly delicious, along with serving suggestions and tips for perfecting your wraps every time.
Warming the Tortillas
Warming the tortillas is a crucial step that significantly enhances the overall taste and texture of your Cheesy Garlic Chicken Wraps. When tortillas are heated, they become more pliable and easier to work with, which is essential for wrapping. Heating also helps to release the natural flavors of the tortillas, giving your wraps an added depth of taste.
To warm your tortillas, you can use one of several methods:
1. Stovetop: Place a skillet over medium heat. Add the tortillas one at a time, heating for about 30 seconds on each side until they are warm and slightly golden.
2. Microwave: Wrap a stack of tortillas in a damp paper towel and microwave them for 20-30 seconds. This method is quick, but be cautious not to overheat, as this can make them dry and brittle.
3. Oven: Preheat your oven to 350°F (175°C). Wrap a stack of tortillas in aluminum foil and place them in the oven for about 10-15 minutes. This method is great if you are warming a large batch.
Whichever method you choose, make sure to keep the tortillas warm by covering them with a clean kitchen towel. This will help maintain their softness until you are ready to assemble the wraps.
Assembling the Wraps
Now that your tortillas are warmed and pliable, it’s time to assemble your Cheesy Garlic Chicken Wraps. This part involves layering the ingredients in a way that maximizes flavor and ensures an even distribution throughout the wrap. Follow these steps for optimal results:
1. Lay the Tortilla: Start with a warm tortilla placed on a flat surface or a large plate.
2. Spread the Sauce: Take a generous spoonful of garlic sauce (or your preferred sauce) and spread it evenly across the center of the tortilla, leaving about an inch of space at the edges. This helps to keep the filling from spilling out.
3. Layer the Chicken: Add a portion of the cooked garlic chicken on top of the sauce. Make sure to distribute it evenly so every bite has a taste of that savory chicken.
4. Add Cheese: Sprinkle a generous amount of shredded cheese over the chicken. The cheese will melt beautifully when toasted, adding to the wrap’s overall flavor.
5. Incorporate Veggies: Next, layer some fresh spinach, diced tomatoes, or any other vegetables you like. This not only adds flavor but also brings in some much-needed nutrients.
6. Finish with Seasonings: Optionally, sprinkle some salt, pepper, or your favorite spices over the top for an extra kick.
By layering the ingredients this way, you ensure that every bite of your Cheesy Garlic Chicken Wrap is bursting with flavor.
Rolling Technique
The way you roll your wraps is just as important as how you assemble them. A well-rolled wrap will hold together and prevent your delicious fillings from spilling out. Here’s how to roll your wraps effectively:
1. Start with the Edge: Begin by folding the side of the tortilla closest to you over the filling, tucking it in snugly.
2. Fold the Sides: Next, fold in the sides of the tortilla toward the center. This keeps the filling contained and helps maintain the shape of the wrap.
3. Roll Away: With the sides folded in, continue to roll the wrap away from you, keeping it tight but not too tight that the tortilla tears.
4. Seal the Wrap: If you’re concerned about the wrap unrolling, you can lightly smear some sauce or a bit of cheese on the edge of the tortilla to help seal it.
After rolling, place the wraps seam-side down on a plate. This will help them stay closed while you prepare to toast them.
Toasting for Texture
Toasting your assembled wraps is an optional yet highly recommended step. This process enhances the flavor and adds a delightful crunch to the exterior of the wrap. Here’s how to do it:
1. Heat a Skillet: Use a non-stick skillet over medium heat. You can add a small amount of cooking oil or butter if you like a crispier finish.
2. Place the Wraps: Once the skillet is hot, place your wrapped tortillas seam-side down in the skillet. Be careful not to overcrowd the pan; toast in batches if needed.
3. Toast Until Golden: Cook for about 2-3 minutes on each side until the wraps are golden brown and crispy. You can gently press down on the wraps with a spatula for even browning.
4. Remove and Serve: Once toasted, remove from the skillet and let them cool slightly before cutting them in half to reveal the delicious insides.
This toasting step not only adds a satisfying crunch but also helps to meld the flavors together, creating a truly mouthwatering experience.
Nutritional Information
Understanding the nutritional benefits of your Cheesy Garlic Chicken Wraps can help you make informed choices for your meals. Here’s a breakdown of the key ingredients:
– Chicken: A great source of lean protein, chicken helps in muscle building and repair. It is also rich in vitamins B6 and B12, which are important for energy metabolism.
– Cheese: The cheese adds calcium, essential for strong bones and teeth. It also provides additional protein and healthy fats, making your wraps more filling.
– Veggies: Adding fresh greens like spinach and tomatoes contributes vitamins A and C, along with important antioxidants that support overall health.
– Tortillas: Whole grain or corn tortillas can provide fiber, helping with digestion and promoting a feeling of fullness.
For those watching their diet, these wraps can be easily customized. Opt for whole grain tortillas for extra fiber, choose reduced-fat cheese, or add more vegetables to increase the nutrient profile. The balance of protein, healthy fats, and carbohydrates makes these wraps a wholesome meal option.
Serving Suggestions
Cheesy Garlic Chicken Wraps are incredibly versatile, making them suitable for a variety of occasions. Here are some serving suggestions to enhance your meal:
– Dips: Pair your wraps with delicious dips like guacamole, salsa, or a tangy yogurt sauce. These add flavor and moisture, elevating your wrap experience.
– Sides: Consider serving with a fresh side salad, sweet potato fries, or a light soup. These accompaniments can balance the meal and add more nutrients.
– Beverages: A refreshing drink like iced tea, lemonade, or a light beer can complement the flavors of the wraps beautifully. For a non-alcoholic option, sparkling water with lemon is a fantastic choice.
Whether for a casual lunch at home, a picnic, or even a more formal gathering, Cheesy Garlic Chicken Wraps can easily adapt to fit the occasion.
Storage and Reheating
To ensure you enjoy your Cheesy Garlic Chicken Wraps at their best, proper storage and reheating methods are essential. Here are some guidelines:
– Storage: If you have leftover wraps, store them in an airtight container in the refrigerator. They can be kept for up to 3 days. If storing the filling separately, make sure to keep it in a tightly sealed container to maintain freshness.
– Reheating: To reheat, you can microwave the wraps for about 30 seconds to 1 minute. For best results, consider reheating in a skillet over medium heat, which will help restore some of the crispiness. If using a microwave, wrap them in a damp paper towel to prevent them from drying out.
By following these tips, you can enjoy your delicious wraps even after the initial meal, maintaining the flavor and texture you love.
Variations and Customizations
One of the best aspects of Cheesy Garlic Chicken Wraps is their adaptability. You can easily customize them to suit your taste or dietary needs. Here are some ideas:
– Vegetarian Options: Substitute the chicken with grilled vegetables, black beans, or tofu for a hearty vegetarian wrap. You can also use a mix of sautéed mushrooms and bell peppers for an umami flavor.
– Spice Adjustments: If you like a bit of heat, consider adding sliced jalapeños, a sprinkle of crushed red pepper flakes, or a dash of hot sauce to the filling.
– Different Cheese Blends: Experiment with various cheese types. Pepper jack cheese adds spiciness, while feta brings a tangy flavor profile. Combining different cheeses can also create a unique taste experience.
Encouraging creativity with the recipe can lead to delightful new variations that you and your loved ones will enjoy.
Conclusion
Cheesy Garlic Chicken Wraps are not just a meal; they are a celebration of flavors and textures that can be enjoyed on countless occasions. Quick to prepare and adaptable to various dietary preferences, these wraps are perfect for busy weeknights, casual picnics, or even elegant gatherings.
By incorporating your favorite ingredients, following the assembly and rolling techniques, and perhaps toasting them for that perfect crunch, you can create a dish that is not only satisfying but also fun to make. So gather your ingredients, roll up your sleeves, and dive into the joy of cooking with these delicious Cheesy Garlic Chicken Wraps. Your taste buds will thank you!