
Introduction
Soft pretzels have long been cherished as a beloved snack, captivating taste buds and hearts alike. Their warm, chewy texture and delightful flavor make them an irresistible choice at fairs, sporting events, and cozy movie nights at home. But why settle for store-bought pretzels when you can create your own perfectly soft pretzels right in your kitchen? Today, we’re diving into a recipe that elevates this classic snack to new heights: perfectly soft pretzels paired with a creamy, cheesy goodness dip. This combination is sure to impress at gatherings, complement your game day spread, or simply satisfy your cravings for something homemade and delicious.
The allure of making pretzels at home lies not only in the delightful experience of kneading and shaping the dough but also in the satisfying aroma that fills your kitchen as they bake. Plus, homemade pretzels are remarkably versatile. Whether you’re hosting a party, enjoying a family movie night, or just looking for a tasty bite to enjoy while watching your favorite show, these pretzels are perfect for any occasion. Let’s explore the history of soft pretzels, understand what makes them so appealing, and gather all the necessary ingredients for this cheesy delight.
Understanding Soft Pretzels
The origins of pretzels are as twisted as their shape, with a history that dates back over 1,500 years. It is widely believed that pretzels were first created by early Mediterranean monks who used dough to represent arms crossed in prayer. The first recorded mention of pretzels appeared in the 7th century. From there, they spread throughout Europe, gaining popularity in regions such as Germany, where they became a staple in bakeries and beer gardens. Today, pretzels are enjoyed worldwide, celebrated for their unique texture and flavor.
What sets soft pretzels apart from their crunchy counterparts is their unique texture. Soft pretzels offer a sublime balance of chewiness on the outside and a tender, fluffy interior. This contrast is achieved through a process that includes boiling the pretzel dough in a baking soda solution before baking, which gives them their characteristic dark brown color and unique taste. The flavor profile is equally enticing, a delightful combination of savory and slightly sweet, making them an ideal canvas for various toppings or dips.
There are many variations of pretzels, from the classic salted version to innovative flavors infused with herbs, cheese, or even sweet toppings like cinnamon sugar. However, our focus today is on the quintessential soft pretzel, a versatile snack that shines even brighter when paired with a rich, cheesy dip. This combination not only enhances the pretzel experience but also provides a delightful contrast of flavors and textures that you won’t want to miss.
Ingredients Breakdown
To achieve the perfect soft pretzels with cheesy goodness, it’s essential to understand the role of each ingredient in this delightful recipe. Here’s a detailed breakdown of what you’ll need:
For the Soft Pretzels
– All-Purpose Flour: This is the backbone of your pretzel dough. All-purpose flour provides the necessary structure and gluten content, giving the pretzels their signature chewy texture. It’s important to use high-quality flour to ensure the best results.
– Active Dry Yeast: This ingredient is crucial for leavening the dough, helping it to rise and develop flavor. Yeast ferments the sugars in the dough, producing carbon dioxide bubbles that create a light and airy pretzel.
– Warm Water: The key to activating yeast is warm water, which helps to dissolve the yeast and kickstart the fermentation process. The ideal temperature is around 110°F (43°C); too hot or too cold can hinder the yeast’s activation.
– Granulated Sugar: While it may seem counterintuitive to add sugar to a savory dough, sugar serves multiple purposes. It enhances the flavor of the pretzels and provides food for the yeast, promoting a robust fermentation process.
– Salt: Essential for flavor, salt also strengthens the gluten in the dough, contributing to the overall texture of the pretzels. It’s critical to use the right amount to ensure your pretzels aren’t bland.
– Baking Soda: This ingredient plays a vital role in the boiling process, which gives soft pretzels their dark brown color and distinctive flavor. The alkaline nature of baking soda helps to create that signature crust.
– Coarse Sea Salt: This is the finishing touch that elevates your pretzels. Sprinkling coarse sea salt on top before baking enhances both flavor and texture, giving that classic pretzel taste.
For the Cheesy Dip
– Cheddar Cheese: Known for its sharp and creamy flavor, cheddar cheese melts beautifully and is the star of our cheese dip. It adds richness and depth, making the dip undeniably delicious.
– Monterey Jack Cheese: This cheese has a mild flavor and excellent melting properties. Combining it with cheddar creates a creamy and flavorful dip that balances well with the pretzels.
– Milk: Essential for achieving a creamy consistency, milk helps to loosen the cheese and create a luscious dip. Whole milk is recommended for its richness, but you can substitute with lower-fat options if needed.
– Butter: Butter not only adds flavor but also contributes to the creaminess of the dip. It’s used to make a roux, which helps thicken the cheese sauce.
– Flour: A key player in the roux, flour is combined with melted butter to create a thick base for the cheese dip. This thickening agent ensures your dip has a smooth, velvety texture.
– Garlic Powder and Onion Powder: These spices enhance the overall flavor profile of the cheese dip, providing a savory depth that perfectly complements the richness of the cheeses.
With all your ingredients on hand, you’re ready to start the process of creating those perfectly soft pretzels with cheesy goodness. Let’s move on to the first steps of this exciting culinary adventure!
Step-by-Step Instructions for Making Soft Pretzels
Activating the Yeast
The first crucial step in making your soft pretzels is activating the yeast. This process is essential for creating a light and fluffy dough. To do this, start by measuring out 1 cup of warm water (about 110°F or 43°C) and pour it into a mixing bowl. Add 2 tablespoons of granulated sugar and 1 packet (2 ¼ teaspoons) of active dry yeast into the warm water.
Gently stir the mixture to dissolve the sugar and yeast. Allow it to sit for about 5 to 10 minutes. You’ll know the yeast is activated when it becomes frothy and bubbly on the surface. This is a good visual indicator of successful activation, meaning your yeast is alive and ready to work its magic in the dough.
Making the Pretzel Dough
Once your yeast is activated, it’s time to make the pretzel dough. In a large mixing bowl, combine 4 cups of all-purpose flour and 1 teaspoon of salt. Begin by mixing these dry ingredients together until they are evenly distributed.
Next, pour the yeast mixture into the bowl with the flour and salt. Use a wooden spoon or your hands to mix the dough until it comes together. The dough will be sticky at first, but as you knead it, it will become more cohesive.
Transfer the dough onto a floured surface and begin kneading it. To knead, fold the dough over itself and push it down with the palms of your hands. Rotate the dough a quarter turn after each push. This process should take about 5 to 7 minutes, and your dough should become smooth and elastic. If the dough feels too sticky, sprinkle a little extra flour as needed, but be careful not to add too much; you want the dough to remain soft and pliable.
Once you’ve achieved the right consistency, shape the dough into a ball and place it in a lightly greased bowl. Cover the bowl with a clean kitchen towel or plastic wrap and let it rise in a warm, draft-free area for about 1 hour, or until it has doubled in size. This rise is crucial for developing the lightness and chewiness that soft pretzels are known for.
As the dough rises, the yeasty aroma will begin to fill your kitchen, promising delicious pretzels ahead. Once the dough has risen to perfection, you’ll be ready to shape your pretzels and continue on your journey to cheesy goodness.
Stay tuned as we delve deeper into the next steps of shaping, boiling, and baking your pretzels to golden-brown perfection!
Describing the Tactile Feel of Properly Kneaded Dough
When it comes to making perfectly soft pretzels, the feel of the dough is crucial. After kneading for about 8 to 10 minutes, the dough should transform into a smooth, elastic ball that is slightly tacky to the touch but not overly sticky. You want to be able to stretch it gently without it tearing immediately. This elasticity is a sign that the gluten has developed properly, which will contribute to the chewy texture of your pretzels. When you poke the dough with your finger, it should spring back softly. If it feels too wet or sticky, sprinkle a little more flour in small increments until you achieve the right consistency.
Letting the Dough Rise
Once you have kneaded the dough to perfection, it’s time to let it rise. This step is essential, as it allows the yeast to work its magic, creating air bubbles that will give your pretzels their airy texture. Transfer the dough to a lightly greased bowl, cover it with a damp cloth or plastic wrap, and place it in a warm, draft-free area.
Ideal Conditions for Rising
The ideal temperature for dough to rise is between 75°F to 85°F. If your kitchen is cooler, you can create a warm environment by turning your oven on to the lowest setting for a few minutes, then turning it off. Place the covered bowl inside the oven with the light on; this will provide the warmth your dough needs.
Signs That the Dough Has Properly Risen
After about an hour, the dough should have doubled in size. You can check this by gently pressing your finger into the dough; if the indent holds its shape and doesn’t bounce back, it’s ready to be shaped. If the dough springs back quickly, give it another 10 to 15 minutes before checking again.
Shaping the Pretzels
Now comes the fun part: shaping the pretzels! Start by dividing the risen dough into equal pieces, typically about 8 pieces for standard-sized pretzels. Roll each piece into a long rope about 24 inches long, ensuring that the thickness is uniform throughout.
Techniques for Rolling and Twisting Pretzels
To form the classic pretzel shape, take one end of the rope and create a loop over the other end, twisting it once. Then, bring the ends down and tuck them under the loop. This creates the signature pretzel shape with the distinctive twists. A visual cue to look for is the pretzel’s symmetry; both sides should look balanced.
Boiling the Pretzels
Next, we will boil the pretzels, which is a critical step in achieving that coveted chewy texture. Boiling the pretzels in a baking soda solution creates a chemical reaction that enhances their flavor and gives them a beautiful brown crust.
Explanation of the Chemical Reaction During Boiling
When the pretzels are boiled, the alkaline nature of the baking soda solution helps to gelatinize the surface of the dough, creating a protective barrier. This barrier prevents the pretzels from expanding too much in the oven, allowing them to retain their shape and achieve a delightful golden-brown color.
Tips for Boiling Without Losing Shape
Fill a large pot with water and add about 1/4 cup of baking soda. Bring the water to a gentle boil. Carefully drop each pretzel into the boiling water, but do not overcrowd the pot; boil 2 to 3 pretzels at a time for about 30 seconds on each side. Use a slotted spoon to remove them and place them on a parchment-lined baking sheet.
Baking the Pretzels
With the pretzels boiled and ready, it’s time to bake them. Preheat your oven to 450°F (232°C). The high temperature is key to achieving that perfect golden brown finish.
Importance of Oven Temperature and Time
Baking the pretzels at a high temperature ensures that they rise quickly, creating a light and fluffy interior while developing a crispy crust. Bake the pretzels for 12 to 15 minutes, or until they are golden.
What to Look for in Terms of Color and Texture
Keep an eye on the pretzels as they bake. They should turn a deep golden brown color, and the crust should appear firm and slightly crisp when tapped. If they start browning too quickly, reduce the heat slightly to prevent burning.
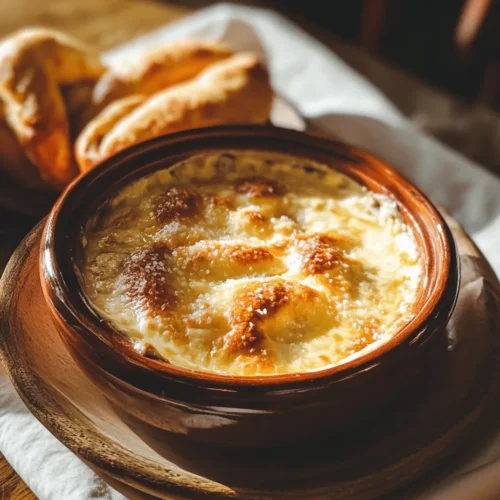
Crafting the Creamy Cheese Dip
While the pretzels bake, it’s the perfect time to prepare a delicious cheese dip that will elevate your pretzel experience.
Step-by-Step Process for Making the Cheese Dip
Start by melting 2 tablespoons of butter in a medium saucepan over medium heat. Once melted, whisk in 2 tablespoons of all-purpose flour to create a roux. Cook this for about a minute until it’s bubbling but not browned.
Importance of the Roux in Achieving a Smooth Consistency
The roux acts as a thickening agent for the cheese dip, providing a stable base that will prevent the dip from becoming grainy. It’s essential to cook it just enough to eliminate the raw flour taste without overcooking.
Techniques for Preventing Lumps While Adding Milk
Gradually whisk in 1 cup of milk, stirring constantly to ensure a smooth mixture. If you add the milk too quickly, lumps can form. Keep whisking until the mixture thickens and starts to bubble gently.
Tips for Melting Cheese Evenly
Once your milk mixture is thick, reduce the heat to low and slowly add in 1 to 2 cups of shredded cheese—cheddar is a classic choice, but feel free to experiment with other varieties. Stir continuously until the cheese is completely melted and the dip is creamy. If it seems too thick, you can add a splash more milk to achieve your desired consistency.
Variations and Additions
To make your cheese dip stand out, consider adding spices or herbs for an extra flavor boost. A pinch of garlic powder or a sprinkle of smoked paprika can enhance the taste significantly. If you want to get adventurous, try incorporating jalapeños for a spicy kick or even different types of cheese like pepper jack or gouda for unique flavor profiles.
Serving Suggestions
Once your pretzels are baked and your cheese dip is ready, it’s time to serve!
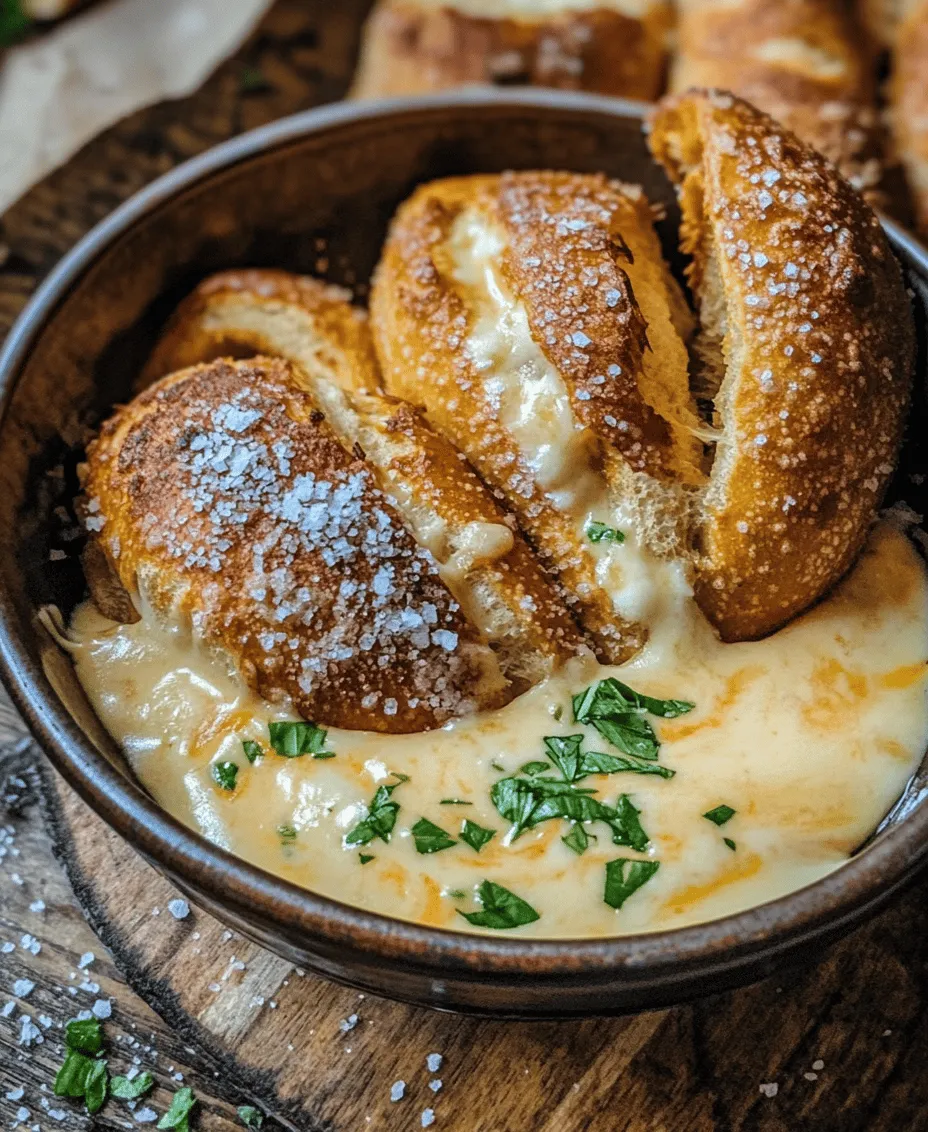
Creative Ways to Serve Pretzels and Cheese Dip
Arrange the pretzels on a large platter with a bowl of cheese dip in the center. For an added touch, you can sprinkle some coarse sea salt over the pretzels before serving, which not only enhances the flavor but also adds a beautiful finishing touch.
Pairing Suggestions with Beverages
These homemade pretzels pair wonderfully with a variety of beverages. For adults, consider serving them with a light lager or a wheat beer, which complements the flavors beautifully. For non-alcoholic options, craft sodas or sparkling water with a twist of lemon provide a refreshing contrast.
Presentation Tips for an Attractive Serving Display
To make your serving display even more appealing, you can garnish the cheese dip with a sprinkle of paprika or chopped chives. Using colorful platters or rustic wooden boards can also elevate the presentation, making your snack table inviting and festive.
Conclusion
Homemade soft pretzels with cheese dip are not just a snack; they are a delightful culinary experience that brings joy to any gathering. The process of kneading, shaping, boiling, and baking the pretzels is an enjoyable journey that culminates in a treat that is warm, chewy, and irresistible.
Don’t hesitate to experiment with variations, whether it’s trying different cheeses for the dip or adding spices to enhance the flavor. Share these delicious pretzels with friends and family, and relish the satisfaction of creating something special from scratch. Homemade snacks like these have a way of bringing people together, creating memories that last far longer than the pretzels themselves. So gather your loved ones, dip into the cheesy goodness, and enjoy every bite of your perfectly crafted pretzels!