
Introduction
Chicken tenders have long enjoyed a special place in the hearts and stomachs of diners across the United States. Their appeal lies in their delightful combination of tender meat and a crispy exterior, making them a quintessential comfort food that can be enjoyed by both children and adults alike. From casual family dinners to festive gatherings, chicken tenders have proven to be a versatile dish that never fails to satisfy.
Among the myriad of chicken tender recipes available, the Crispy Cracker Barrel Chicken Tenders stand out for their exceptional flavor and texture. Inspired by the beloved Cracker Barrel restaurant chain, known for its homestyle cooking and warm atmosphere, these chicken tenders are a fantastic way to recreate that dining experience at home. The recipe showcases a perfect balance of spices, a crispy coating, and juicy chicken, making it an ideal choice for any occasion.
One of the most appealing aspects of this recipe is its simplicity. With just a few key ingredients and straightforward steps, anyone can whip up a batch of these delicious tenders in their own kitchen. The joy of preparing homemade chicken tenders lies not only in the delicious end result but also in the satisfaction of creating a dish that brings comfort and happiness to your table.
Understanding the Ingredients
To achieve the ultimate crispy chicken tenders, it’s essential to understand the role of each ingredient in the recipe. Let’s take a closer look at the key components that contribute to the recipe’s success.
Boneless, Skinless Chicken Breasts
The star of this recipe is undoubtedly the boneless, skinless chicken breasts. Selecting high-quality chicken is crucial for ensuring tenderness and flavor. Chicken breasts are a popular choice for tenders due to their mild flavor and lean meat, which cooks quickly and evenly. The absence of bones and skin allows for straightforward preparation and ensures that the meat remains juicy and succulent during frying.
Buttermilk
Buttermilk is another vital ingredient in this recipe, serving as a marinade that infuses the chicken with flavor and moisture. The acidity of buttermilk helps to tenderize the meat, breaking down proteins and creating a wonderfully juicy texture. Additionally, the tangy flavor of buttermilk complements the spices used in the coating, enhancing the overall taste of the chicken tenders. Allowing the chicken to marinate in buttermilk for at least an hour (or even overnight) can significantly elevate the dish, ensuring that the flavors penetrate deeply into the meat.
All-Purpose Flour
The role of all-purpose flour in this recipe cannot be overstated. This ingredient is crucial for creating the crispy coating that chicken tenders are known for. When mixed with spices and used to dredge the marinated chicken, flour forms a protective barrier that crisps up beautifully during frying. For the best results, it’s essential to use the right amount of flour and to ensure that it evenly coats the chicken, providing that satisfying crunch with every bite.
Spices
The flavor profile of Crispy Cracker Barrel Chicken Tenders is elevated by a blend of spices that add depth and richness to the dish. Here’s a breakdown of each spice and its contribution:
– Salt: Enhances the overall flavor of the chicken and the coating, balancing the dish.
– Pepper: Adds a subtle kick and complexity to the taste.
– Garlic Powder: Provides an aromatic and savory flavor that pairs well with chicken.
– Onion Powder: Contributes sweetness and depth, which complements the other spices.
– Paprika: Offers a mild, smoky flavor and a vibrant color to the coating.
– Cayenne Pepper: Adds a touch of heat, allowing you to customize the spice level according to your preference.
Combining these spices in the right proportions will create a mouthwatering coating that elevates the chicken tenders to new heights.
Vegetable Oil
Finally, the choice of oil is vital for achieving that coveted crispiness. Vegetable oil is an excellent option for frying chicken tenders due to its high smoke point, which allows for frying at high temperatures without burning. This results in a beautifully crispy exterior while keeping the inside tender and juicy. Other suitable oils include canola or peanut oil, but vegetable oil remains a reliable and accessible choice for home cooks.
Preparation Steps for Crispy Chicken Tenders
Now that we’ve explored the essential ingredients, it’s time to dive into the preparation steps for creating these delectable Crispy Cracker Barrel Chicken Tenders. Following these detailed instructions will ensure that your chicken tenders turn out perfectly every time.
Step 1: Marinate the Chicken
Begin by cutting the boneless, skinless chicken breasts into strips, ensuring that they are all uniform in size for even cooking. Place the chicken strips in a large bowl or resealable plastic bag, and pour in enough buttermilk to completely submerge the chicken. For added flavor, consider seasoning the buttermilk with a pinch of salt and pepper.
Marinate the chicken in the refrigerator for at least one hour, though allowing it to sit overnight is ideal for maximum flavor and tenderness. The longer the chicken marinates, the more infused it will become with the tangy buttermilk flavor.
Step 2: Prepare the Flour Coating
While the chicken is marinating, it’s time to prepare the flour coating. In a separate bowl, combine the all-purpose flour with the spices: salt, pepper, garlic powder, onion powder, paprika, and cayenne pepper. Mix thoroughly to ensure that the spices are evenly distributed throughout the flour. This step is crucial in achieving a consistent flavor in every bite.
For an extra crispy coating, consider adding a teaspoon of baking powder to the flour mixture. This will create more air pockets during frying, leading to a lighter and crunchier texture.
Step 3: Dredging the Chicken
Once the chicken has marinated sufficiently, remove it from the refrigerator. Allow any excess buttermilk to drip off before dredging the chicken in the flour mixture. To ensure an even coating, follow these steps:
1. Coat Each Strip: Take one chicken strip and dip it into the flour mixture, making sure to coat it thoroughly. Press the flour onto the chicken to help it adhere better.
2. Shake Off Excess: Gently shake off any excess flour, as too much can lead to a thick and gummy coating after frying.
3. Repeat: Continue this process for all the chicken strips, placing them on a wire rack or plate once coated. Allowing the dredged chicken to rest for a few minutes will help the coating stick better during frying.
Step 4: Frying the Chicken Tenders
Now that the chicken is fully prepared, it’s time to fry it to crispy perfection. Heat a generous amount of vegetable oil in a large skillet or deep fryer over medium-high heat. It’s important to use enough oil to submerge the chicken strips partially, allowing them to fry evenly.
Once the oil is hot (around 350°F or 175°C), carefully add a few chicken strips to the skillet, ensuring not to overcrowd the pan. Fry the chicken tenders for approximately 4-5 minutes on each side, or until they are golden brown and cooked through. Using a meat thermometer, check that the internal temperature reaches 165°F (75°C) for safe consumption.
After frying, transfer the chicken tenders to a plate lined with paper towels to absorb any excess oil. This will help maintain their crispiness and prevent them from becoming soggy.
Step 5: Serving
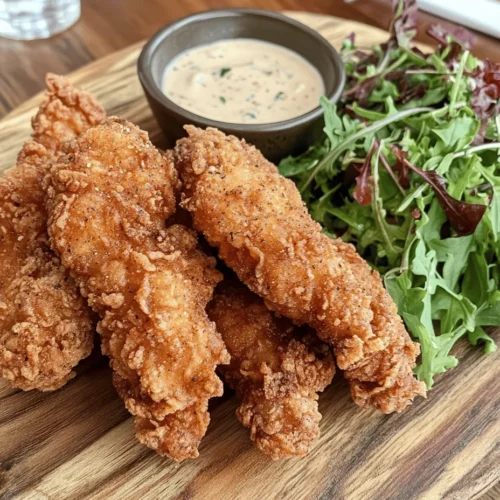
Once the chicken tenders are cooked to perfection, they are ready to be served! Consider pairing them with your favorite dipping sauces, such as honey mustard, ranch, or barbecue sauce. A side of coleslaw or a fresh garden salad would complement the tenders beautifully, making for a satisfying meal.
With these detailed preparation steps, you’re well on your way to enjoying homemade Crispy Cracker Barrel Chicken Tenders that are sure to impress your family and friends. The combination of tender chicken, flavorful spices, and a crispy coating will have everyone coming back for seconds.
Tips for Achieving the Perfect Flour Coating Without Clumps
Creating a crispy, golden-brown coating on your chicken tenders is an art that can be perfected with a few essential techniques. Here are some tips to ensure that your flour coating adheres well to the chicken without clumping:
1. Use the Right Flour: All-purpose flour is ideal for chicken tenders, but you can experiment with a blend of cornstarch or rice flour for extra crispiness. Cornstarch, in particular, helps to absorb moisture and can create a lighter texture.
2. Season Your Flour: Don’t just rely on seasoning the chicken; add salt, pepper, garlic powder, and paprika directly to the flour mixture. This ensures that every bite is flavorful and prevents clumps from forming in the flour.
3. Dry the Chicken: Before dredging your chicken tenders in flour, pat them dry with paper towels. Excess moisture can lead to clumping and a soggy coating.
4. Use a Dredging Station: Set up a three-step dredging station with seasoned flour, beaten eggs, and breadcrumbs (if using). Dip the chicken tenders in flour first to create a dry base, then the egg, and finally the breadcrumbs for extra crunch.
5. Shake Off Excess: After coating the chicken in flour, gently shake off any excess. This not only ensures an even coating but also prevents clumping, which can occur if too much flour sticks to the chicken.
Frying Techniques for Perfectly Crispy Tenders
Frying chicken tenders can seem daunting, but with the right techniques, you can achieve restaurant-quality results at home.
Overview of Frying Essentials
To fry chicken tenders, you’ll need a few essential tools:
– Deep Skillet or Dutch Oven: A heavy-bottomed skillet or Dutch oven helps maintain consistent oil temperature.
– Thermometer: A cooking thermometer is crucial for monitoring oil temperature accurately.
– Slotted Spoon or Tongs: These are necessary for turning the chicken and removing it from the oil.
Importance of Oil Temperature
Maintaining the correct oil temperature is key to achieving crispy chicken tenders. If the oil is too hot, the coating will burn before the chicken cooks through. If it’s too cold, the chicken will absorb excess oil and become greasy.
– Checking the Temperature: Heat the oil to 350-375°F (175-190°C). If you don’t have a thermometer, you can test the oil by dipping the end of a wooden spoon into the oil; if bubbles form around the spoon, it’s ready.
Method of Frying in Batches
Frying in batches is crucial to prevent overcrowding in the pan. Overcrowding lowers the oil temperature and can lead to soggy chicken tenders. Aim to fry 3-4 tenders at a time, allowing enough space for the oil to circulate.
Visual Cues for Knowing When the Chicken is Done
Visual cues are your best friend when frying chicken:
– Color: Look for a deep golden-brown color. This indicates that the coating is crispy and the chicken is likely cooked through.
– Texture: The coating should be firm and crispy. If it appears soft or oily, it may need additional time to fry.
The Significance of Color and Texture in Determining Doneness
While color is a good indicator, the best way to ensure your chicken tenders are fully cooked is to use a meat thermometer. The internal temperature should reach 165°F (75°C). If you don’t have a thermometer, cut into one of the thicker pieces; it should be white throughout with no pink remaining.
Serving Suggestions and Pairings
Once your Crispy Cracker Barrel Chicken Tenders are golden brown and cooked to perfection, it’s time to think about serving. Here are some ideas to elevate your meal:
Ideas for Serving the Chicken Tenders
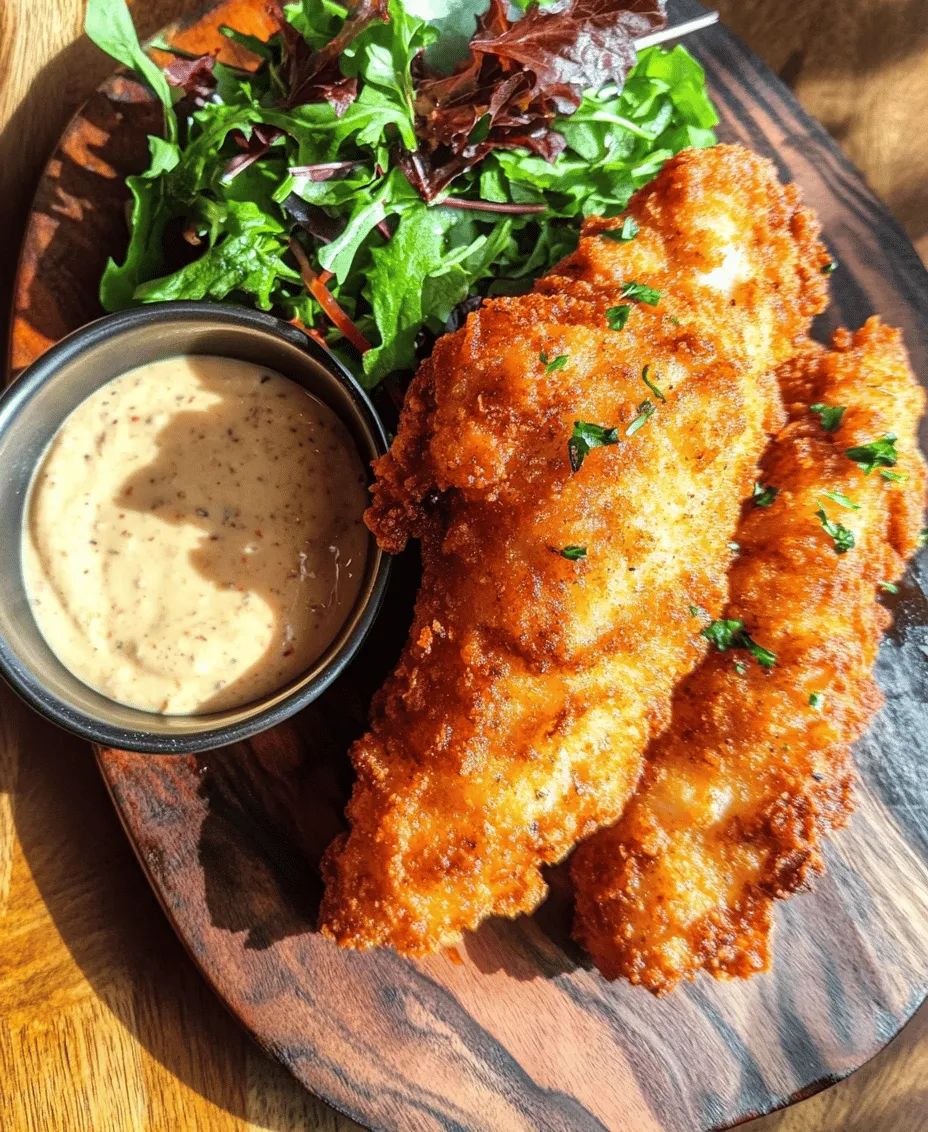
Serve the chicken tenders hot and crispy, either on a platter or in individual servings. Consider garnishing with fresh herbs, such as parsley or chives, for an added touch of color and flavor.
Popular Dipping Sauces
Dipping sauces are essential for enhancing the enjoyment of chicken tenders. Here are some popular options:
– Ranch Dressing: Creamy and tangy, ranch is a classic choice.
– Honey Mustard: A sweet and savory blend that complements the crispy chicken.
– Barbecue Sauce: Smoky and sweet, barbecue sauce pairs well with chicken.
– Buffalo Sauce: For those who enjoy a bit of heat, buffalo sauce adds a spicy kick.
Suggestions for Side Dishes
Pair your chicken tenders with delicious sides to create a well-rounded meal. Here are some great options:
– Coleslaw: A crunchy, refreshing side that balances the richness of the chicken.
– French Fries: Classic and satisfying, fries are a favorite accompaniment.
– Mixed Green Salad: A light salad with a vinaigrette can provide a fresh contrast to the crispy tenders.
– Macaroni and Cheese: For a hearty option, creamy mac and cheese is always a crowd-pleaser.
Presentation Tips
To create an appealing presentation:
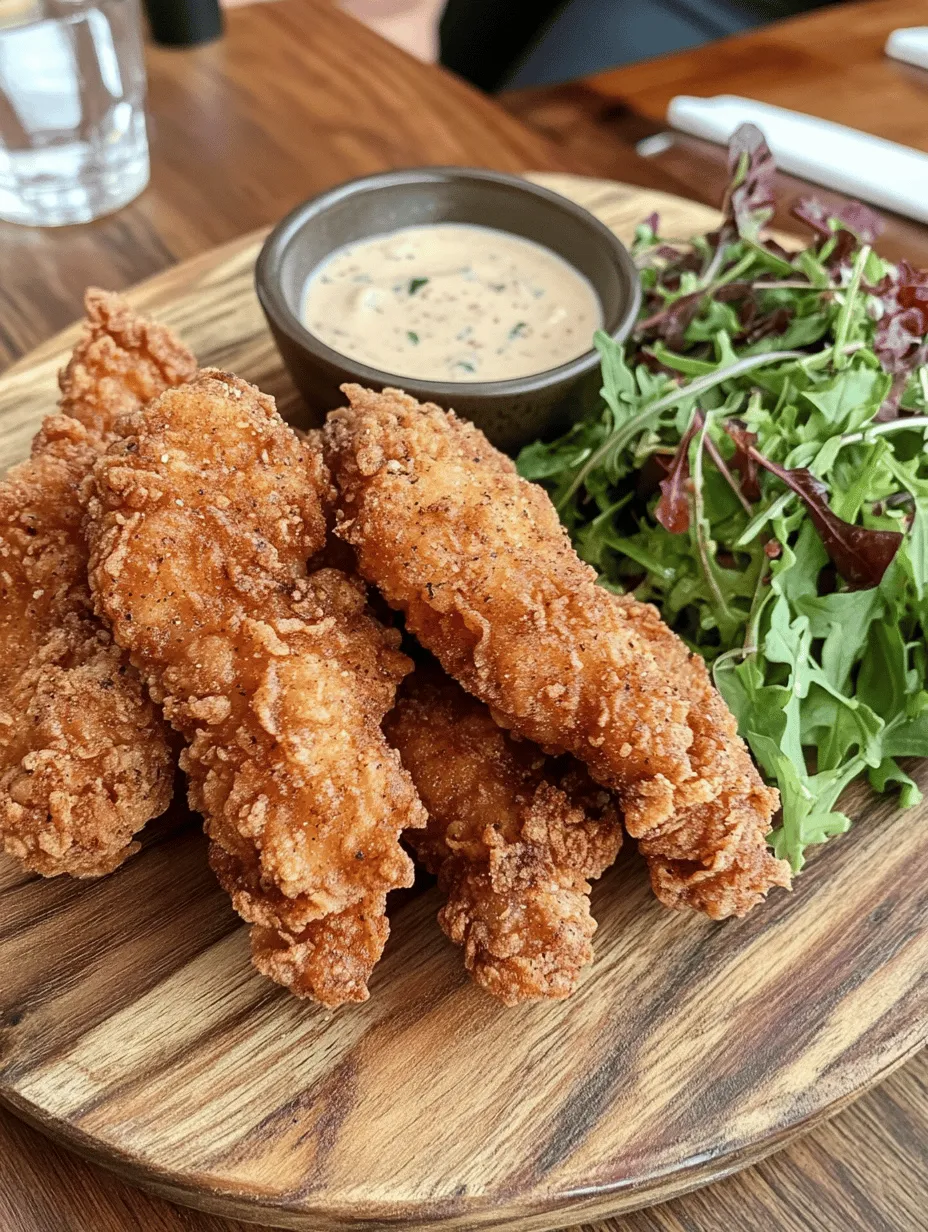
– Serve chicken tenders on a wooden board or a colorful platter.
– Arrange dipping sauces in small bowls or ramekins around the tenders.
– Add a sprinkle of fresh herbs or lemon wedges for a pop of color.
Nutritional Information
Understanding the nutritional content of your Crispy Cracker Barrel Chicken Tenders is important, especially if you’re mindful of your diet. Here’s a breakdown of the nutritional information per serving (approximately 3-4 tenders):
– Calories: 350-400
– Protein: 25-30 grams
– Fat: 15-20 grams
– Carbohydrates: 30 grams
– Fiber: 1-2 grams
Modifications for Healthier Options
If you’re looking to lighten up this dish without sacrificing flavor, consider these modifications:
– Baking Instead of Frying: Preheat your oven to 425°F (220°C) and place breaded tenders on a baking sheet lined with parchment paper. Bake for 20-25 minutes, flipping halfway through for even cooking.
– Using Whole Wheat Flour: Substitute all-purpose flour with whole wheat flour for added fiber and nutrients.
– Air Frying: For a healthier alternative, use an air fryer. Coat the chicken tenders lightly with oil and cook at 400°F (200°C) for 12-15 minutes, flipping halfway.
Conclusion
Making Crispy Cracker Barrel Chicken Tenders at home is a rewarding culinary experience. With a few simple techniques and the right ingredients, you can enjoy the satisfaction of a delicious, homemade meal that rivals any restaurant. Cooking is not just about the food; it’s an opportunity to bond with family and friends, share laughter, and create lasting memories. So, gather your loved ones, whip up these tenders, and revel in the joy of a shared meal filled with love and flavor. Enjoy every crispy bite!