Introduction
Indulgent desserts have an extraordinary way of transforming both special occasions and everyday moments into celebrations of flavor and texture. Whether crafted for birthday parties, holiday gatherings, or simply as a delightful treat after a long day, desserts hold a special place in our hearts and palates. Among the vast array of sweet confections, few combinations evoke the same level of anticipation and delight as chocolate and caramel. Their harmonious blend of rich, deep flavors and varying textures creates a dessert experience that is both luxurious and comforting.
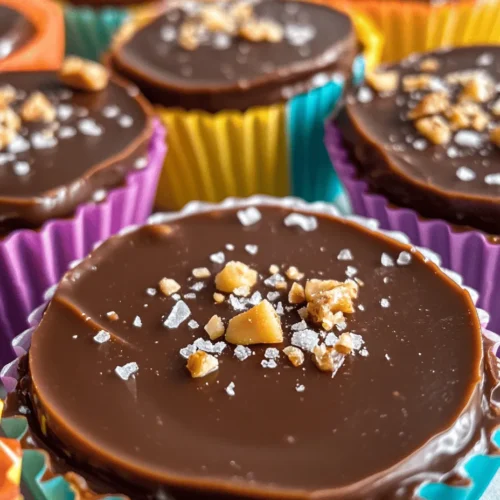
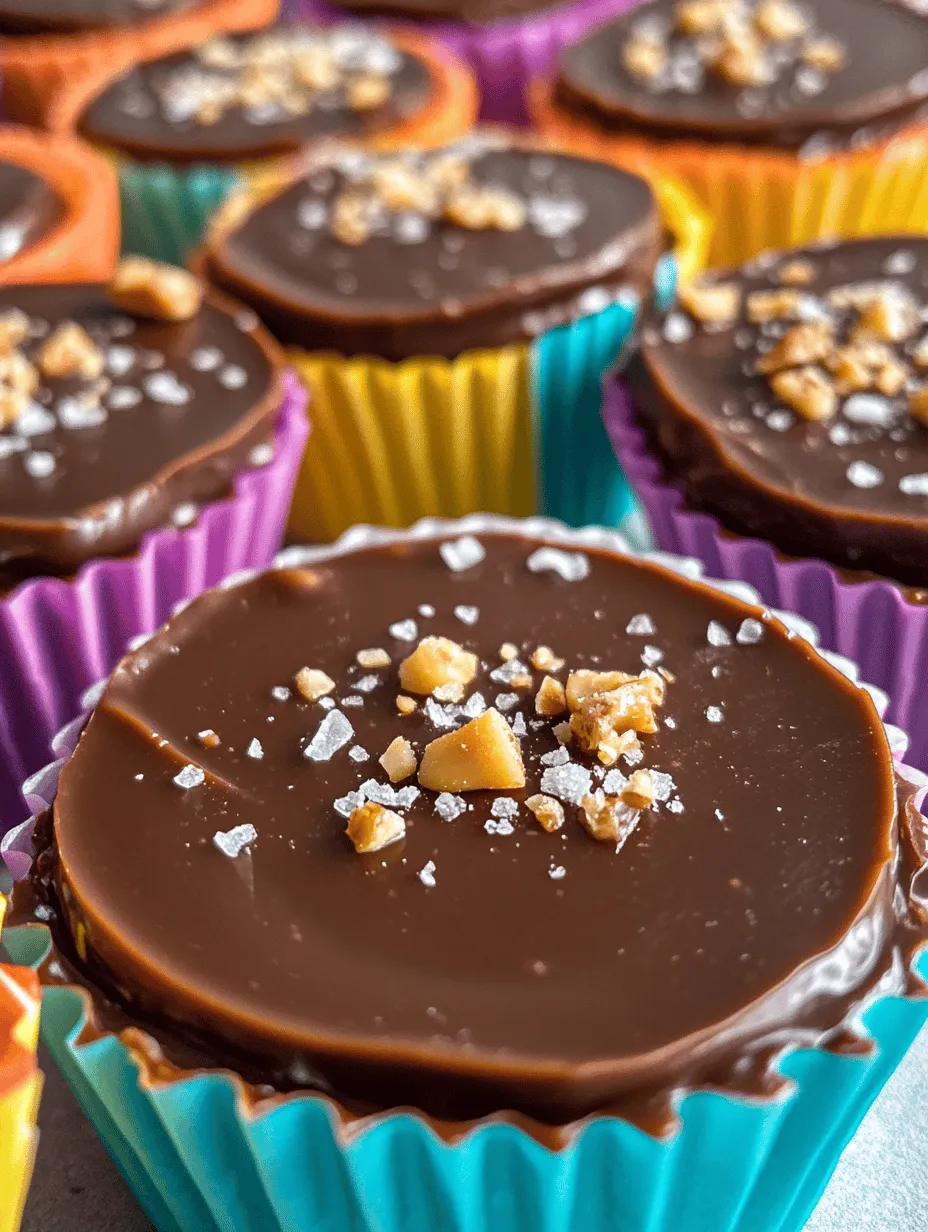
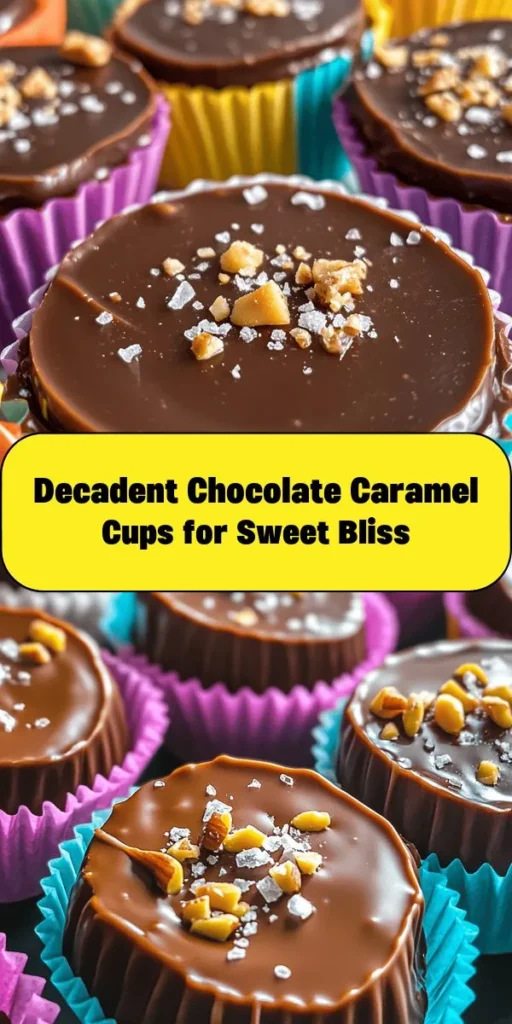
Enter the Decadent Chocolate Caramel Cups: a sublime fusion of silky chocolate and luscious caramel that promises to captivate your taste buds. These cups are not just desserts; they are an invitation to indulge in a moment of pure bliss, where the sweetness of the caramel melds seamlessly with the richness of the chocolate. Each bite delivers a satisfying crunch, followed by a creamy embrace that lingers on the palate. Perfect for gatherings or as a personal treat, these chocolate caramel cups exemplify the art of dessert-making, making them a must-try for chocolate lovers everywhere.
The Allure of Chocolate and Caramel
The history of chocolate and caramel dates back centuries, with both ingredients enjoying a revered status in the world of confections. Chocolate, derived from the cacao bean, has been celebrated since ancient times. The Aztecs and Mayans revered it for its invigorating properties and even used it in ceremonial drinks. Over the years, chocolate evolved into various forms—bars, truffles, and sauces—each more enticing than the last.
Caramel, on the other hand, has its roots in sugar cooking, with origins tracing back to the Middle Ages. It began as a simple mixture of sugar and water, gradually transforming to include cream and butter for a smoother, richer flavor. Today, caramel is used widely in candies, sauces, and desserts, celebrated for its sweet, buttery essence.
The chemistry between chocolate and caramel is nothing short of magical. Chocolate offers a deep, rich flavor profile, while caramel provides a sweet, buttery essence that complements chocolate’s intensity. When combined, they create a multi-layered taste experience that is both satisfying and indulgent. The contrast in textures—smooth chocolate and gooey caramel—adds to the delight, providing a sensory pleasure that is hard to resist.
Moreover, the emotional connection people have with chocolate and caramel treats is profound. They often evoke memories of childhood, celebrations, and comfort, making them a go-to choice for many. Be it a cozy evening at home or a festive gathering, these flavors bring warmth and a sense of nostalgia, making them timeless favorites.
Ingredients Breakdown
Creating the perfect Decadent Chocolate Caramel Cups begins with understanding the essential ingredients. Each component plays a crucial role in achieving the desired flavor and texture, making it important to choose quality items.
Semisweet Chocolate Chips
The foundation of these chocolate caramel cups lies in semisweet chocolate chips. The importance of using high-quality chocolate cannot be overstated. The flavor of the chocolate is the star of the show, and using premium chocolate will elevate your dessert significantly. Look for chocolate with a cocoa content of at least 60% for a rich, decadent flavor. Semisweet chocolate strikes the perfect balance between sweetness and cocoa intensity, ensuring that the chocolate flavor remains prominent without overwhelming the palate.
Caramel Sauce
Next, we have caramel sauce, which can be either store-bought or homemade. While store-bought options offer convenience, making your own caramel can be a rewarding experience that enhances the overall quality of your dessert. Homemade caramel allows you to control the ingredients and achieve a depth of flavor that is often lacking in commercial products. A quick guide to making homemade caramel involves melting sugar until it reaches a golden color, then carefully adding butter and cream to create a rich, smooth sauce.
Heavy Cream
Heavy cream is a crucial ingredient for achieving that smooth, velvety texture in the caramel. It not only adds richness but also helps balance the sweetness of the sugar. The cream emulsifies with the caramel, creating a cohesive sauce that holds its shape while still being pourable. When selecting heavy cream, opt for a product with at least 36% fat content for the best results.
Sea Salt
A sprinkle of sea salt can take your chocolate caramel cups to an exquisite level. The science behind this balance lies in the fact that salt enhances sweetness, creating a more complex flavor profile. It brings out the rich notes in chocolate and caramel, adding depth and contrast that makes each bite more enjoyable. A hint of sea salt not only elevates the taste but also adds a subtle crunch that complements the creamy filling.
Optional Crushed Nuts
For those looking to add an extra layer of texture and flavor contrast, consider incorporating crushed nuts. Nuts such as pecans, walnuts, or almonds provide a delightful crunch that pairs beautifully with the smooth chocolate and gooey caramel. Additionally, the nutty flavors can enhance the overall richness of the dessert, creating a more satisfying experience.
Step-by-Step Instructions
Melt the Chocolate
The first step in creating your Decadent Chocolate Caramel Cups is to melt the chocolate. This process may seem straightforward, but achieving a smooth consistency requires attention to detail. Start by placing your semisweet chocolate chips in a heatproof bowl. You can use a microwave or a double boiler to melt the chocolate, though the latter is often recommended for better control over the heat.
If using a microwave, heat the chocolate in 30-second intervals, stirring well after each interval. This method prevents the chocolate from burning and allows you to monitor its progress closely. When the chocolate is nearly melted but still has a few small lumps remaining, remove it from the microwave and stir until the residual heat melts the last bits. This technique ensures a perfectly smooth and glossy chocolate.
If you prefer the double boiler method, fill a saucepan with a few inches of water and bring it to a simmer. Place the heatproof bowl containing the chocolate on top, making sure the bottom of the bowl does not touch the water. Stir the chocolate gently as it melts, being careful not to let any steam or water come into contact with the chocolate, as this can cause it to seize.
Once the chocolate is melted and silky, it is ready to be poured into the mini cupcake liners.
Prepare the Liner
Using mini cupcake liners is essential for creating your chocolate caramel cups. These liners not only aid in presentation but also make serving and enjoying the dessert a breeze. Begin by placing the mini cupcake liners in a muffin tin or on a flat surface, ensuring they are stable and won’t collapse during the filling process.
The liners will help shape the chocolate cups and provide a barrier that keeps the dessert intact for easy handling. This is especially important when you’re ready to remove the cups for serving. Additionally, the visually appealing liners add a touch of elegance to your dessert, making them perfect for special occasions or gatherings.
With the chocolate melted and the liners prepared, you’re now ready to embark on the next steps of crafting these delightful Decadent Chocolate Caramel Cups. Stay tuned as we dive deeper into the delicious process of filling these cups with luscious caramel and finishing them off with a rich chocolate topping.
Creating the First Layer
To start crafting your Decadent Chocolate Caramel Cups, the first step is to create a sturdy chocolate shell. This is achieved by properly coating the liners with melted chocolate. Begin by tempering your chocolate, which involves melting it to a specific temperature (about 110°F to 120°F for dark chocolate) and then cooling it down to around 88°F to 90°F. This process ensures that the chocolate sets with a glossy finish and a firm snap.
Once the chocolate is tempered, use a pastry brush or a spoon to apply it evenly to the insides of your cupcake liners. Start by dipping the brush or spoon into the melted chocolate and gently spreading it along the liner’s sides and bottom. Aim for a uniform thickness—about 1/8 inch is ideal. Pay special attention to the edges, ensuring that they are well-coated, as this will help prevent any leakage once the caramel is added.
For an even coat, you may want to double dip. Allow the first layer to set slightly before applying a second layer of chocolate. This will help create a durable shell that can hold up against the gooey caramel filling.
Chilling the Chocolate
After the chocolate has been applied to the liners, it’s crucial to chill them for about 10-15 minutes in the refrigerator. Chilling allows the chocolate to harden properly, which is essential for achieving the right texture. The science behind this process lies in the cocoa butter crystals. When chocolate cools, the cocoa butter solidifies, forming a stable structure that gives the chocolate its characteristic snap and prevents it from melting too easily at room temperature.
Preparing the Caramel Mixture
While your chocolate shell is chilling, it’s time to prepare the caramel filling. Start by gathering your ingredients: granulated sugar, unsalted butter, heavy cream, and a pinch of salt. The key to a successful caramel is to use a heavy-bottomed saucepan to ensure even heat distribution.
1. Melting the Sugar: Place the granulated sugar in the saucepan over medium heat. Stir frequently until the sugar begins to melt. Be patient as it will take several minutes for the sugar to dissolve completely and transform into a rich amber hue.
2. Adding Butter: Once the sugar is melted and reaches a deep caramel color, carefully add the unsalted butter. The mixture will bubble vigorously, so be cautious. Stir until the butter is completely melted and combined.
3. Incorporating Cream: Remove the saucepan from the heat and slowly drizzle in the heavy cream while stirring continuously. This step is crucial, as it transforms the mixture into a creamy caramel sauce. Allow the caramel to simmer for an additional minute to thicken slightly before adding a pinch of salt to enhance the flavor.
4. Cooling the Caramel: Let the caramel cool for a few minutes before using it to fill your chocolate cups. This will help prevent the chocolate shell from melting when the hot caramel is added.
Filling the Cups with Caramel
With your caramel mixture ready, it’s time to fill the chocolate cups. Using a spoon or a piping bag, carefully add a generous amount of caramel to each chocolate shell. Fill each cup about three-quarters full, leaving some space at the top to seal with chocolate later. If you want to add an extra texture and flavor dimension, consider incorporating chopped nuts, such as pecans or hazelnuts, into the caramel before filling. This step not only enhances the flavor but also adds a delightful crunch.
Sealing with Chocolate
Once your cups are filled with caramel, it’s crucial to seal them properly with another layer of chocolate. Melt more tempered chocolate, and carefully spoon or pipe it over the filled cups. The goal here is to create a smooth and even top layer that covers the caramel entirely. Be sure to spread the chocolate to the edges, sealing the caramel in completely to prevent any leakage.
To achieve a polished finish, you can gently tap the tray on the counter to help settle the chocolate and eliminate any air bubbles. If desired, you can use a spatula to smooth the tops further.
Final Chill
After sealing the cups, return them to the refrigerator for another 15-20 minutes. This final chill is crucial for the structural integrity of the cups, ensuring that the chocolate is firm and the caramel is set. Once chilled, carefully remove the cups from the liners, revealing the beautiful layers of chocolate and caramel.
Serving Suggestions
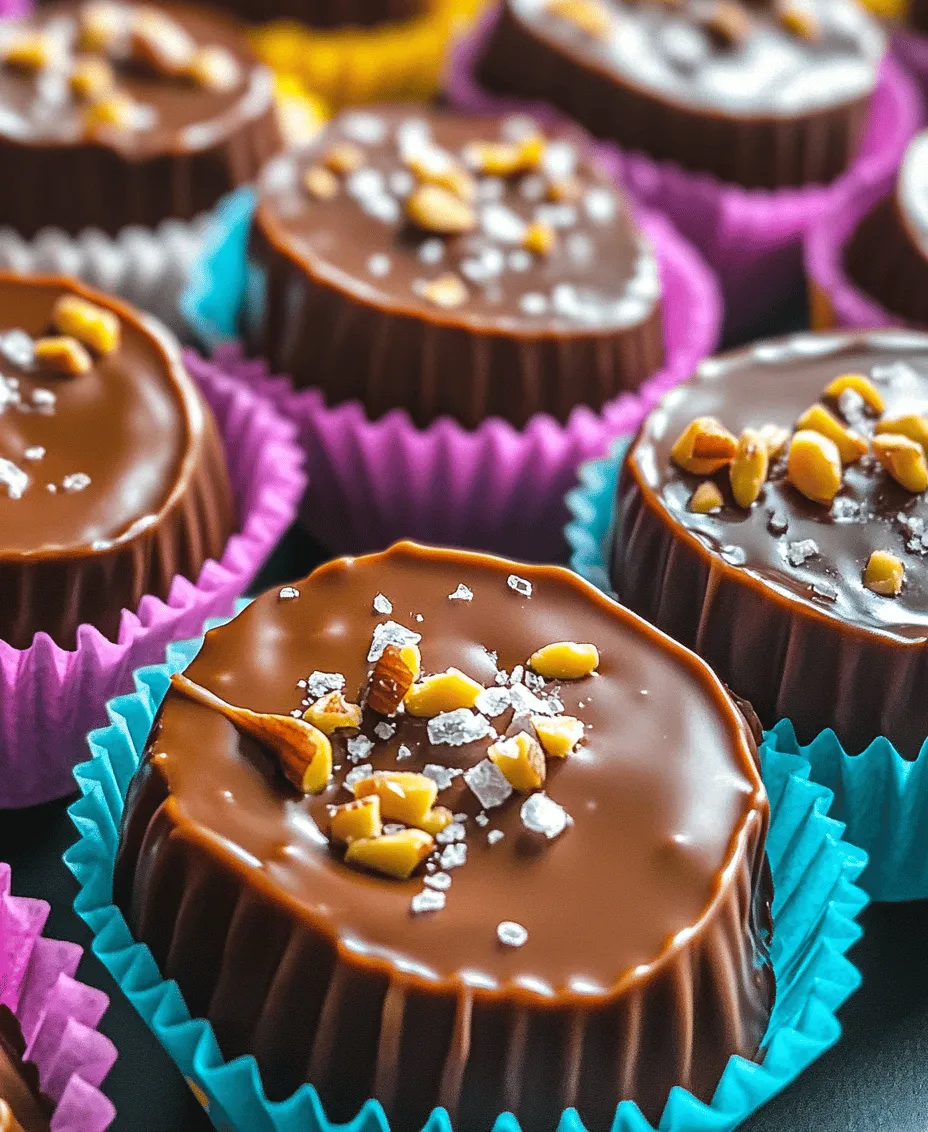
To present your Decadent Chocolate Caramel Cups for maximum impact, consider placing them in decorative cupcake liners or on a beautiful serving platter. You can garnish the tops with a sprinkle of sea salt or finely chopped nuts to add a touch of sophistication. For an even more indulgent experience, serve these cups alongside a scoop of vanilla ice cream or a drizzle of chocolate sauce.
These cups also make excellent gifts; consider packaging them in a decorative box or jar for a delightful homemade treat that friends and family will cherish.
Nutritional Considerations
While Decadent Chocolate Caramel Cups are undeniably indulgent, it’s essential to consider their nutritional content. Each cup is rich in calories, primarily due to the sugar and chocolate. A standard serving can contain around 200-250 calories, depending on the size and ingredients used.
When enjoying these treats, moderation is key. Savoring one or two cups can satisfy your sweet tooth without overindulging. If you’re looking to make a lighter version, consider using dark chocolate, which can have a lower sugar content, and substituting some of the heavy cream with a lighter alternative, like coconut cream or almond milk.
Creative Variations
The versatility of Decadent Chocolate Caramel Cups allows you to experiment with various flavors and ingredients:
– Chocolate Types: Try using different types of chocolate for the shells—dark, milk, or white chocolate—each bringing its unique flavor profile.
– Seasonal Twists: For a festive touch, add peppermint extract to the caramel for a holiday version or incorporate fruit purees like raspberry or mango for a summer treat.
– Dietary Adaptations: For a vegan version, substitute the butter and cream with coconut oil and coconut cream, and use dairy-free chocolate. For gluten-free options, ensure that all ingredients are certified gluten-free.
Conclusion
Making your own Decadent Chocolate Caramel Cups is not just about the end product; it’s also about the joyful process of creating something delicious from scratch. The combination of rich chocolate and gooey caramel offers a heavenly experience that can be shared with loved ones or enjoyed during special occasions.
Embrace the art of dessert-making by experimenting with the recipe, adjusting flavors, and trying out different variations. Whether you prefer classic or innovative twists, these chocolate caramel cups are sure to impress. So, gather your ingredients and start crafting these delightful treats today—your taste buds will thank you!