
Introduction
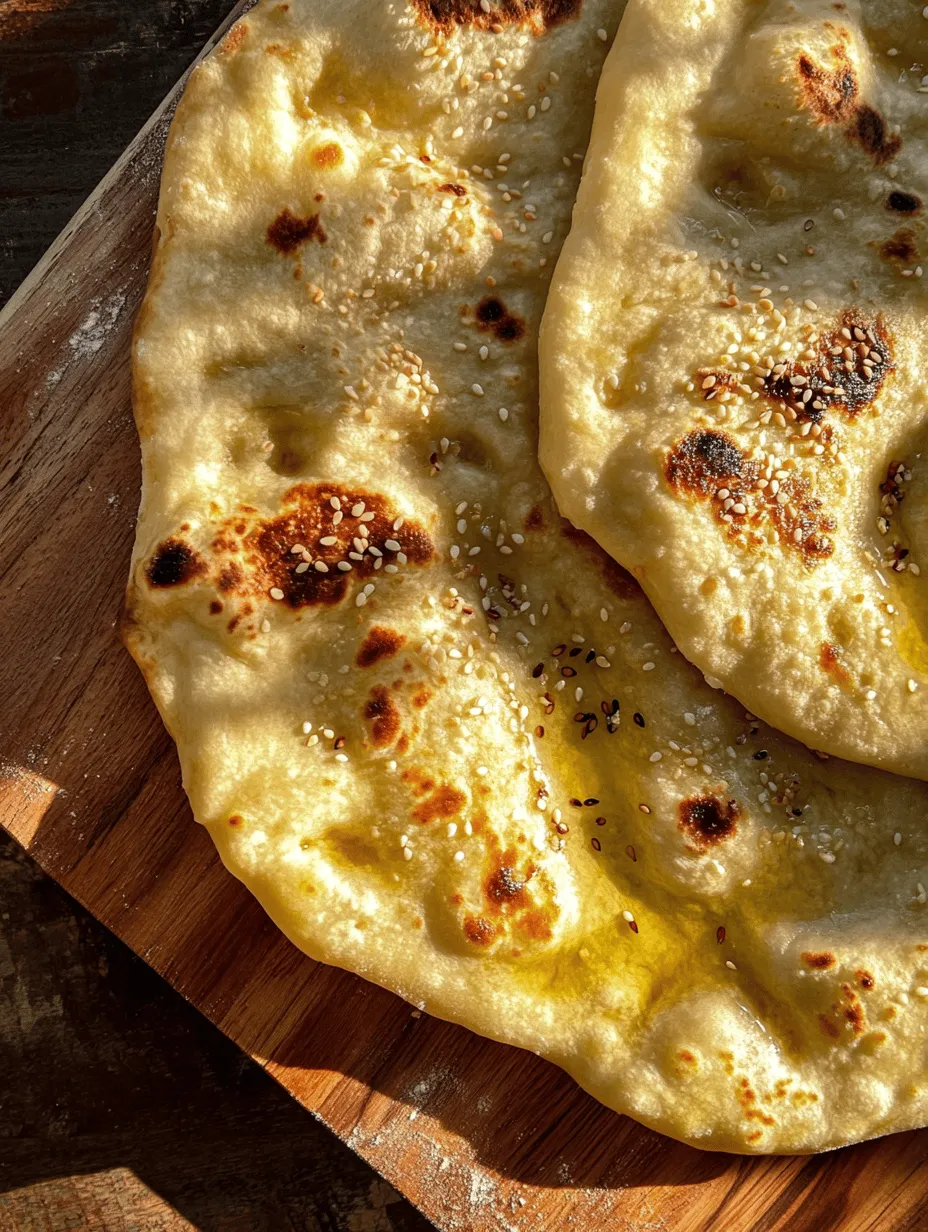
Flatbreads have long held a cherished place in the culinary traditions of cultures around the world, especially in Middle Eastern cuisine. These versatile breads are not only a staple of daily meals but also serve as a symbol of hospitality and community. Whether used to scoop up savory stews, wrap around grilled meats, or simply enjoyed with a drizzle of olive oil, flatbreads have the unique ability to bring people together at the table. Today, we invite you to explore a delightful recipe known as “Golden Pillows of the Desert.”
This dish encapsulates the essence of flatbreads, combining simplicity with infinite versatility. Golden Pillows are easy to prepare and can complement a variety of dishes or stand alone as a satisfying snack. Made primarily with whole wheat flour, they offer a healthier alternative to traditional white bread, packed with nutrients that benefit your overall well-being. The homemade aspect of this recipe reflects the care and love that goes into making food from scratch, making it a rewarding experience for anyone in the kitchen.
The Cultural Context of Flatbreads
The historical significance of flatbreads in Middle Eastern and Mediterranean diets cannot be overstated. These breads can be traced back thousands of years, with archaeological evidence suggesting their existence as far back as 14,000 years ago. In ancient times, flatbreads were often made using a simple mixture of water and grain, cooked over hot stones or in clay ovens. This basic preparation paved the way for countless regional variations, each reflecting the local ingredients and culinary customs.
In many cultures, flatbreads are an integral part of communal eating. They are often served as a shared dish, allowing diners to come together and enjoy a meal that fosters connection and companionship. The act of tearing off a piece of flatbread and using it to scoop up food is not just a practical method of eating; it signifies a deeper bond among diners. The transition from traditional methods of making flatbreads to modern adaptations has only enhanced their role in everyday meals, making them accessible to home cooks around the globe.
Today, flatbreads can be found in various forms, from thin and crispy crackers to thick and fluffy naan. With the rise of health-conscious eating, many people are turning to whole grain options, which offer added fiber and nutrients. Golden Pillows of the Desert embraces this trend, inviting home cooks to create a wholesome flatbread that pays homage to its rich history while catering to contemporary tastes.
Ingredients Breakdown
To make Golden Pillows of the Desert, you’ll need a handful of simple yet essential ingredients. Each component plays a specific role in achieving the perfect texture and flavor:
1. All-Purpose Flour: This versatile flour contributes to the structure and texture of the bread. While it provides a light and airy quality, it works in harmony with whole wheat flour to create a balanced flatbread.
2. Whole Wheat Flour: The star of this recipe, whole wheat flour, is packed with nutrients, making it a healthier choice than refined flours. It adds a nutty flavor and a denser texture, elevating the overall quality of the bread.
3. Sea Salt: Essential for enhancing the flavors of the ingredients, sea salt also plays a critical role in the baking process. Proper seasoning is vital for ensuring that each bite of bread is flavorful.
4. Sugar: A small amount of sugar is included not just for sweetness but also for its role in fermentation. It feeds the yeast, helping the dough rise and develop a lovely golden color during baking.
5. Instant Yeast: This type of yeast is favored for its convenience and reliability. Instant yeast can be mixed directly with dry ingredients, making the preparation process smoother. It helps the dough rise quickly, yielding soft and pillowy flatbreads.
6. Olive Oil: Known for its health benefits, olive oil adds moisture and richness to the dough. Its distinct flavor enhances the overall taste of the flatbreads, making them even more enjoyable.
7. Warm Water: The temperature of the water is crucial for activating the yeast. Warm water (not too hot) encourages the yeast to bloom, ensuring a successful rise in the dough.
8. Optional Sesame Seeds: For those who appreciate added texture and flavor, sesame seeds can be sprinkled on top of the flatbreads before baking. They not only provide a delightful crunch but also contribute healthy fats and nutrients.
Step-by-Step Instructions for Golden Pillows of the Desert
Achieving the perfect Golden Pillows of the Desert requires attention to detail and a few simple steps. Let’s walk through the initial phases of preparing this delicious flatbread.
Mixing Dry Ingredients
Begin by gathering all your dry ingredients: all-purpose flour, whole wheat flour, sea salt, sugar, and instant yeast. In a large mixing bowl, combine these dry ingredients thoroughly. It’s essential to ensure that the yeast is evenly distributed throughout the flour mixture; this will help with a consistent rise. Use a whisk or a fork to mix the ingredients well, breaking up any clumps of flour and ensuring a uniform texture. This step is crucial, as it sets the foundation for the consistency of the dough.
Combining Wet Ingredients
Next, it’s time to combine the wet ingredients. In a separate bowl, measure out the warm water and add in the olive oil. The temperature of the water should be warm to the touch but not hot, as excessively hot water can kill the yeast, preventing the dough from rising.
If you have a kitchen thermometer, aim for a temperature between 100°F and 110°F (37°C to 43°C). Gently stir the olive oil into the water until combined. Once mixed, create a well in the center of your dry ingredients and pour the warm water and olive oil mixture into it.
Now, you’re ready to mix! Use a wooden spoon or your hands to combine the ingredients, bringing everything together until a shaggy dough forms. This dough will be slightly sticky, but don’t worry; that’s expected. Once combined, the dough will need to be kneaded to develop the gluten, which gives it the desired elasticity and structure.
As we move forward with the recipe, keep in mind that patience is key. The process of making Golden Pillows of the Desert is as much about enjoying the journey as it is about the final product. Stay tuned for the next steps, where we will delve into kneading, resting, and ultimately baking these delightful flatbreads. With each step, you’ll be one step closer to enjoying a warm, homemade bread that embodies the spirit of communal dining and culinary traditions.
Forming the Dough: Techniques for Ensuring Dough Consistency
Creating the perfect dough for your Golden Pillows of the Desert begins with selecting the right ingredients and ensuring the correct consistency. Start by measuring your flour accurately using the spoon-and-level method. This technique involves spooning flour into your measuring cup and leveling it off with a knife, ensuring you don’t pack it down, which can lead to a denser dough.
Once you’ve combined your dry ingredients, slowly add the water. The amount of water can vary based on the humidity in your kitchen and the type of flour used. For optimal results, start with a lower amount of water and gradually add more until the dough comes together. It should be slightly tacky but not overly sticky. If your dough is too wet, add a little more flour, a tablespoon at a time, until you achieve the right consistency.
Kneading the Dough: The Science Behind Gluten Development
Kneading is a crucial step in bread-making that develops gluten, the protein responsible for the dough’s elasticity and structure. When you knead your dough, you are essentially stretching and folding it, which allows the gluten strands to form and align. This process not only contributes to the texture of your flatbreads but also helps trap air bubbles during fermentation, resulting in a lighter, fluffier product.
To knead effectively, turn your dough out onto a lightly floured surface. Use the heel of your hand to push the dough away from you while folding it back over itself. Repeat this motion for about 8-10 minutes. You’ll know the dough is ready when it becomes smooth and elastic. A good test is the windowpane test: take a small piece of dough and stretch it between your fingers. If it forms a thin, translucent membrane without tearing, you’ve successfully developed the gluten.
Letting it Rise: The Process of Fermentation
After kneading, it’s time to let your dough rise. Fermentation is where the magic happens, as yeast consumes the sugars in the flour and produces carbon dioxide and alcohol. This process not only helps the dough to rise but also enriches the flavor and texture of your flatbreads.
Place your kneaded dough in a lightly oiled bowl and cover it with a damp cloth or plastic wrap. Allow it to rise in a warm, draft-free area until it doubles in size—usually about 1 to 2 hours. The longer you let it rise, the more flavor it will develop. For a more pronounced taste, consider allowing your dough to undergo a slow rise in the refrigerator overnight.
Preparing for Baking: Techniques in Shaping and Resting Dough
Once your dough has risen, it’s time to shape it into flatbreads. Start by gently deflating the dough to remove excess air. Divide it into equal pieces, shaping each into a ball. This resting phase, typically around 20-30 minutes, allows the gluten to relax, making it easier to roll out later.
Hydration is vital during this stage. If you find your dough is very dry, you can lightly moisten your hands while handling it. This will help maintain moisture in the dough, crucial for achieving that soft, pillowy texture.
Rolling Out: Tips for Achieving the Perfect Thickness
To achieve the desired thickness for your Golden Pillows, use a rolling pin on a lightly floured surface. Aim for about 1/4 inch thickness. For an authentic texture, try to create uneven edges, which will help the flatbreads cook unevenly, leading to those delicious, crispy spots.
If you want to add a touch of flavor and texture, sprinkle sesame seeds onto the surface of the dough before rolling it out. This not only enhances the visual appeal but also adds a nutty taste to the final product.
Cooking the Flatbread: Ideal Cooking Temperatures and Times
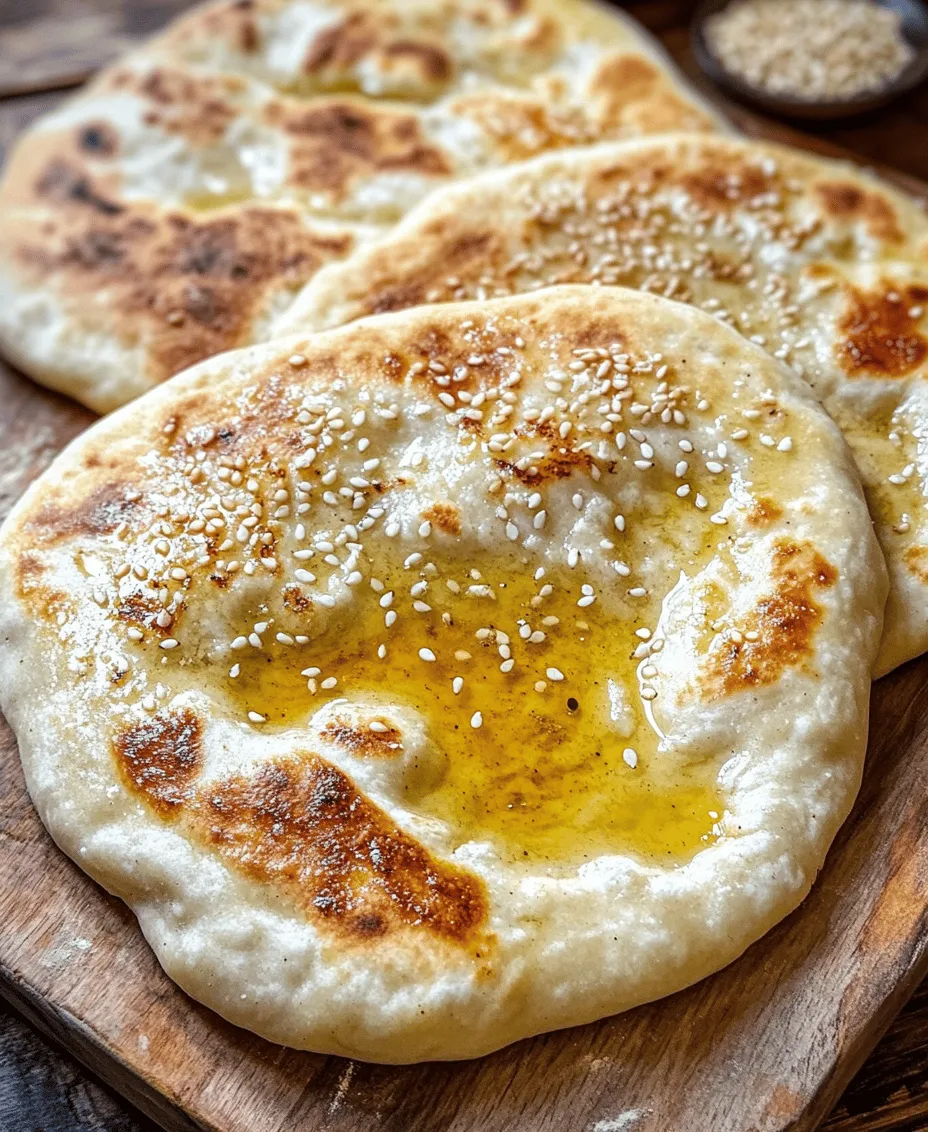
Cooking your flatbreads to perfection requires high heat. Ideally, use a cast-iron skillet or a tandoor oven if available. Preheat your skillet over medium-high heat until hot. For skillet cooking, place the rolled-out flatbread onto the dry, hot skillet. Cook for about 1-2 minutes per side, or until you see golden spots forming and the bread puffs up.
The puffing indicates that steam is building up inside the bread, creating a delightful texture. If you’re using an oven, preheat it to 500°F (260°C) and place the flatbreads on a baking sheet lined with parchment paper. Bake for 5-7 minutes or until they are golden and puffed.
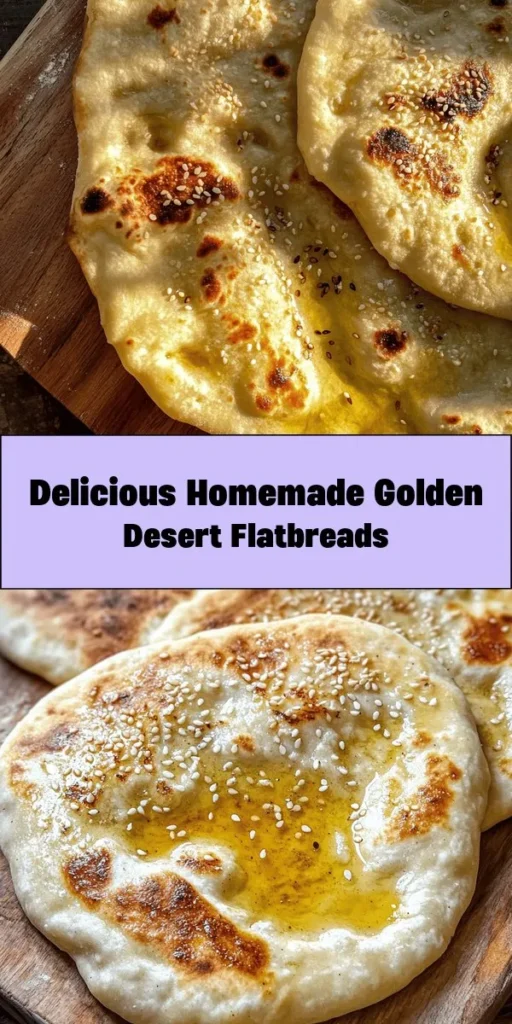
Final Touches: Importance of Brushing with Olive Oil
Once cooked, immediately brush your hot flatbreads with olive oil. This step adds flavor and moisture, keeping them soft and pliable. You can also sprinkle some salt on top for added flavor. To enhance the taste further, consider using garlic-infused olive oil or mixing in fresh herbs.
Serving Suggestions: Ideas for Pairing Flatbreads
Golden Pillows of the Desert are incredibly versatile and can be served in various ways. Pair them with dips like hummus, tzatziki, or baba ganoush for a delightful appetizer. You can also use them as a wrap for grilled meats, roasted vegetables, or fresh salads. For a more substantial meal, fill them with spiced lentils, chickpeas, or even a dollop of yogurt and fresh herbs for a satisfying lunch or dinner.
Nutritional Benefits of Homemade Flatbreads
One of the significant advantages of making your flatbreads at home is the ability to control the ingredients used. By opting for whole grains or alternative flours, you can boost the nutritional profile of your flatbreads. Whole grains are rich in fiber, vitamins, and minerals, contributing to overall health and well-being.
Moreover, homemade flatbreads allow for portion control. You can customize the size and thickness according to your dietary needs, making them suitable for various dietary preferences, including gluten-free options by using alternative flours like almond or coconut flour.
Variations and Customizations
Homemade flatbreads offer endless possibilities for customization. Consider adding herbs like rosemary, thyme, or basil directly into the dough for an aromatic twist. You can also experiment with spices such as cumin or paprika for added flavor.
For a hearty variation, try stuffing your flatbreads with fillings like spiced ground meat, sautéed vegetables, or cheese before rolling them out. This transforms them into a complete meal, perfect for family gatherings or casual dinners.
If you’re looking to switch up the cooking method, consider baking your flatbreads in the oven. This method can yield a slightly different texture, allowing for a crispier exterior while maintaining a soft interior.
The Joy of Making Bread at Home
There’s something uniquely rewarding about making bread at home. For many, the process can be meditative—a chance to disconnect from the hustle and bustle of daily life and engage in something creative and fulfilling. The simple act of mixing, kneading, and shaping dough can bring a sense of calm and purpose.
Moreover, sharing homemade bread with family and friends fosters connection and community. Whether it’s a casual gathering or a special occasion, serving warm, fresh flatbreads elevates any meal and creates lasting memories.
Conclusion
In summary, the Golden Pillows of the Desert embody not just a culinary delight but also a journey through the rich cultural tapestry of bread-making. From the initial mixing of ingredients to the final brushing of olive oil, each step contributes to the creation of a dish that is both simple and profound.
We invite you to embrace the art of making your own flatbreads. Explore the variations and customs that make this dish unique to you. By doing so, not only will you enjoy the fruits of your labor, but you’ll also connect with a tradition that spans generations. Let these golden pillows enhance your meals and bring a touch of authentic warmth into your kitchen, serving as a reminder of the beauty found in simplicity and the joy of sharing food with loved ones.
