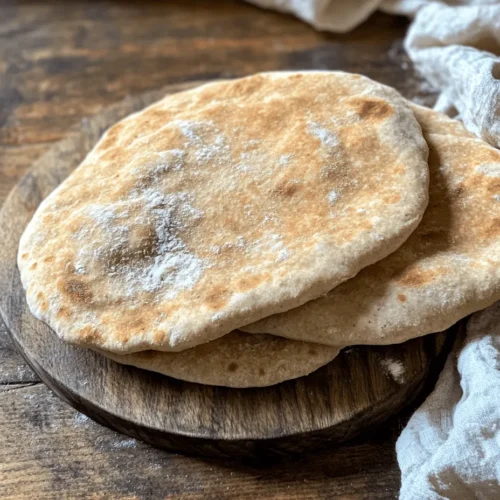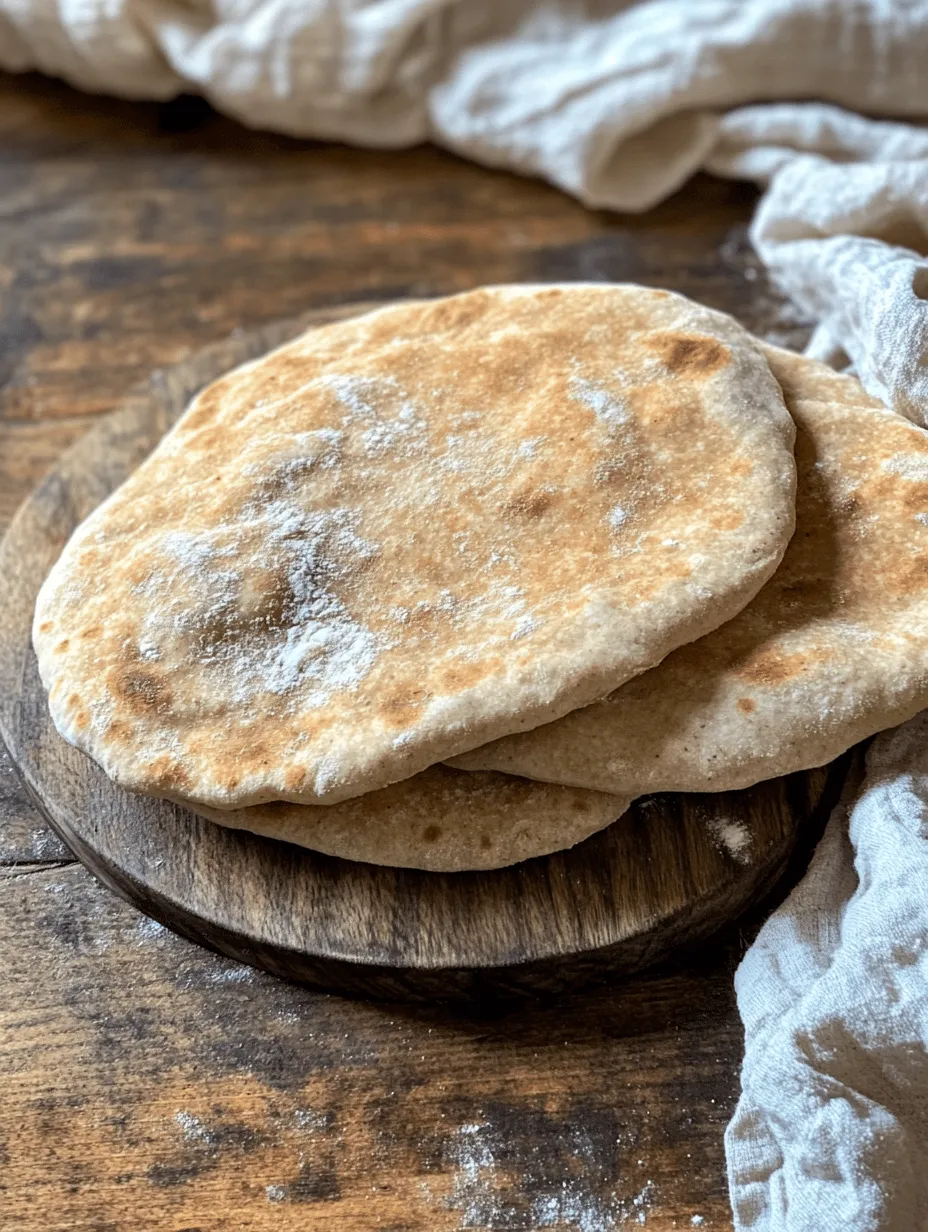
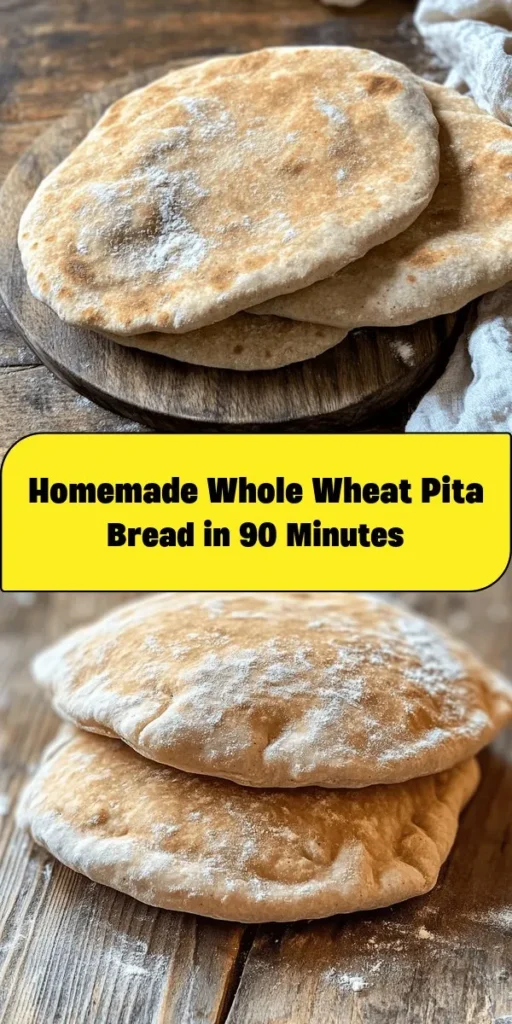
In the age of convenience, where store-bought bread reigns supreme, making your own whole wheat pita bread at home is a delightful and rewarding experience. Whole wheat pita bread not only adds a nutritious touch to your meals but also allows you to savor the fresh aroma and texture of baked bread that you just can’t find in supermarkets. This recipe will guide you through the art of crafting your own whole wheat pita bread, ensuring that you are equipped with the knowledge and techniques necessary to achieve bread that is both delicious and wholesome.
Understanding Whole Wheat Flour and Its Benefits
Exploring Whole Wheat Flour
Whole wheat flour is a powerhouse of nutrition, made from the entire grain kernel, including the bran, germ, and endosperm. This process retains the essential nutrients that are often stripped away in the production of white flour, making whole wheat flour a more nutritious option. Packed with vitamins, minerals, and fiber, it offers significant health benefits compared to its more refined counterpart.
When you incorporate whole wheat flour into your baking, you’re not just opting for a healthier option; you’re also enhancing the flavor profile of your bread. Whole wheat flour has a nuttier, richer taste that beautifully complements the chewy texture of pita bread, adding depth and character.
Nutritional Advantages of Whole Wheat Flour
The nutritional benefits of whole wheat flour are abundant. It contains higher levels of dietary fiber, protein, and essential nutrients like B vitamins, iron, and magnesium. Fiber, in particular, plays a crucial role in digestive health by promoting regularity and supporting a healthy gut microbiome. In addition, the protein content in whole wheat flour aids in muscle repair and growth, making it a fitting choice for those looking to maintain a balanced diet.
Comparison with All-Purpose Flour
While all-purpose flour has its merits, particularly in terms of versatility, it lacks the nutritional punch of whole wheat flour. All-purpose flour is typically stripped of its bran and germ during processing, resulting in a product that is lower in fiber and essential nutrients. For anyone looking to enhance their diet, especially in terms of whole grain intake, switching from all-purpose to whole wheat flour in recipes can make a significant difference.
The texture of whole wheat flour in baking can be denser than all-purpose flour. However, this can be balanced by combining the two flours, allowing you to enjoy the benefits of whole wheat while still achieving a light and fluffy pita bread.
Impact on Flavor and Texture
The use of whole wheat flour not only enhances the health benefits of your pita bread but also contributes to a more complex flavor profile. The nuttiness of the whole grain adds richness that complements various fillings, from savory dips to fresh vegetables. When baked, whole wheat pita bread develops a slightly chewy texture that holds up beautifully, making it an excellent option for wraps or as a side for soups and salads.
Health Benefits of Whole Wheat Pita Bread
High Fiber Content and Its Effects on Digestion
One of the standout benefits of whole wheat pita bread is its high fiber content. A diet rich in fiber is essential for maintaining healthy digestion, as it aids in regular bowel movements and helps prevent constipation. Moreover, fiber is known to promote a feeling of fullness, which can assist in weight management by reducing overall calorie intake.
The Role of Whole Grains in a Balanced Diet
Incorporating whole grains into your diet is crucial for overall health. Whole grains, such as whole wheat, are linked to a reduced risk of chronic diseases, including heart disease, diabetes, and certain types of cancer. They are also known to help regulate blood sugar levels, making them a smart choice for those managing diabetes or looking to maintain steady energy levels throughout the day.
Benefits of Homemade Bread Versus Store-Bought
Choosing homemade whole wheat pita bread over store-bought options offers several advantages. When you make bread at home, you have complete control over the ingredients, allowing you to avoid unnecessary preservatives, additives, and excessive sugar. Additionally, the act of baking can be therapeutic and fulfilling, offering a sense of accomplishment that comes from creating something with your own hands.
Furthermore, homemade pita bread can be tailored to your taste preferences and dietary needs, giving you the freedom to experiment with flavors and ingredients that suit your palate.
Ingredients Breakdown for Whole Wheat Pita Bread
To create the perfect whole wheat pita bread, it’s essential to understand the role of each ingredient involved in the recipe. Below is a breakdown of the key components that will come together to create this delicious bread:
Essential Ingredients
1. Whole Wheat Flour: This is the star of the show, providing the bread with its distinctive flavor and nutritional profile. Choose high-quality whole wheat flour for the best results.
2. All-Purpose Flour: Adding a small amount of all-purpose flour can help balance the texture, giving your pita a lighter, airier feel while still retaining the health benefits of whole wheat.
3. Salt: A crucial ingredient that enhances the overall flavor of the bread. It also helps to strengthen the dough structure.
4. Sugar: While optional, a small amount of sugar aids in the fermentation process by feeding the yeast, resulting in a better rise and texture.
5. Instant Yeast: This is the magic ingredient that causes the dough to rise. Instant yeast is convenient as it does not require proofing and can be mixed directly with the dry ingredients.
6. Olive Oil: Adding richness and moisture, olive oil not only improves the texture of the dough but also contributes to the flavor profile.
7. Warm Water: Essential for activating the yeast, the temperature of the water should be warm but not too hot, as excessive heat can kill the yeast.
Understanding the Role of Each Ingredient
Each ingredient in the whole wheat pita bread recipe serves a specific purpose that contributes to the final product. Whole wheat flour provides nutrition and flavor, while all-purpose flour helps achieve a desirable texture. Salt enhances the taste, and sugar plays a role in fermentation, ensuring the dough rises properly.
Instant yeast is the key to fluffy pitas, while olive oil adds moisture and richness. Finally, warm water activates the yeast, setting the stage for dough development. Using high-quality ingredients will yield the best results, so it’s worth investing in good flour and fresh yeast.
Step-by-Step Instructions for Crafting Whole Wheat Pita Bread
Now that you understand the benefits of whole wheat pita bread and the ingredients involved, let’s dive into the step-by-step instructions for making your own at home. This process involves a few key steps that will lead you to delicious, fluffy pitas.
Combining Dry Ingredients
The first step is to combine the dry ingredients. In a large mixing bowl, whisk together the whole wheat flour, all-purpose flour, salt, and sugar. Proper mixing is essential to ensure that all components are evenly distributed. This will help the yeast activate uniformly and contribute to a consistent texture throughout the bread.
– Tip for Achieving the Right Consistency: When combining the flours, use a whisk to aerate the mixture. This will help to eliminate any clumps and provide a light, fluffy foundation for your dough.
Mixing Wet Ingredients
Next, it’s time to mix the wet ingredients. In a separate bowl, combine warm water and olive oil. The water should be warm to the touch (around 100°F to 110°F) but not hot. If the water is too hot, it can kill the yeast, resulting in a dense loaf.
– Importance of Oil in the Dough: The addition of olive oil not only enhances the flavor but also contributes to the dough’s extensibility, allowing it to stretch and rise without tearing. This is particularly important for pita bread, which needs to puff up during baking.
Once the wet ingredients are combined, gradually pour them into the dry ingredient mixture. Stir with a wooden spoon or spatula until the dough begins to come together. The next steps will involve kneading the dough, allowing it to rise, and finally, shaping it into pitas ready for baking.
Stay tuned for the subsequent sections, where we will cover the kneading process, rising times, and the final baking steps to ensure that your homemade whole wheat pita bread is a success.
Kneading Techniques
Kneading is a crucial step in the bread-making process, as it develops gluten, the protein that gives bread its structure and chewiness. The science behind kneading involves the physical manipulation of flour and water, which allows the proteins to align and form a stretchy network. This gluten network traps air bubbles during the fermentation process, leading to a light and airy pita bread.
How to Know When the Dough is Ready
To determine whether your dough has been kneaded sufficiently, perform the “windowpane test.” Take a small piece of dough and stretch it gently. If it forms a thin, translucent membrane without tearing, your dough is ready. This indicates that the gluten has developed properly. Alternatively, the dough should feel elastic and spring back when poked. Aim for a smooth, slightly tacky surface; if it’s too sticky, additional flour can be incorporated, but be careful not to overdo it.
First Rise: The Importance of Fermentation
The first rise, or bulk fermentation, is essential for developing flavor and texture in your whole wheat pita bread. During this time, yeast ferments the sugars in the dough, producing carbon dioxide and organic acids that enhance the taste.
Optimal Conditions for Dough Rising
For the best results, place your dough in a warm, draft-free environment. An ideal temperature range is between 75°F to 85°F (24°C to 29°C). If your kitchen is cool, you can create a warm spot by turning on your oven for a minute, then turning it off and placing the covered dough inside. Alternatively, you can set the dough near a sunny window or wrap it in a warm towel.
Signs of a Properly Risen Dough
After about 1 to 2 hours, the dough should have approximately doubled in size. To check if it has risen enough, gently poke the dough with a floured finger; if the indentation remains and does not spring back, it is ready for the next step. If it springs back immediately, give it more time to rise.
Prepping for Baking: Preheat and Prepare
Before you shape your pitas, it’s crucial to prepare your baking environment. Preheat your oven to a high temperature, typically around 475°F (245°C). This ensures that your pitas will puff up beautifully when exposed to heat.
Why Oven Temperature Matters
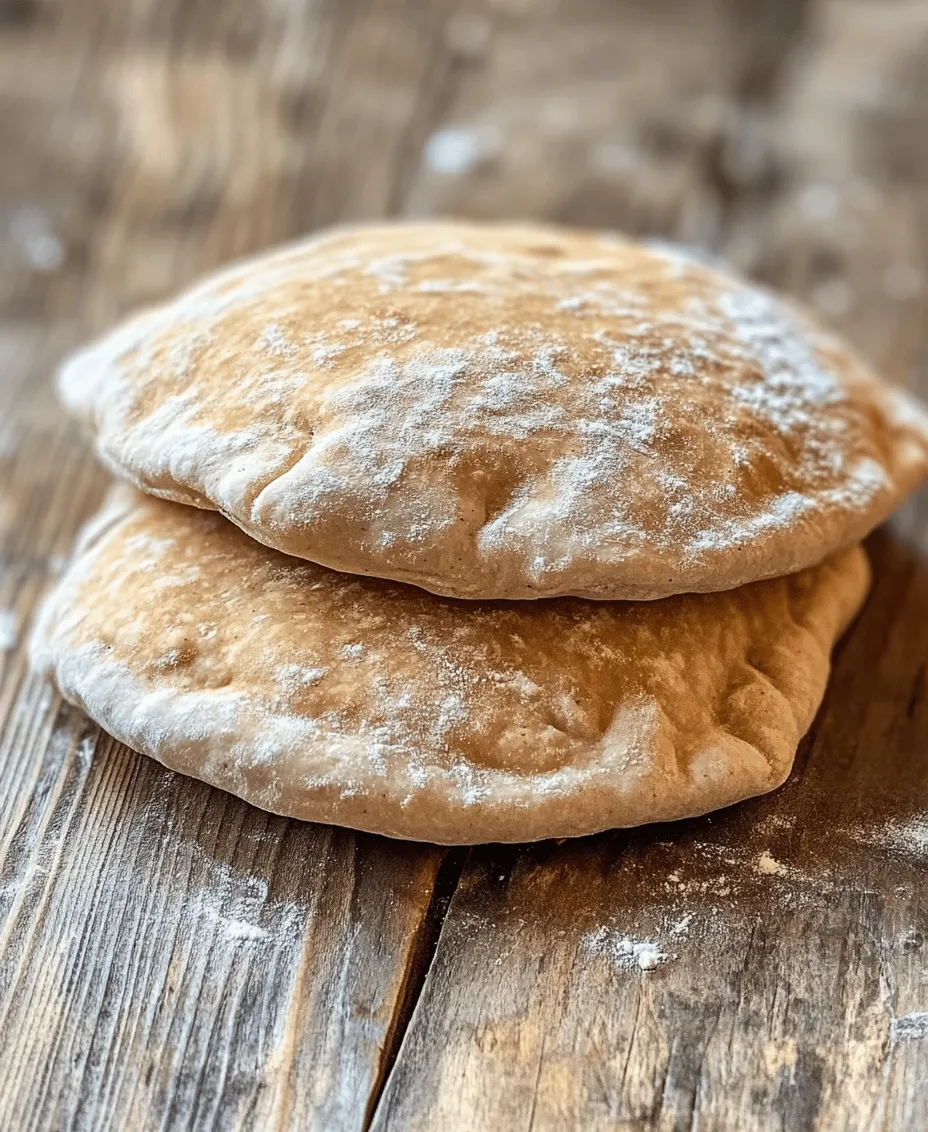
A hot oven is key to achieving that signature pita puff. When the dough hits the hot surface, the moisture in the dough rapidly turns to steam, creating a pocket inside the bread. If the oven is not hot enough, the pitas may not puff at all, resulting in dense bread instead of the light and airy texture we desire.
Using a Baking Stone Versus a Baking Sheet
If you have a baking stone, place it in the oven while it preheats. A baking stone retains heat better than a baking sheet, creating a steamy environment that’s perfect for puffing the pitas. If you don’t have a baking stone, a preheated baking sheet will also work, though the results may vary slightly.
Shaping the Pitas
Once your dough has risen beautifully, it’s time to shape the pitas. Gently punch down the dough to release excess air, then turn it out onto a lightly floured surface.
Techniques for Dividing and Shaping Dough
Divide the dough into equal portions, typically 8 to 10 pieces, depending on your desired pita size. Roll each piece into a ball, then flatten it gently with your palms. Use a rolling pin to roll each ball into a round disc, maintaining a thickness of about 1/4 inch. Be careful not to roll them too thin as this can lead to crispy pitas instead of puffy ones.
Importance of Thickness in Pitas
Maintaining a consistent thickness is crucial for ensuring even baking. If some pitas are thinner than others, they may bake faster and risk burning, while thicker ones may not puff properly. Aim for uniformity to achieve the best results.
Second Rise: Preparing for the Oven
After shaping the pitas, allow them to undergo a second rise. This is a shorter rise, typically lasting about 30 minutes.
What to Look for During the Second Rise
Cover the shaped pitas with a damp cloth to prevent them from drying out. During this time, they should puff slightly but not double in size. Look for a soft, pillowy texture; this indicates that the yeast is active and ready for baking.
Timing and Patience in the Baking Process
While waiting for the second rise, monitor the pitas closely. Be patient and avoid rushing to bake them before they’ve had sufficient time to rise. Proper fermentation is key to achieving that sought-after puff.
Baking the Pitas
Now comes the moment of truth: baking your pitas. Carefully transfer the risen pitas onto the preheated baking stone or baking sheet.
Ideal Baking Conditions and Timing
Bake the pitas for about 5 to 7 minutes, or until they puff up and develop a slight golden color. Keep an eye on them, as every oven varies.
Recognizing When the Pitas are Done
You’ll know your pitas are done when they are nicely puffed and have a light, airy look. If they start to brown too quickly, you can reduce the oven temperature slightly. Remove them from the oven and let them cool on a wire rack to maintain their softness.
Cooling and Serving
Once baked, it’s essential to cool your pitas properly to preserve their texture. Place them in a clean kitchen towel or a bread basket right after taking them out of the oven. This will trap steam and keep the pitas soft.
Best Practices for Cooling
Avoid stacking the pitas on top of each other right away, as this can create steam and lead to sogginess. Instead, allow them to cool slightly before wrapping them up.
Serving Suggestions for Your Pita Bread
Whole wheat pita bread is incredibly versatile. Serve them warm with your favorite dips, or use them as a base for sandwiches and wraps. They pair beautifully with grilled meats, roasted vegetables, and fresh salads.
Creative Ways to Enjoy Whole Wheat Pita Bread
Whole wheat pita bread opens up a world of culinary possibilities. Here are some ideas to inspire your next meal:
Stuffing Options for Pitas
Pitas can be stuffed with a variety of fillings to create satisfying meals. Here are some popular combinations:
– Mediterranean Veggie Pita: Fill with roasted bell peppers, cucumbers, olives, and a sprinkle of feta cheese.
– Falafel Pita: Stuff with crispy falafel, fresh lettuce, tomatoes, and a drizzle of tahini sauce.
– Chicken Shawarma Pita: Fill with spiced chicken, garlic sauce, and pickled vegetables for a hearty meal.
– Hummus and Grilled Veggie Pita: Spread a generous layer of hummus, then add grilled zucchini, eggplant, and a sprinkle of paprika.
Vegetarian and Meat-Based Options
Consider both vegetarian and meat-based options to cater to all preferences. For a vegetarian twist, pack your pita with quinoa salad, chickpeas, and fresh herbs. For meat lovers, consider using leftover rotisserie chicken or spiced lamb for a flavorful and filling option.
Dipping and Spreading Ideas
Pitas are perfect for dipping and spreading, making them an ideal appetizer or snack.
Pairing Pitas with Dips Like Hummus and Tzatziki
Serve warm pitas with a variety of dips such as creamy hummus, tangy tzatziki, or a spicy harissa dip. These combinations not only enhance flavor but also add a nutritious element to your meal.
Creative Spreads to Enhance Your Pita Experience
Experiment with spreads like olive tapenade, garlic yogurt, or baba ganoush to elevate your pita bread experience. Each of these options brings unique flavors and textures that complement the wholesome taste of whole wheat.
Conclusion: The Joy of Homemade Whole Wheat Pita Bread
Creating your own whole wheat pita bread is a rewarding experience that combines the joy of baking with the nutritional benefits of wholesome ingredients. This recipe not only enhances your culinary skills but also provides you with delicious and versatile bread that can elevate any meal.
Celebrate the satisfaction of crafting something special with your own hands. Homemade pita bread is not just a staple; it’s a flavorful addition to your dining table, perfect for sharing with family and friends. Enjoy the delightful taste and texture of your freshly baked pitas, and relish in the knowledge that you’ve created a healthy option for yourself and your loved ones.
Embrace the art of baking and explore the endless possibilities that whole wheat pita bread has to offer, enriching your meals with flavor and nutrition. Whether stuffed, dipped, or served as a side, your homemade pitas are sure to become a beloved favorite in your kitchen.