Introduction
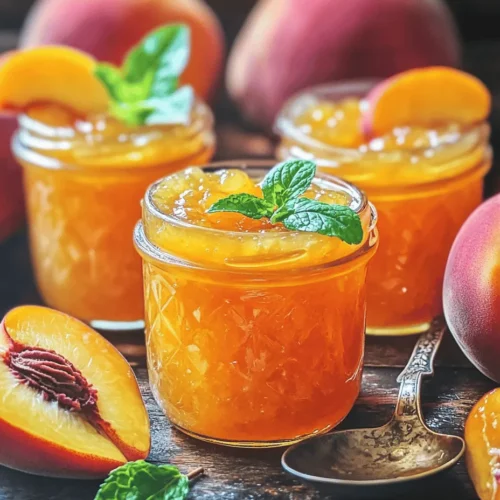
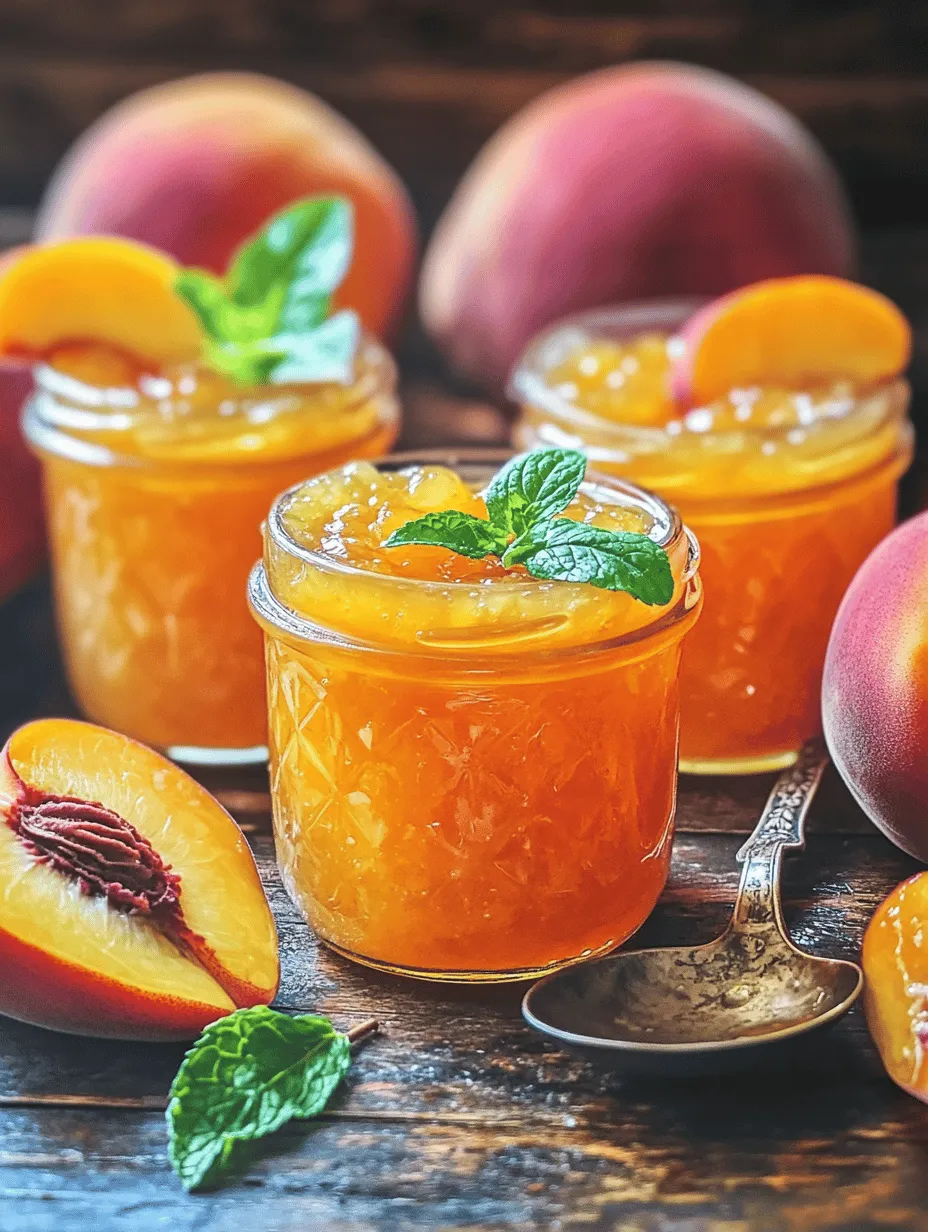
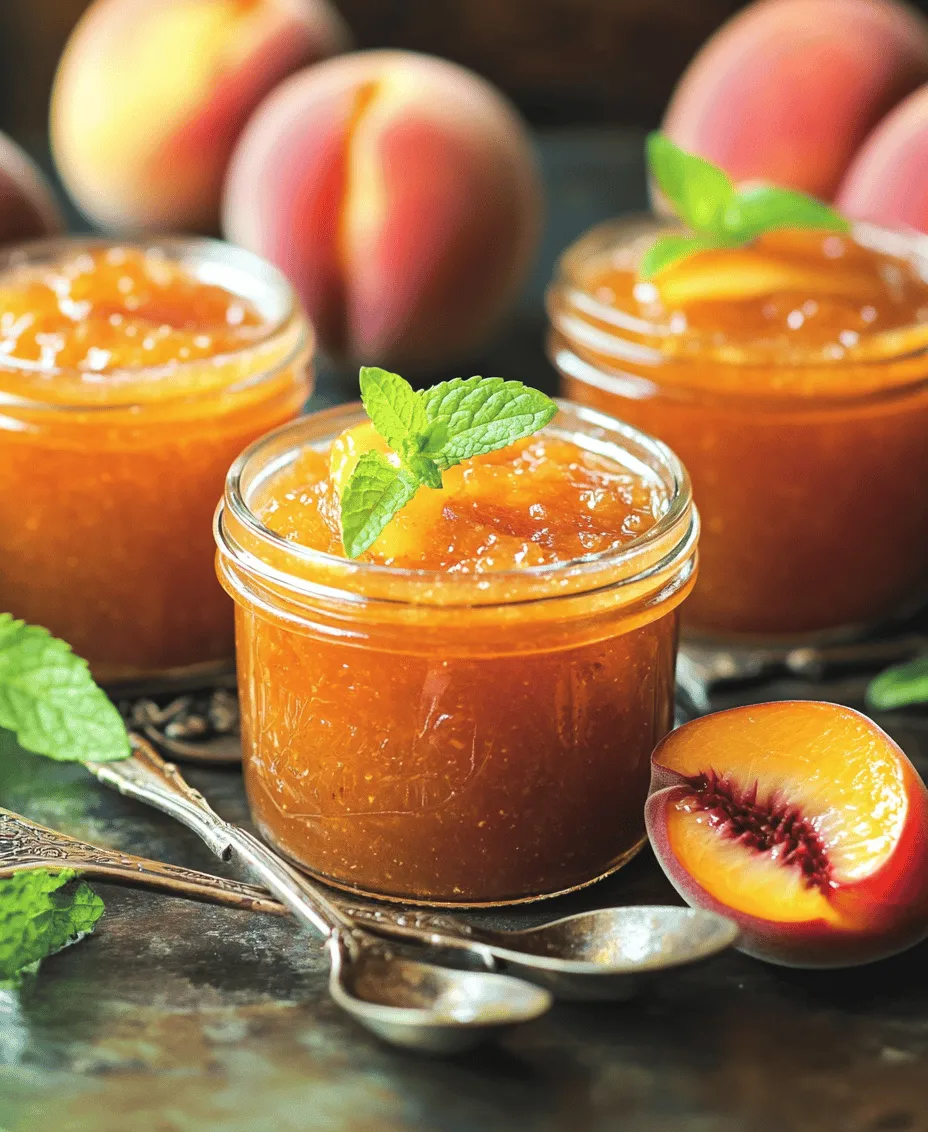
There’s a unique satisfaction that comes from making homemade jams—a delightful blend of creativity, tradition, and the pure joy of preserving nature’s bounty. The sweet aroma of fruits simmering on the stove, the vibrant colors that fill the jars, and the anticipation of tasting that first spoonful of fresh jam evoke memories of sunny afternoons and family gatherings. As summer draws near, the season brings a plethora of ripe and juicy fruits, and none are more iconic than the peach.
Peaches, with their sweet, succulent flesh and fragrant aroma, are often regarded as the ultimate summer fruit. Their peak season typically spans from late June to early September, making it the perfect time to indulge in this seasonal treat. Making Sweet Summer Peach Jam allows you to capture the essence of summer in a jar, preserving the flavors of fresh peaches to enjoy long after the season has passed. This recipe emphasizes simplicity, ensuring that even novice cooks can create a delectable batch of jam that bursts with the flavor of ripe peaches.
In this article, we’ll guide you through the process of making your own Sweet Summer Peach Jam. From selecting the perfect peaches to understanding the essential ingredients, we’ll cover everything you need to know to create a delicious, homemade treat you can share with family and friends.
Understanding the Ingredients
To make the perfect Sweet Summer Peach Jam, you’ll need a handful of key ingredients. Each component plays a crucial role in achieving the ideal flavor and texture, so let’s delve into what you’ll be using.
Ripe Peaches
The star of this recipe is, of course, the peaches. Selecting ripe peaches is essential for a successful jam. Look for peaches that are slightly soft to the touch and emit a sweet, fragrant aroma. The skin should have a vibrant, golden hue with a slight blush of red—these are indicators of ripeness. Avoid peaches that are overly firm, as they may lack the sweetness and juiciness necessary for a flavorful jam.
When selecting peaches, consider using freestone varieties, as they are easier to pit. Popular freestone peach varieties include Clingstone and Yellow peaches. However, if you only find clingstone peaches, don’t worry; they will still work beautifully in your jam.
Sugar
Sugar is a fundamental ingredient in jam-making, as it not only sweetens the fruit but also helps to create the desired gel-like consistency. The amount of sugar you use can vary depending on your taste preferences and the natural sweetness of the peaches. Generally, a 2:1 ratio of fruit to sugar is a great starting point for most jam recipes.
It’s important to note that sugar also acts as a preservative, helping to extend the shelf life of your jam. The sweetness of the sugar balances the tartness of the fruit, enhancing the overall flavor profile of your peach jam.
Lemon Juice and Zest
Lemon juice and zest may seem like minor players in this recipe, but they serve vital functions. The acidity of lemon juice helps to balance the sweetness of the peaches, adding a refreshing brightness to the jam. Additionally, lemon juice contains natural pectin, which aids in thickening the jam.
Using fresh lemon juice is recommended, as it provides a more vibrant flavor compared to bottled varieties. The zest of the lemon adds an aromatic element, infusing the jam with a zesty fragrance that complements the sweet peaches perfectly.
Optional Enhancements: Ground Cinnamon and Salt
If you’re looking to elevate your Sweet Summer Peach Jam, consider adding a pinch of ground cinnamon or a small amount of salt. Ground cinnamon enhances the flavor profile, adding warmth and depth that perfectly complements the sweetness of the peaches. A touch of salt can also enhance the overall flavor, balancing the sweetness and bringing out the natural flavors of the fruit. However, these ingredients are entirely optional; feel free to experiment based on your personal preference.
Preparing Your Peaches
Once you’ve gathered your ingredients, it’s time to prepare the peaches. Proper preparation is key to ensuring that your jam has a smooth texture and rich flavor. Here’s a step-by-step guide to get your peaches ready for cooking.
Step 1: Washing the Peaches
Start by washing your peaches thoroughly under cool running water. This step is essential for removing any dirt or pesticides that may be present on the skin. Gently rub the surface of each peach with your hands to ensure they are clean, then pat them dry with a clean kitchen towel.
Step 2: Peeling the Peaches
Peeling peaches can be a bit tricky, but there’s a handy trick to make it easier. Bring a large pot of water to a boil, and prepare an ice bath in a separate bowl. Once the water is boiling, carefully drop the peaches into the pot for about 30 seconds. This blanching process will loosen the skins, making them easy to peel.
After blanching, transfer the peaches to the ice bath to cool quickly. Once they are cool enough to handle, you can easily peel the skins off using your fingers or a small paring knife.
Step 3: Pitting the Peaches
Once peeled, it’s time to pit the peaches. Cut each peach in half along its natural seam and twist the two halves apart. The pit should easily separate from the flesh. If you encounter difficulty, run a knife along the pit to loosen it. Discard the pits and set the peach halves aside.
Step 4: Chopping the Peaches
Now that your peaches are pitted, it’s time to chop them into smaller pieces. Aim for uniform chunks, roughly one inch in size, to ensure even cooking. The size of the pieces will also affect the texture of your jam; smaller pieces will yield a smoother consistency, while larger chunks will create a chunkier jam.
To maximize yield and consistency, consider using a sharp knife and a stable cutting board. Work methodically, ensuring that you measure your chopped peaches accurately, as this will directly impact the final outcome of your jam.
Maceration: The Key to Flavor
Before we move on to cooking the jam, it’s essential to understand the maceration process. Maceration is the technique of soaking fruit in sugar to draw out its natural juices, creating a flavorful base for your jam. This step is crucial for enhancing the peach flavor and ensuring that your jam has the right consistency.
How to Macerate Peaches
To macerate your chopped peaches, place them in a large mixing bowl and sprinkle the measured sugar over the top. Gently toss the peaches with the sugar, ensuring that each piece is well-coated. The sugar will begin to draw out the juices from the peaches, creating a syrupy mixture.
Duration of Maceration
Allow the peaches to macerate for at least 30 minutes, but longer is often better—up to a couple of hours or even overnight in the refrigerator. The longer you let the peaches sit, the more juice they will release, which enhances the flavor of your jam. You’ll know that your peaches are ready for cooking when you see a significant amount of syrup forming at the bottom of the bowl.
Cooking the Jam
With your peaches macerated and ready, it’s time to cook the jam. This step is where the magic happens, transforming your fresh ingredients into a luscious spread.
Step-by-Step Cooking Instructions
1. Combine Ingredients: In a large, heavy-bottomed pot, combine your macerated peaches, the reserved peach juices, lemon juice, and zest. If you’re using ground cinnamon or salt, add those in as well.
2. Heat the Mixture: Place the pot over medium heat and stir gently. As the mixture warms, the sugar will dissolve, and the peaches will begin to break down. Keep an eye on the heat to avoid scorching.
3. Increase to High Heat: Once the sugar has fully dissolved, increase the heat to medium-high. Bring the mixture to a boil, stirring frequently to prevent sticking. This is the stage where the jam will begin to thicken.
4. Monitor Temperature: Use a candy thermometer to monitor the temperature of the jam. You’re aiming for a temperature of around 220°F (104°C), which is the point at which the jam will set properly. This process typically takes around 10 to 15 minutes.
5. Stir Continuously: While the mixture is cooking, continue stirring regularly to ensure even cooking and prevent any scorching at the bottom of the pot. As it thickens, you’ll notice the color deepening and the mixture becoming more syrupy.
By following these steps, you’re well on your way to creating a delectable Sweet Summer Peach Jam that captures the essence of summer in every spoonful. In the next part of this article, we’ll cover the remaining steps for canning and storing your jam, ensuring you can enjoy your homemade creation for months to come.
Importance of Constant Stirring to Prevent Sticking and Burning
As you embark on the sweet journey of making your summer peach jam, one crucial aspect you must keep in mind is the importance of constant stirring. This step is vital to prevent the mixture from sticking to the bottom of your saucepan and burning. When fruit and sugar are combined and heated, they can quickly caramelize if not monitored closely. Using a heat-resistant spatula or wooden spoon, stir the mixture continuously while it heats. This will ensure that all ingredients are evenly cooked and will help to distribute heat uniformly throughout the mixture.
Additionally, a gentle yet steady stir will help break down the peaches, enabling them to release their natural juices, which will contribute to the overall flavor and consistency of your jam. Keep an eye on the bubbling—if it starts to bubble too vigorously, you may need to lower the heat slightly. The goal is to maintain a gentle simmer while stirring, which not only prevents burning but also creates a beautifully blended jam.
Signs That Indicate the Mixture is Ready for the Addition of Pectin
Once your peach and sugar mixture has reached a simmer and the fruit has softened significantly, it’s time to assess whether it’s ready for the addition of pectin. Look for the following signs to confirm readiness:
1. Consistency: The mixture should appear syrupy and have a thickened texture. You’ll notice that the fruit pieces are starting to break down and meld into the syrup.
2. Bubbles: The surface of the mixture should be covered with large, active bubbles rather than small, simmering ones. This indicates that the mixture has reached a high enough temperature.
3. Color: The color of the peach mixture should deepen as it caramelizes slightly, transforming into a rich golden hue.
Once these signs are evident, it’s time to incorporate the pectin.
Incorporating Pectin
Fruit pectin is a natural thickening agent derived from fruits, which is essential for achieving that perfect jam consistency. It helps the jam to gel by forming a network of pectin molecules that trap fruit juice and create a cohesive structure. This step is crucial for ensuring that your sweet summer peach jam has the right texture, allowing it to spread beautifully on your favorite breakfast items.
To properly add pectin, first measure the required amount according to the package instructions—this can vary based on the type of pectin you choose (liquid or powdered). Once your peach mixture is bubbling vigorously, sprinkle the pectin evenly over the surface. Stir the mixture thoroughly for 1-2 minutes to ensure that the pectin is well incorporated and there are no lumps remaining.
Using pectin is a game-changer in the jam-making process. Without it, you may find yourself cooking the jam for an extended time, which can lead to a loss of fresh fruit flavor and color. Pectin allows for quicker setting times and a more vibrant end product.
Achieving the Perfect Jam Consistency
Once the pectin has been incorporated, it’s time to bring the mixture back to a rapid boil. Continue to boil the jam for 1-2 minutes while stirring constantly. The key to achieving the perfect jam consistency lies in knowing when to stop cooking.
To test if your jam has thickened correctly, you can use the spoon test. Here’s how to do it:
1. Take a clean spoon and dip it into the boiling jam.
2. Lift it out and let the jam drip off the spoon.
3. Observe the drips—if they form a sheet or “gel” instead of just falling off in drops, your jam is ready.
Another method is to place a small dish in the freezer before starting the jam. When you think the jam has thickened, drop a spoonful onto the cold dish and return it to the freezer for about a minute. Run your finger through the jam; if it holds its shape and doesn’t immediately run back together, it’s ready to be jarred.
Jarring and Preserving Your Jam
Now that you have achieved the desired consistency, it’s time to jar your sweet summer peach jam. Proper jarring is essential for preserving your jam and ensuring it remains safe to eat over time.
Step-by-Step Guide for Jarring:
1. Sterilize Your Jars: Start by sterilizing your jars and lids. You can do this by placing them in a simmering pot of water for about 10 minutes or by running them through a hot cycle in the dishwasher. This step prevents any bacteria from spoiling your jam.
2. Fill the Jars: Using a funnel, pour the hot jam into the sterilized jars while leaving about 1/4 inch of headspace at the top. This space is crucial for allowing the jam to expand during the cooling process.
3. Clean the Rims: Wipe the rims of the jars with a clean, damp cloth to remove any jam residue. This ensures a proper seal when you place the lids on.
4. Seal the Jars: Place the sterilized lids on the jars and screw on the metal bands until they are fingertip-tight. Avoid over-tightening, as this can prevent air from escaping during the canning process.
5. Optional Canning Process: If you want to ensure your jam lasts for a longer time, consider the canning process. Place the filled jars in a boiling water bath for about 10 minutes. This step creates a vacuum seal, allowing your jam to be shelf-stable for up to a year.
Cooling and Enjoying Your Peach Jam
After jarring, it’s essential to let the jars cool completely at room temperature. You may hear a popping sound as the jars seal, which is a good sign. To ensure that the jars have sealed properly, press down on the center of the lid; if it doesn’t pop back, you have a good seal.
Once cooled, your sweet summer peach jam is ready to be enjoyed. Here are some creative serving suggestions to inspire you:
– On Toast: Spread your homemade peach jam on warm, buttered toast for a delicious breakfast.
– Pancakes or Waffles: Drizzle the jam over pancakes or waffles for a fruity twist on your morning routine.
– Desserts: Use the jam as a filling for desserts like tarts, pastries, or even as a topping for ice cream.
– Gifts: Consider gifting small jars of jam to friends and family, wrapping them with a pretty ribbon for a personal touch.
Additionally, think of ways to incorporate your peach jam into other recipes. It can be swirled into yogurt, used in marinades for meats, or even blended into smoothies for a burst of flavor.
Conclusion
Making sweet summer peach jam is not just about preserving fruit; it’s about capturing the essence of summer in a jar. The joy of crafting your own jam allows you to savor the delightful flavors of fresh peaches all year round. As you embark on your jam-making adventures, don’t hesitate to experiment with different fruits and flavor combinations.
The satisfaction of homemade preserves is unparalleled, offering a personal touch that store-bought options simply cannot match. Plus, sharing your delicious creations with loved ones is a wonderful way to spread joy and delight in every bite. So gather your ingredients, roll up your sleeves, and enjoy the sweet rewards of your labor!