Introduction
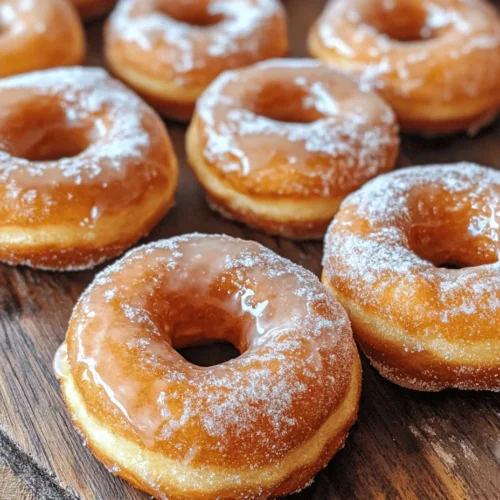
There’s something undeniably enchanting about the aroma of freshly baked donuts wafting through your kitchen. The allure of homemade donuts is undeniable; they offer a delightful combination of warmth, sweetness, and nostalgia that store-bought varieties often lack. Whether enjoyed during a leisurely Sunday brunch or as a sweet afternoon treat, homemade donuts have a special way of bringing comfort and joy. The right recipe can transform simple ingredients into a delightful indulgence, and today, we’re diving into the world of “Melt In Your Mouth Glazed Donuts.”
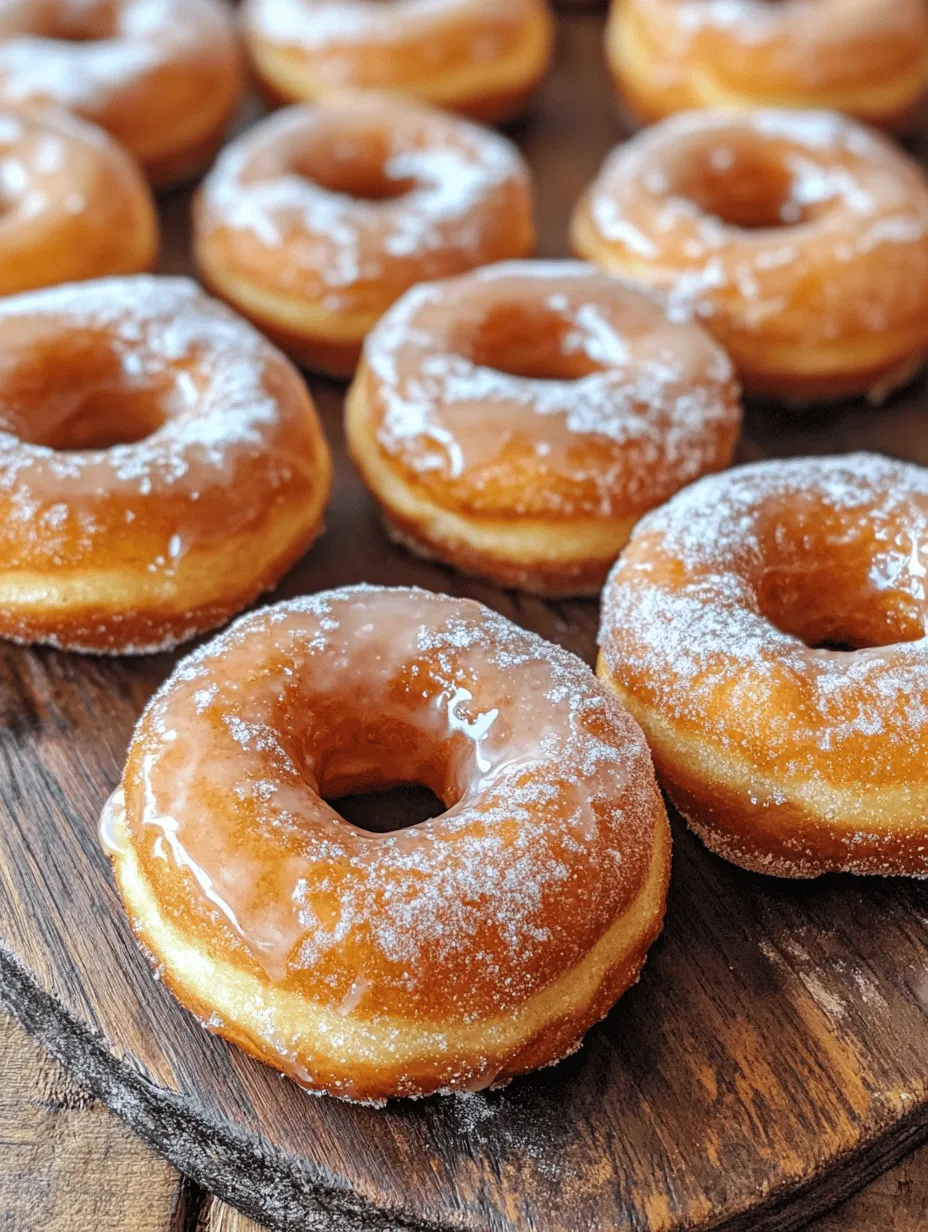
This recipe promises a tender, fluffy donut that practically dissolves in your mouth, complemented by a sweet, glossy glaze that adds just the right touch of sweetness. The appeal lies not only in the rich flavor but also in the delightful texture that makes them stand out. From the moment you take your first bite, you’ll understand why these donuts are a favorite among many.
In this article, we’ll explore the essential ingredients that contribute to the success of these donuts, the preparation steps, and the techniques needed to shape them perfectly. Let’s get started on your journey to creating the ultimate melt-in-your-mouth glazed donuts that will impress your family and friends!
Understanding the Ingredients
Before we dive into the preparation steps, let’s take a closer look at the key ingredients that make these donuts so special. Each component plays a crucial role in achieving the desired texture, flavor, and overall success of the recipe.
All-Purpose Flour
All-purpose flour is the backbone of any donut recipe. Its moderate protein content strikes the right balance between tenderness and structure. When we mix flour with the other ingredients, it forms the gluten network that gives donuts their characteristic chewiness, while still allowing them to be light and airy. For the best results, it’s essential to measure the flour correctly—using the spoon and level method or a kitchen scale—to prevent overly dense donuts.
Granulated Sugar
Granulated sugar is not just a source of sweetness; it also plays a vital role in the frying process. As the donuts cook, the sugar caramelizes, creating a golden-brown exterior that enhances both the flavor and visual appeal. The right amount of sugar ensures that the donuts are sweet enough without being cloying, making each bite a perfect balance of flavor.
Baking Powder
Baking powder is the leavening agent that gives our donuts their light and fluffy texture. It works by releasing carbon dioxide gas when activated, causing the dough to rise and expand. The key to successful donuts is ensuring that the baking powder is evenly distributed throughout the dry ingredients before mixing with the wet ingredients. This will help the donuts rise evenly during frying, resulting in a consistent texture.
Whole Milk
Whole milk adds moisture and richness to the donut batter, enhancing the overall flavor and tenderness. The fats in whole milk contribute to a soft crumb, while its liquid content ensures that the dough comes together smoothly. For those who prefer a lighter version, you can substitute with low-fat milk, but whole milk will yield the best results.
Eggs
Eggs serve as a binding agent in the donut batter, helping to hold everything together. They also contribute to the flavor and richness of the donuts. When mixed into the batter, eggs provide structure and stability, ensuring that the donuts maintain their shape while frying. It’s important to use room-temperature eggs for optimal blending with other ingredients.
Unsalted Butter
Unsalted butter adds a rich, creamy flavor to the donuts and contributes to their tender texture. Using unsalted butter allows for better control over the overall saltiness of the recipe. When melted and mixed into the batter, butter coats the flour particles, creating a tender crumb that melts in your mouth.
Vanilla Extract
Vanilla extract is a flavor enhancer that elevates the overall taste profile of the donuts. A splash of pure vanilla extract in both the donut batter and the glaze infuses a warm, comforting aroma that is hard to resist. When choosing vanilla extract, opt for pure vanilla for the best flavor, as imitation vanilla can lack depth.
The Glaze Components
The glaze is what truly makes these donuts shine! A simple glaze made from powdered sugar, milk, and vanilla extract adds a sweet, glossy finish that complements the soft donut. The powdered sugar dissolves easily in the milk, creating a smooth consistency that coats the donuts beautifully. Adjusting the ratio of milk to sugar can give you a thicker or thinner glaze, depending on your preference.
Step-by-Step Preparation
Now that we’ve explored the essential ingredients, let’s move on to the preparation steps. A successful donut-making experience begins with organization and preparation. Here, we’ll outline each stage, ensuring you’re fully equipped to create the perfect melt-in-your-mouth glazed donuts.
Preparation of Ingredients
Before you begin mixing, it’s crucial to have all your ingredients measured and ready to go. This not only streamlines the process but also ensures that you won’t miss any key components. Gather your all-purpose flour, granulated sugar, baking powder, whole milk, eggs, unsalted butter, and vanilla extract.
Additionally, prepare your workspace by clearing any clutter and setting out the necessary tools: mixing bowls, measuring cups and spoons, a whisk, a rolling pin, and a donut cutter or round cookie cutters. Having everything in place allows you to focus on making the donuts without interruptions.
Mixing Dry Ingredients
Start by combining all your dry ingredients in a large mixing bowl. This includes the all-purpose flour, granulated sugar, baking powder, and a pinch of salt. Whisk the dry ingredients together thoroughly to ensure that the baking powder is evenly distributed. This is a critical step, as uneven distribution can lead to donuts that rise inconsistently, resulting in an undesirable texture.
Techniques for Ensuring Even Distribution of Leavening Agents
To ensure that your donuts have a uniform rise, it’s essential to break up any clumps of baking powder and sugar while whisking. This can be done by vigorously mixing the dry ingredients or even sifting them together if you prefer a finer texture. Properly aerating the dry ingredients will help create a lighter, fluffier donut.
Combining Wet Ingredients
In a separate bowl, combine your wet ingredients: whole milk, eggs, melted unsalted butter, and vanilla extract. Whisk these ingredients together until fully incorporated. It’s important to mix until smooth, as this will help ensure that the eggs and butter are well dispersed throughout the batter, leading to a consistent texture.
Explanation of Why Mixing Until Smooth Is Crucial
Mixing the wet ingredients until smooth is crucial for achieving a homogenous batter. If there are lumps or unincorporated bits of butter or egg, it can lead to uneven cooking during frying. A smooth mixture promotes even distribution of moisture and fat, which is essential for the light and tender texture of the finished donuts.
Merging Dry and Wet Ingredients
Once both mixtures are ready, it’s time to combine them. Gradually add the wet ingredients to the dry ingredients, folding them together gently with a spatula or wooden spoon. This method helps to prevent overmixing, which can lead to dense donuts.
Importance of Not Overmixing for Optimal Texture
Overmixing develops the gluten in the flour, resulting in a tougher donut rather than the desired light and fluffy texture. The goal is to mix until just combined; it’s okay if there are a few small lumps remaining. The dough will come together during frying, resulting in the melt-in-your-mouth quality we’re aiming for.
Shaping the Donuts
Once your batter is ready, it’s time to shape the donuts! This stage is where you can truly unleash your creativity.
Techniques for Rolling and Cutting the Dough
Flour a clean surface and turn the dough out onto it. Using a rolling pin, roll the dough to about ½ inch thickness. It’s important not to roll it too thin; otherwise, the donuts may not have enough structure to hold their shape while frying. Use a donut cutter or two round cookie cutters (one larger and one smaller) to cut out the donuts and the holes in the center.
Recommended Thickness and Tools for Shaping
A thickness of about ½ inch is optimal for frying, as it allows the donuts to cook through without burning the exterior. If you don’t have a donut cutter, you can improvise with a drinking glass for the outer circle and a smaller bottle cap or cookie cutter for the hole.
Once you’ve cut out all the donuts, gather the scraps and gently knead them together to cut out additional donuts. Remember, the less you handle the dough, the better your donuts will turn out!
—
With the ingredients prepared and the donuts shaped, you’re well on your way to creating delicious melt-in-your-mouth glazed donuts. In the next part of this article, we’ll delve into the frying process, glazing techniques, and tips for achieving the perfect finish. Stay tuned for the sweet conclusion to your donut-making adventure!
Tips for Achieving Uniform Donut Shapes and Sizes
Creating donuts that not only taste great but also look appealing is essential for any home baker. Here are some tips to achieve uniform shapes and sizes for your glazed donuts:
1. Use a Donut Cutter: Invest in a quality donut cutter, which typically features both the outer and inner circles for easy cutting. This ensures that each donut has the same dimensions, leading to a consistent appearance.
2. Chill the Dough: After mixing the dough, let it chill in the refrigerator for about 30 minutes. This makes it easier to handle and helps maintain the shape during frying.
3. Roll Evenly: When rolling out the dough, aim for an even thickness of about ½ inch. Use a rolling pin and take your time to ensure the dough is not thicker in some areas than in others.
4. Cut Quickly: Once you’ve rolled out the dough, cut out the donuts as quickly as possible to avoid overworking the dough. Overworking can lead to tough donuts instead of soft and fluffy ones.
5. Fry in Batches: Frying too many donuts at once can lower the oil temperature and lead to uneven cooking. Fry in small batches to maintain optimal frying conditions.
Frying the Donuts
Importance of Oil Temperature for Perfect Frying
One of the most critical factors in frying donuts is the oil temperature. The ideal temperature for frying donuts is between 350°F and 375°F (175°C to 190°C). Maintaining this temperature ensures that the donuts cook evenly and develop that golden-brown crust without absorbing excess oil.
How to Check Oil Temperature Accurately
To accurately check the oil temperature, you can use a kitchen thermometer. Simply immerse the thermometer’s probe into the oil to get an instant reading. If you don’t have a thermometer, you can test the oil with a small piece of dough – if it sizzles and begins to rise to the surface, the oil is ready for frying.
Step-by-Step Frying Process
1. Heat the Oil: In a deep fryer or a heavy-bottomed pot, add enough oil to submerge the donuts completely. Heat the oil over medium heat until it reaches the desired temperature.
2. Prepare for Frying: Once the oil is hot, carefully lower the donuts into the oil one at a time. Avoid overcrowding, which can drop the oil temperature.
3. Fry the Donuts: Allow the donuts to fry for about 1-2 minutes per side or until they are golden brown. Use a slotted spoon to carefully turn the donuts halfway through the cooking time.
4. Drain and Cool: Once cooked, transfer the donuts to a plate lined with paper towels to drain excess oil. Let them cool slightly before glazing.
Best Practices for Frying to Avoid Oil Splatter and Ensure Safety
– Use a Deep Pot: Choose a pot that is deep enough to hold a significant amount of oil and keep it from overflowing.
– Lower the Donuts Gently: When placing donuts in the hot oil, lower them in gently to prevent splattering.
– Keep a Lid Nearby: In case of an oil fire, keep a lid within reach to smother the flames. Never use water to extinguish an oil fire.
– Monitor the Heat: Adjust the heat as necessary to maintain the oil temperature. If the oil begins to smoke, remove it from the heat immediately.
Visual Cues for Determining Doneness
Properly fried donuts will be golden brown and slightly puffed up. You can also check their doneness by poking a donut with a toothpick; it should come out clean without any raw dough sticking to it.
Making the Glaze
Step-by-Step Guide to Preparing the Glaze
Once the donuts are fried and cooled, it’s time to prepare the glaze:
1. Ingredients: Combine 2 cups of powdered sugar, 2-3 tablespoons of milk or water, and 1 teaspoon of vanilla extract in a mixing bowl.
2. Mix Until Smooth: Whisk the ingredients together until you achieve a smooth, lump-free consistency. You may need to adjust the liquid amount to get your desired thickness.
3. Test the Consistency: The glaze should be thick but pourable. If it’s too thick, add a little more milk or water. If it’s too thin, add a bit more powdered sugar.
Importance of Achieving the Right Consistency
The right glaze consistency is crucial. A glaze that is too thin will run off the donuts, while a glaze that is too thick will not coat evenly. Achieving the perfect balance ensures that each donut is beautifully and deliciously coated.
Different Variations of Glaze (Optional)
Experiment with your glaze by adding various flavors:
– Chocolate Glaze: Add ½ cup of cocoa powder to the basic glaze recipe for a rich chocolate flavor.
– Citrus Glaze: Substitute lemon or orange juice for milk and add the zest for a refreshing citrus twist.
– Maple Glaze: Replace some of the milk with maple syrup and add a hint of maple extract for a deliciously sweet glaze.
Suggestions for Flavor Additions
Feel free to get creative with flavor additions. You can incorporate spices like cinnamon or nutmeg into your glaze for warmth. Additionally, a dash of espresso powder can enhance the chocolate glaze for a mocha flavor.
Glazing the Donuts
Techniques for Dipping and Coating the Donuts
To glaze your donuts effectively:
1. Dip the Donuts: Hold the donut by the edges and dip the top half into the glaze. Allow the excess to drip back into the bowl.
2. Rotate for Even Coverage: Rotate the donut while lifting it out of the glaze to ensure even coverage.
3. Use a Fork: If you prefer, you can place the donut on a wire rack and spoon the glaze over it for a more controlled application.
How to Achieve an Even Coat of Glaze
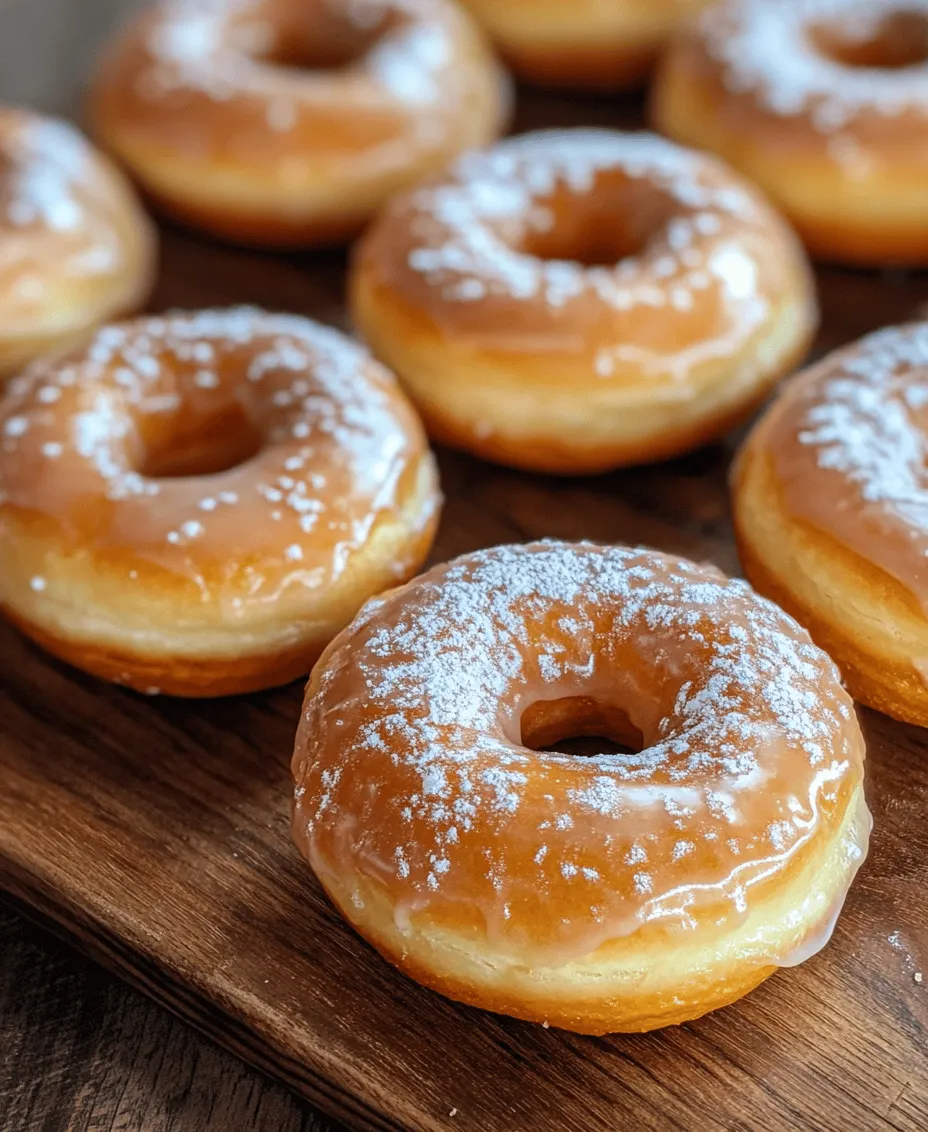
To achieve an even coat, make sure to coat the donuts while they are still warm. The warmth helps the glaze adhere better and creates a shiny finish.
Importance of Allowing the Glaze to Set for Optimal Texture
After glazing, allow the donuts to sit on a wire rack for about 10-15 minutes. This resting period lets the glaze set, creating that desirable glossy appearance and a slight crust that enhances the overall texture.
Serving Suggestions
Ideas for Serving the Donuts
Melt-in-your-mouth glazed donuts are perfect for various occasions. Serve them at breakfast, brunch, or as a delightful afternoon snack. They also make a great treat for gatherings and celebrations.
Pairing Suggestions
Pair your donuts with a hot cup of coffee or tea. The rich flavors of coffee complement the sweetness of the donuts beautifully. For a refreshing twist, serve with a chilled glass of milk or a fruit smoothie.
Presentation Tips for a Delightful Serving Experience
For an eye-catching presentation:
– Use a Cake Stand: Place your glazed donuts on a decorative cake stand for a beautiful display.
– Garnish with Sprinkles: Add colorful sprinkles or edible glitter on top of the glaze for a festive touch.
– Serve with Fresh Fruits: Accompany your donuts with fresh fruits like strawberries or blueberries for a pop of color and freshness.
Nutritional Information
Breakdown of Calories and Nutritional Content per Serving
Each donut typically contains approximately 250 calories, depending on the size and ingredients used. Here’s a rough breakdown of the nutritional content per donut:
– Calories: 250
– Total Fat: 12g
– Saturated Fat: 3g
– Cholesterol: 20mg
– Sodium: 100mg
– Total Carbohydrates: 34g
– Dietary Fiber: 1g
– Sugars: 15g
– Protein: 2g
Discussion on Moderation and Enjoying Treats Responsibly
While these glazed donuts are a delightful treat, it’s essential to enjoy them in moderation. Indulgence can be part of a balanced diet when paired with healthy meals and regular physical activity. Sharing with friends and family can also help in savoring these treats without overindulgence.
Conclusion
Making homemade glazed donuts can be a joyful and rewarding experience. From mixing the dough to frying and glazing, each step brings a sense of accomplishment. As you enjoy the sweetness of your freshly made donuts, remember the fun and creativity involved in the process.
Don’t hesitate to try this recipe and experiment with your flavors and glazes. Share your delicious creations with loved ones, and relish the satisfaction of indulging in a homemade treat. There’s nothing quite like the delight of biting into a soft, warm donut that you made yourself. So gather your ingredients, roll up your sleeves, and let the donut-making adventure begin!