Introduction
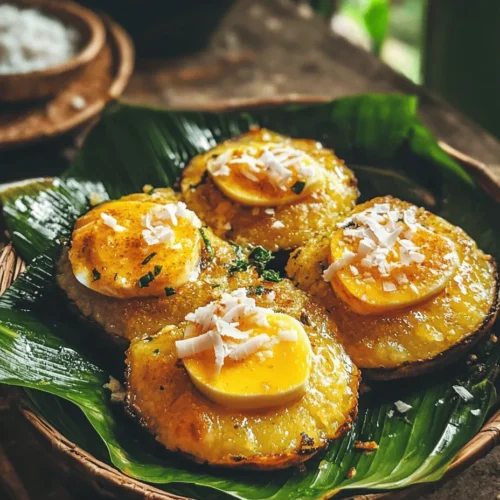
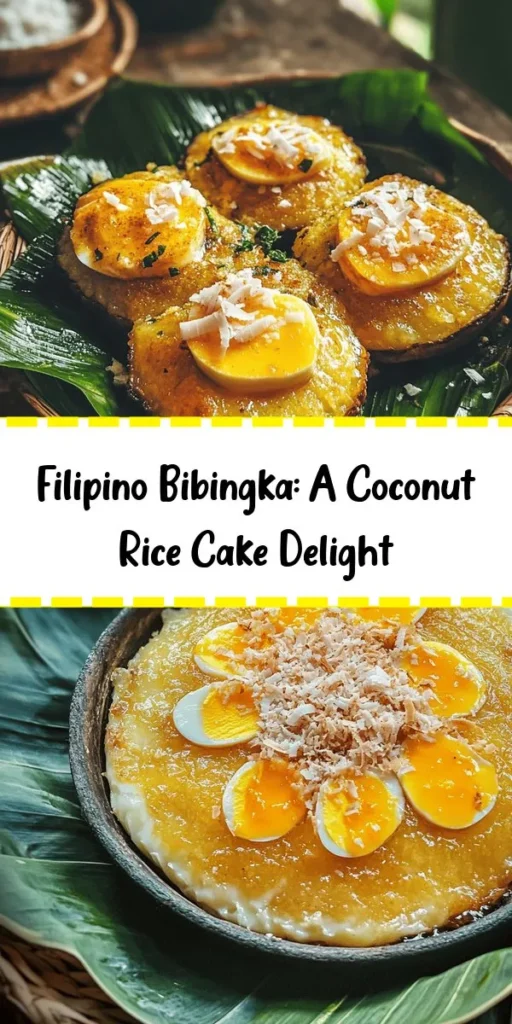
Bibingka is a beloved traditional Filipino delicacy, often enjoyed during the festive season, particularly at Christmas. As the scent of freshly baked rice cakes wafts through the air, it evokes a sense of nostalgia and warmth among Filipinos. This delightful treat is not just a dessert; it represents the rich culture and culinary heritage of the Philippines. Bibingka is typically made with rice flour and coconut milk, resulting in a soft, fluffy texture that is both satisfying and indulgent.
During the Christmas season, Bibingka takes center stage in many Filipino households, often served alongside other festive foods. Its preparation is not just about cooking; it embodies the spirit of togetherness and celebration. Families gather to share stories and laughter while enjoying this delicious treat, making Bibingka an integral part of Filipino holiday traditions.
In this article, we will delve into the authentic recipe for Bibingka, highlighting its unique flavors and textures. From the sweet aroma of coconut to the rich taste of rice, each bite of Bibingka tells a story of Filipino culture and tradition. Whether you’re a seasoned cook or a beginner in the kitchen, this recipe will guide you through the steps to create your very own Bibingka at home.
Understanding Bibingka
The origins of Bibingka can be traced back to the pre-colonial era in the Philippines, where rice was a staple food among various indigenous groups. The traditional way of cooking Bibingka involves using clay pots lined with banana leaves, giving it a distinct flavor and aroma that is hard to replicate with modern cooking methods. The dish has evolved over time, incorporating various ingredients and techniques from different regions of the country.
Throughout the Philippines, you can find numerous variations of Bibingka, each unique to its region. For instance, in the province of Pampanga, Bibingka is often served with salted eggs and cheese, while in Bicol, it may include a spicy twist with the addition of chili. These regional adaptations showcase the diversity of Filipino cuisine and the creativity of local cooks. Regardless of the variation, Bibingka remains a cherished dish, symbolizing the warmth and hospitality of Filipino culture.
Key ingredients such as rice flour and coconut milk play a vital role in the authenticity of Bibingka. Rice flour, made from finely milled rice, gives the cake its signature texture and flavor. Coconut milk, on the other hand, adds richness and creaminess, making each bite a delightful experience. Together, these ingredients create a harmonious balance of flavors that define this traditional delicacy.
Key Ingredients for Authentic Bibingka
To create an authentic Bibingka, it’s essential to use the right ingredients. Each component contributes to the overall flavor and texture of the cake. Here’s a detailed explanation of the key ingredients:
– Rice Flour: The foundation of Bibingka, rice flour is essential for achieving that soft and chewy texture. It is naturally gluten-free, making Bibingka a great option for those with gluten sensitivities. If you cannot find rice flour, you can use glutinous rice flour as an alternative, but it may result in a denser cake.
– Coconut Milk: This ingredient is what elevates the flavor profile of Bibingka. Coconut milk adds a rich, creamy texture and enhances the overall taste of the cake. It is also a staple in Filipino cuisine, used in various dishes and desserts. When selecting coconut milk, look for varieties with no added preservatives for the best flavor.
– Sugar: Sugar is necessary to provide sweetness to the Bibingka. You can use granulated sugar, brown sugar, or even coconut sugar for a more natural sweetening option. Brown sugar will add a hint of molasses flavor, while coconut sugar lends a caramel-like taste, enhancing the overall complexity of the dish.
– Eggs: Eggs serve a crucial role in binding the ingredients together and adding moisture to the cake. They also contribute to the richness and fluffiness of the Bibingka. Use large eggs for this recipe to ensure proper measurement and consistent results.
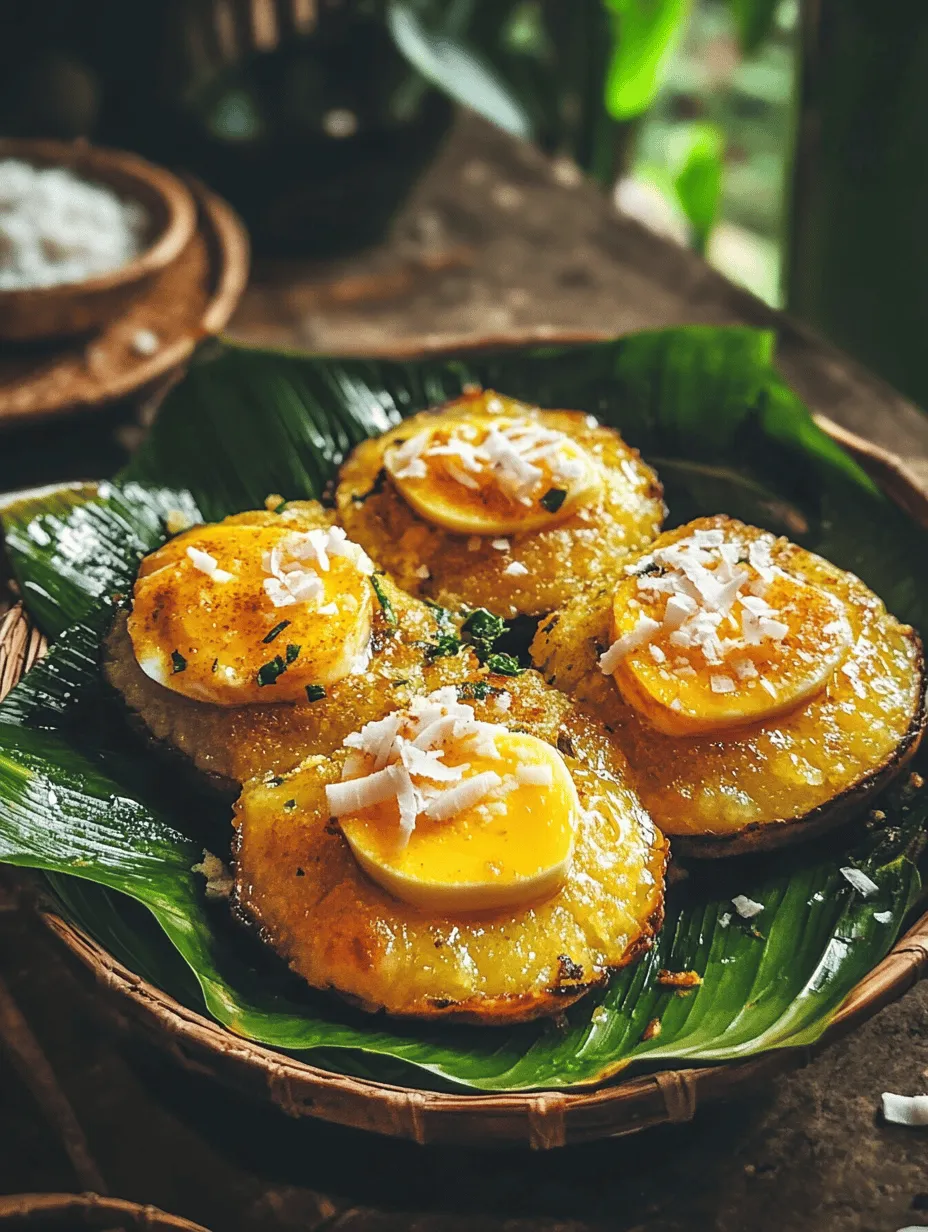
– Grated Coconut: Freshly grated coconut can be used to top the Bibingka, adding texture and a burst of coconut flavor. While fresh coconut is ideal, desiccated coconut can also be used if fresh is unavailable. However, fresh coconut will provide a more authentic taste and texture.
– Butter: Melted butter is incorporated into the batter to enhance the moisture and flavor of the Bibingka. It also adds a lovely richness that complements the other ingredients. For a dairy-free option, you can substitute with coconut oil.
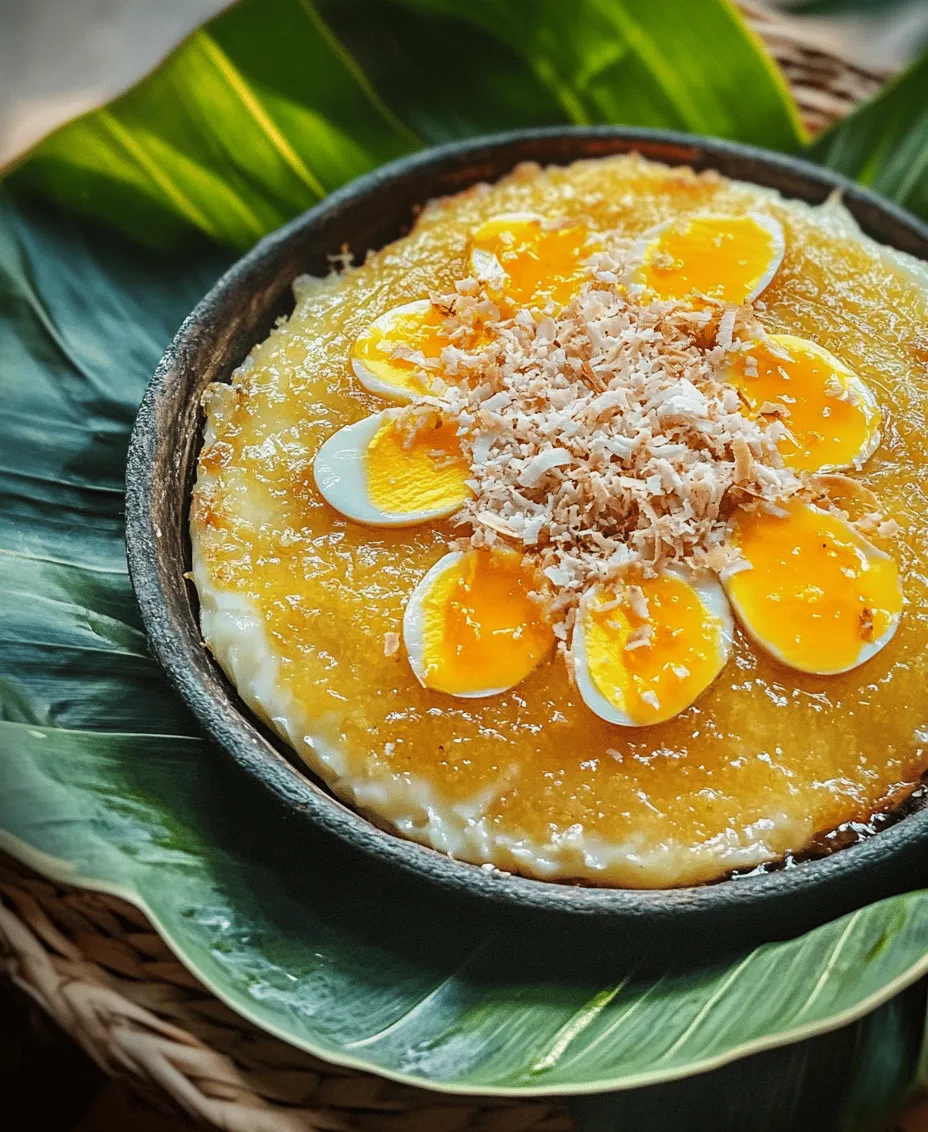
– Optional toppings: Traditional Bibingka is often topped with salted egg slices, cheese, and additional coconut. Salted eggs provide a savory contrast to the sweet cake, while cheese adds creaminess. These toppings can be adjusted based on personal preference or regional variations.
Preparation Steps for Bibingka
Now that we have a clear understanding of the key ingredients, it’s time to prepare your very own Bibingka. The preparation involves several steps, but don’t be intimidated. With a little patience and attention to detail, you can create a delightful Bibingka that is sure to impress.
1. Gather Your Ingredients: Start by collecting all the necessary ingredients listed above. Ensure that your rice flour is fresh, and your coconut milk is well-mixed before you begin.
2. Prepare the Baking Dish: Traditionally, Bibingka is cooked in a clay pot lined with banana leaves. If you don’t have a clay pot, you can use a round cake pan or a muffin tin. Grease your chosen baking dish with butter, and line it with banana leaves or parchment paper for easy removal after baking.
3. Mix the Dry Ingredients: In a large mixing bowl, combine the rice flour, sugar, and any additional dry ingredients. Whisk them together to ensure they are evenly distributed.
4. Combine the Wet Ingredients: In a separate bowl, whisk together the eggs and coconut milk until well combined. You can also melt the butter and add it to this mixture for a smoother batter.
5. Combine Wet and Dry Mixtures: Gradually pour the wet mixture into the dry ingredients, stirring gently until fully combined. Be careful not to overmix; a few lumps are acceptable.
6. Add Grated Coconut: Fold in the grated coconut to the batter, ensuring it’s evenly distributed. This will add additional texture and flavor to your Bibingka.
7. Prepare for Baking: Pour the prepared batter into your lined baking dish, filling it about three-quarters full to allow for rising. If desired, arrange slices of salted egg and cheese on top of the batter for added flavor.
8. Bake the Bibingka: Preheat your oven to 375°F (190°C) and place the baking dish in the oven. Bake for about 30-40 minutes or until the top is golden brown and a toothpick inserted into the center comes out clean.
9. Cool and Serve: Once baked, remove the Bibingka from the oven and let it cool for a few minutes. Carefully remove it from the baking dish and peel off the banana leaves or parchment paper. Serve warm, with additional toppings of your choice.
With these steps, you will be well on your way to creating a delicious and authentic Bibingka that captures the essence of Filipino culture. Enjoy the rich flavors, and don’t forget to share this delightful treat with family and friends, just as it has been shared across generations in the Philippines.
Preparing the Banana Leaves
One of the quintessential elements of authentic Filipino Bibingka is the use of banana leaves. Not only do they add a distinct flavor to the cake, but they also serve as a natural liner that prevents sticking and provides an aromatic backdrop for the dish.
Importance of Using Banana Leaves
Banana leaves are traditional in many Southeast Asian cuisines, playing a crucial role in imparting a subtle sweetness and a unique fragrance to the food. They also create steam while baking, which is essential for achieving the moist texture that Bibingka is known for.
How to Soften Banana Leaves
To prepare banana leaves, you will need to soften them to make them pliable for lining your baking dish. Here’s how:
1. Select Fresh Leaves: Choose large, green, and pliable banana leaves. Avoid any that are dry or have holes.
2. Cleaning: Rinse the leaves under running water to remove any dirt or debris.
3. Softening: There are two common methods to soften the leaves:
– Using Hot Water: Briefly dip the leaves in boiling water for about 30 seconds. This will make them flexible.
– Direct Heat: Alternatively, you can pass the leaves over an open flame on your stovetop for a few seconds, turning them quickly to avoid burning. This method adds a slight smoky flavor to the leaves, enhancing the overall taste of your Bibingka.
Once softened, lay the banana leaves in the baking dish, allowing the edges to hang over the sides. This will make it easier to cover the top of the Bibingka later.
Mixing Dry Ingredients
Achieving the perfect texture for your Bibingka starts with the right blend of dry ingredients. The essential elements typically include rice flour, baking powder, and salt.
1. Rice Flour: Use glutinous rice flour for a chewy texture, characteristic of traditional Bibingka.
2. Baking Powder: This will help the Bibingka rise and develop a light, fluffy consistency.
3. Salt: A pinch of salt enhances the flavors and balances out the sweetness.
In a large mixing bowl, combine the rice flour, baking powder, and salt. Whisk them together until evenly distributed, ensuring that there are no clumps. This step is crucial for a uniform batter that bakes evenly.
Combining Wet Ingredients
Next, you’ll combine your wet ingredients, which will create the batter for your Bibingka. The primary wet ingredients include coconut milk, water, eggs, and sugar.
1. Coconut Milk: This adds richness and a distinct flavor to the Bibingka. Use fresh coconut milk if available, or opt for canned coconut milk for convenience.
2. Water: This helps to adjust the consistency of the batter.
3. Eggs: Eggs add structure and moisture to the cake, making it fluffy.
4. Sugar: Adjust the sweetness to your preference, but remember that traditional Bibingka is slightly sweet.
In a separate bowl, whisk together the eggs and sugar until they are light and frothy. Gradually add the coconut milk and water, mixing until well combined. This mixture should be smooth and well-blended to ensure a consistent batter.
Folding in Grated Coconut
Now it’s time to incorporate the grated coconut, which adds a delightful texture and flavor to the Bibingka.
1. Choosing Fresh Coconut: Use freshly grated coconut for the best results. You can find it in most Asian grocery stores or prepare it at home using a grater.
2. Folding Technique: Gently fold the grated coconut into the wet mixture using a spatula or wooden spoon. This technique ensures that the coconut is evenly distributed throughout the batter without overmixing, which can lead to a dense texture.
Pouring and Pre-Baking Preparations
With your batter complete, it’s time to combine the dry and wet ingredients. Gradually add the dry mixture to the wet mixture, stirring until just combined. Avoid overmixing to maintain a light texture.
Ensuring a Well-Balanced Flavor Profile
Before pouring the batter into the prepared banana leaf-lined baking dish, you can enhance the flavor profile by adding a few additional ingredients:
– Vanilla Extract: A teaspoon of vanilla extract can enhance the overall sweetness and aroma.
– Salted Eggs: For a traditional touch, consider adding slices of salted eggs on top of the batter before baking. This provides a savory contrast to the sweet cake.
Once you have your mixture ready, pour it into the prepared dish, smoothing the top with a spatula for an even bake.
Baking the Perfect Bibingka
Now comes the moment of truth: baking your Bibingka to perfection.
Optimal Oven Settings and Baking Techniques
Preheat your oven to 375°F (190°C). Once the oven reaches the desired temperature, place the Bibingka in the center rack. Baking in the right position ensures even heat distribution.
1. Baking Time: Bake for about 25-30 minutes, or until the top is golden brown and a toothpick inserted in the center comes out clean.
2. Covering with Banana Leaves: For the last 10 minutes, you can cover the top of the Bibingka with a piece of banana leaf to prevent it from browning too much while ensuring it cooks through.
Tips for Checking Doneness
To check if your Bibingka is done, use the toothpick test. Insert a toothpick into the center; if it comes out clean, your Bibingka is ready. If there are wet crumbs clinging to the toothpick, continue baking for a few more minutes and check again.
Importance of Cooling
Once baked, remove the Bibingka from the oven and let it cool in the pan for about 10 minutes. This resting period allows the flavors to settle and the texture to firm up. After cooling slightly, carefully lift the Bibingka out of the pan using the overhanging banana leaves and let it cool completely on a wire rack. This step is vital for achieving that perfect texture.
Serving Suggestions for Bibingka
Bibingka is traditionally enjoyed during festive occasions, particularly during the Christmas season in the Philippines. Here are a few serving suggestions to enhance your experience:
Traditional Ways to Serve Bibingka
Bibingka is often served warm, directly from the oven, and is traditionally enjoyed with a side of hot chocolate or tsokolate. You can also serve it with a dollop of butter or margarine on top, allowing it to melt into the warm cake for a delectable finish.
Creative Serving Ideas with Toppings
Elevate your Bibingka experience by adding various toppings:
– Salted Eggs: Slices of salted eggs add a savory contrast that complements the sweetness of the cake. Place them on top before baking or after it cools.
– Cheese: Grated cheese, such as Edam or processed cheese, can be sprinkled on top before baking for a creamy, salty layer.
– Coconut Cream: Drizzling coconut cream or thick coconut milk over the top adds richness and enhances the overall flavor.
Pairing Suggestions with Beverages
Pair your Bibingka with traditional Filipino beverages such as:
– Tsokolate: A rich hot chocolate made from tablea (cacao tablets) is a beloved pairing.
– Coffee: A cup of brewed coffee also makes for a delightful contrast, balancing the sweetness of the cake.
Cultural Significance of Bibingka
Bibingka is more than just a delicious treat; it holds deep cultural significance in Filipino traditions, particularly during the Christmas season.
Role of Bibingka in Filipino Christmas Traditions
During the “Simbang Gabi” (Night Mass) leading up to Christmas, Bibingka is a popular offering sold by street vendors outside churches. Families often enjoy it as a post-mass snack, symbolizing the joy of the holiday season and community togetherness.
Personal Anecdotes or Stories
Many Filipino families have their own stories and memories associated with Bibingka. Perhaps it was a grandmother’s recipe passed down through generations, or a favorite treat enjoyed after attending Christmas Eve mass. Sharing these personal anecdotes connects generations and fosters a sense of belonging.
How Bibingka Fosters Community and Family Ties
Bibingka is often enjoyed in gatherings and celebrations, reinforcing family ties. The act of making Bibingka together can be a bonding experience, where family members share recipes, stories, and laughter. In many households, it’s not just about the food but the love and memories that come with it.
Conclusion
Making Bibingka at home is a rewarding experience that allows you to connect with Filipino culture and traditions. This delightful rice cake not only brings joy to the palate but also embodies the spirit of togetherness that is central to Filipino celebrations.
As you gather around the table with family and friends, savoring each bite of this authentic dish, reflect on the love and effort that goes into creating it. By sharing Bibingka, you are not just serving a delicious treat; you are sharing a piece of your heritage, a taste of home, and a reminder of the importance of community. Enjoy the process of cooking, the aroma that fills your home, and the smiles it brings to those you love. Embrace the joy of authentic Filipino flavors and the memories that come with every slice of Bibingka.