Introduction
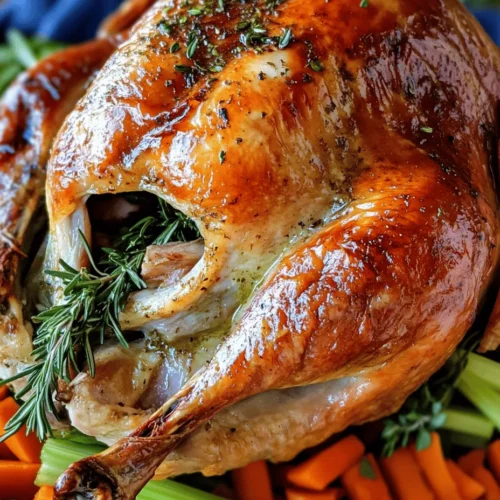
The holiday season is synonymous with gathering family and friends around the dining table, and nothing embodies this spirit quite like a perfectly moist roast turkey. Whether it’s Thanksgiving, Christmas, or a special family celebration, the centerpiece of the feast is often a beautifully roasted turkey. The anticipation builds as the aroma fills the home, setting the stage for a meal that is as much about the food as it is about the memories created around it. A turkey that is juicy and flavorful can elevate the occasion from ordinary to extraordinary, making the effort put into preparing it all the more worthwhile.
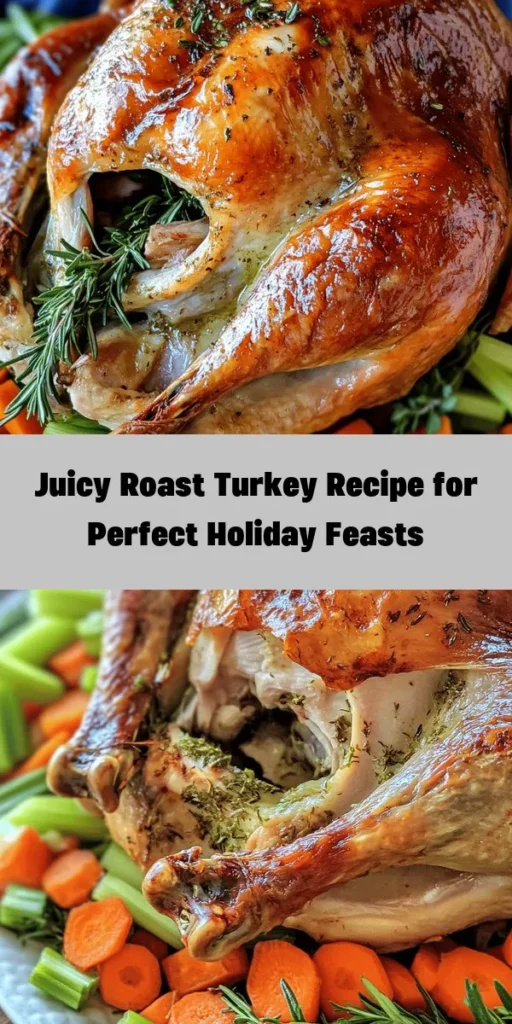
This recipe, aptly named “Juicy Bliss,” promises to deliver a roast turkey that is not only moist but bursting with flavor. What sets this turkey apart is its unique combination of seasonings, the technique of herb butter application, and the careful attention to temperature control throughout the cooking process. In this article, we will delve into the details of this mouthwatering recipe, highlighting what makes it exceptional while guiding you through each step of the preparation process.
To create the Juicy Bliss roast turkey, you will need a few key ingredients, along with some essential tools. The preparation time is approximately 30 minutes, with a cooking time that can vary based on the size of your turkey. This guide will ensure that you turn out a roast turkey that your guests will remember long after the last bite.
Understanding the Ingredients
Selecting the Right Turkey
Choosing the perfect turkey is crucial for achieving the best results in any roast turkey recipe. The right turkey not only impacts the flavor but also the overall presentation of your feast. Here are some factors to consider when selecting your turkey:
– Size: When planning your turkey purchase, consider the number of guests you will be serving. A general rule of thumb is to allocate about 1 to 1.5 pounds of turkey per person. This ensures that everyone gets enough to eat while also allowing for leftovers, which many people cherish.
– Freshness: Fresh turkeys are often preferred over frozen ones, as they usually have better flavor and texture. If you opt for a frozen turkey, be sure to allow ample time for it to thaw in the refrigerator, which can take several days depending on its size.
– Type: There are various types of turkeys available, including heritage, organic, and standard farm-raised birds. Heritage turkeys tend to have a richer flavor due to their slower growth and natural diets, while organic turkeys are raised without the use of antibiotics or hormones. Consider your budget and preferences when making your selection.
The Role of a Whole Turkey in Flavor and Presentation
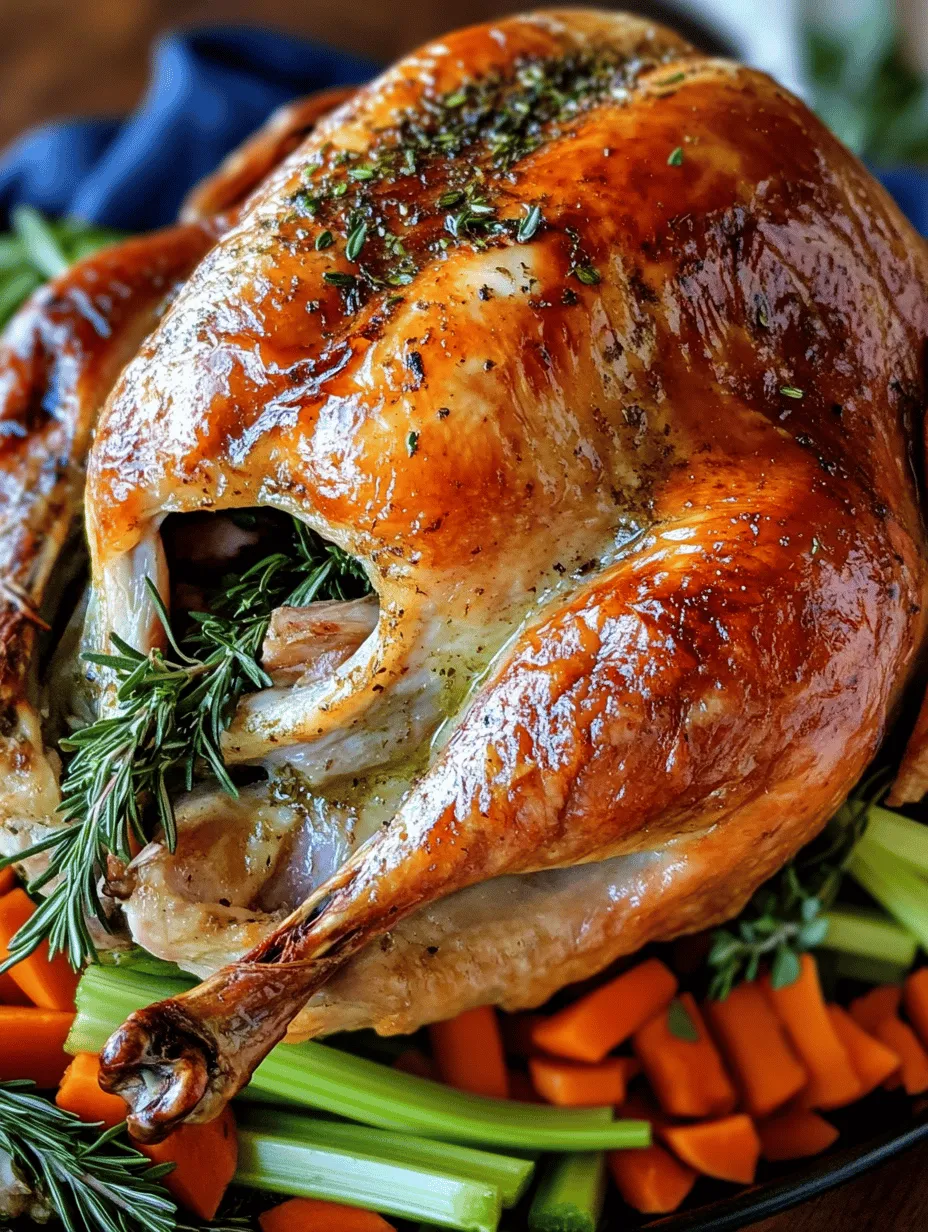
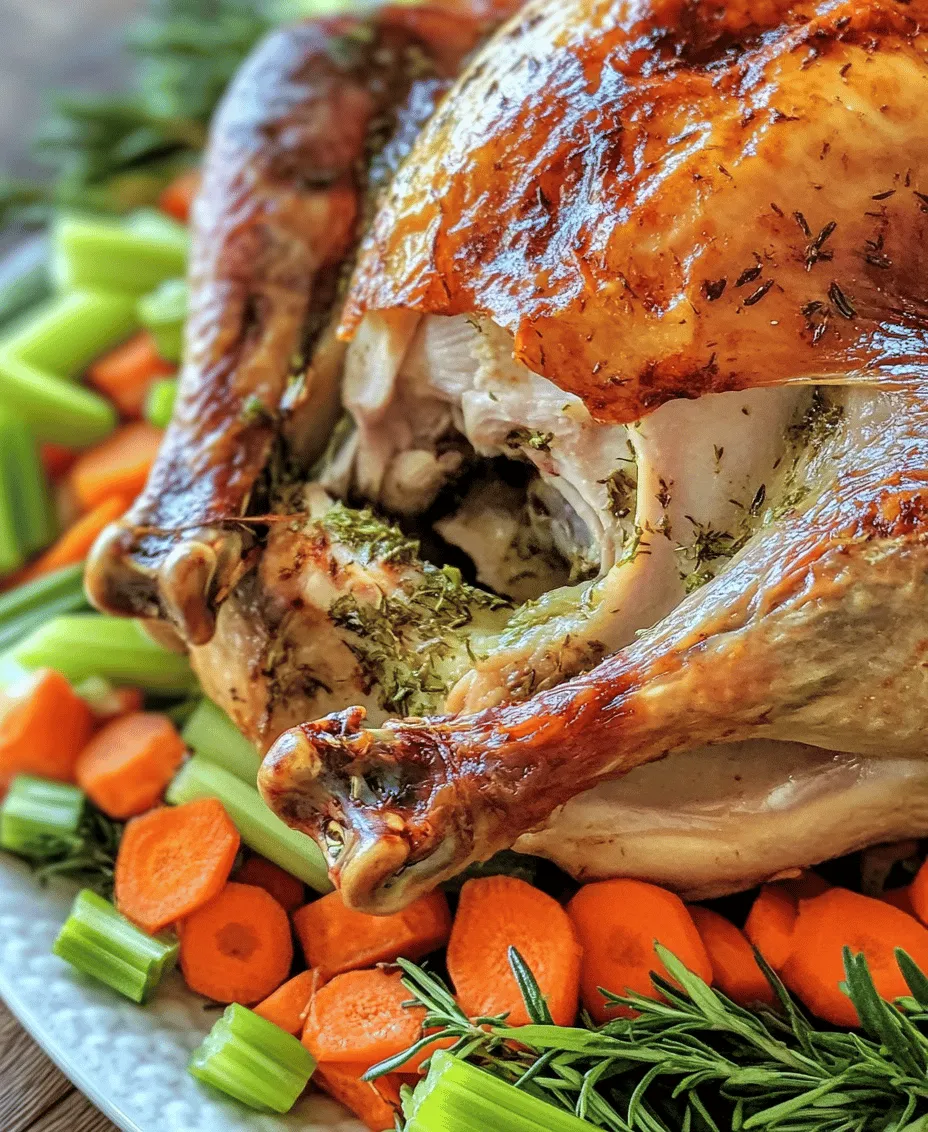
A whole turkey is not just a meal; it is a statement piece that often serves as the focal point of any festive gathering. Roasting a whole turkey allows the skin to crisp up beautifully while keeping the meat inside tender and juicy. The presentation of a whole turkey, garnished with fresh herbs and seasonal vegetables, adds an aesthetic appeal that enhances the dining experience. When carving the turkey at the table, the process becomes part of the celebration, creating a sense of tradition and togetherness.
Essential Seasonings and Their Benefits
Seasoning your turkey adequately is key to enhancing its natural flavors. Here are the essential seasonings that will bring your Juicy Bliss turkey to life:
– Unsalted Butter: Using unsalted butter in this recipe is vital for flavor control. It allows you to season the turkey without the risk of over-salting, which can mask the natural taste of the meat. Butter also helps to achieve that coveted golden-brown skin while keeping the meat moist.
– Sea Salt and Black Pepper: These basic seasonings are essential for enhancing overall taste. Sea salt helps to draw moisture into the meat, while black pepper adds a subtle heat that complements the turkey’s flavor.
– Garlic Powder, Onion Powder, and Dried Herbs: The aromatic blend of garlic powder and onion powder provides depth of flavor. Dried herbs like thyme, rosemary, and sage contribute to the earthy, savory notes that are characteristic of traditional roast turkey.
Flavor Enhancers: Broth and Vegetables
In addition to seasonings, incorporating broth and vegetables into your roast turkey recipe can significantly elevate the dish’s flavor profile.
– Low-Sodium Chicken Broth: Using low-sodium chicken broth instead of water ensures that the turkey remains moist during roasting while infusing it with additional flavor. The broth also serves as a delicious base for making gravy afterward.
– Onions, Garlic, Celery, and Carrots: These classic aromatics not only add flavor to the turkey but also create a bed of vegetables that can be enjoyed alongside the meat. As the turkey roasts, the vegetables caramelize, releasing their natural sweetness and enhancing the overall dish.
Optional Ingredients: The Sweetness of Apples
For a unique twist, consider adding apples to your roast turkey. The sweetness of apples pairs beautifully with the savory flavors of the turkey and can add a delightful contrast. You can either stuff the turkey cavity with halved apples or roast them alongside the turkey for a fragrant and tasty addition to your meal.
Step-by-Step Preparation Guide
Preparing the Turkey for Roasting
Once you have selected your turkey and gathered all your ingredients, it’s time to prepare for roasting. The steps below will guide you through this essential process:
1. Bringing the Turkey to Room Temperature: Before roasting, it’s important to allow your turkey to come to room temperature. This ensures even cooking throughout the bird. Remove the turkey from the refrigerator about 1 to 2 hours before you plan to roast it. This will help achieve a juicy and well-cooked turkey.
2. Preheating the Oven: Preheat your oven to 325°F (163°C). The temperature at which you roast your turkey is crucial; a lower temperature allows for a longer cook time, which helps the meat become tender and juicy.
3. Crafting the Herb Butter: While the turkey is warming up, prepare the herb butter. This mixture will not only flavor the meat but also help keep it moist during roasting. In a mixing bowl, combine softened unsalted butter with your choice of seasonings, including garlic powder, onion powder, and your selected dried herbs.
4. Mixing Seasonings with Butter: To achieve the perfect consistency for easy application, ensure that your butter is at room temperature but not melted. This allows for easy mixing with the seasonings. Use a fork or spatula to blend the herbs and spices into the butter until well incorporated.
5. Applying the Herb Butter: Once your herb butter is ready, gently loosen the skin of the turkey using your fingers. Be careful not to tear the skin. This allows you to apply the butter directly onto the meat, which will result in rich flavors and moisture. Spread the herb butter both under the skin and on the outside of the turkey, ensuring even coverage for optimal flavor.
By following these steps, you will have a perfectly prepared turkey that is ready for roasting. The combination of high-quality ingredients, thoughtful preparation, and careful seasoning will set the stage for a truly memorable dish. In the next section, we will delve into the roasting process and the finishing touches that will bring your Juicy Bliss turkey to life.
The Art of Rub and Stuffing
Creating a perfectly moist roast turkey begins with a well-executed rub and stuffing that enhances flavor and aroma. The rub is essential for seasoning the turkey’s skin and meat, while the stuffing introduces additional depth through herbs and aromatics.
Techniques for Loosening Turkey Skin for Maximum Flavor
To maximize flavor absorption, you will want to loosen the skin of the turkey. Gently slide your fingers under the skin at the neck and tail ends, being careful not to tear it. This space allows you to apply your rub directly onto the meat rather than just the surface, ensuring that every bite is packed with flavor.
Best Practices for Stuffing the Turkey with Aromatics
When it comes to stuffing, think beyond traditional bread mixtures. For a flavorful twist, consider using a combination of fresh herbs such as rosemary, thyme, and sage. Chop these herbs finely and mix them with garlic cloves and citrus zest for brightness. You can also add diced onions and celery for moisture.
Spoon the aromatic mixture into the cavity of the turkey, packing it loosely to allow heat to circulate. Avoid overstuffing, as this can impede even cooking and moisture retention.
Creating the Vegetable Bed and Adding Broth
The vegetable bed is a crucial element for your roast turkey, serving both as a flavor enhancer and a roasting rack. Use a mix of root vegetables such as carrots, onions, and potatoes cut into large chunks. These vegetables will absorb the drippings from the turkey, creating an incredibly flavorful side dish.
Add about 1-2 cups of broth—preferably chicken or turkey broth—to the pan. This liquid will keep the vegetables moist and provide steam that aids in cooking the turkey evenly, preventing it from drying out.
How to Arrange Vegetables for Optimal Roasting
When arranging your vegetables, spread them in an even layer across the bottom of your roasting pan. This arrangement allows for even heat distribution and ensures that the turkey sits above the vegetables, allowing air to circulate and promoting even cooking. If you have a rack, place it above the vegetable layer to elevate the turkey for optimal roasting.
Importance of Broth in Keeping the Turkey Moist
Adding broth to the roasting pan serves a dual purpose. Not only does it enhance the flavor of the turkey and vegetables, but it also introduces moisture that helps keep the turkey from drying out. The steam generated by the broth creates a humid cooking environment, resulting in a juicy and tender turkey.
Roasting the Turkey to Perfection
Once your turkey is prepared with rub, stuffing, and vegetables, it’s time to roast it to perfection.
Trussing Techniques for a Well-Cooked Turkey
Trussing your turkey is crucial for even cooking. It helps maintain the turkey’s shape and ensures that the wings and legs do not overcook. Begin by securing the legs with kitchen twine. Cross the twine over the legs and wrap it around the body, tying a knot at the bottom to hold the legs together.
Step-by-Step Guide on Tying Legs and Wings
1. Prepare the Twine: Cut a long piece of kitchen twine, approximately three feet in length.
2. Position the Legs: Cross the legs at the ankles.
3. Wrap the Twine: Start by wrapping the twine around the legs, making sure to keep them tight but not too tight to restrict cooking.
4. Secure the Wings: Tuck the wings under the bird or tie them to the body using the same twine, ensuring they are close to the body to prevent burning.
Basting for Moisture: Timing and Techniques
Basting your turkey is a traditional method to keep the skin crispy and the meat moist. Use a baster or a spoon to drizzle the pan juices over the turkey every 30-45 minutes. This technique helps develop a beautiful golden-brown skin while keeping the meat juicy.
The Science Behind Basting and Its Impact on Flavor
Basting not only enhances the flavor of the turkey but also contributes to its texture. The fat from the drippings coats the turkey’s skin, creating a barrier that locks in moisture. As you baste, the flavor from the vegetables and herbs in the broth infuses into the skin and meat, making each bite flavorful.
Monitoring Cooking Time and Temperature
Cooking time will depend on the weight of your turkey. A general rule of thumb is to roast your turkey for about 13-15 minutes per pound at 325°F (163°C). However, always rely on internal temperature rather than time alone.
Guidelines for Timing Based on Turkey Weight
– 8-12 pounds: 2.75 to 3 hours
– 12-14 pounds: 3 to 3.75 hours
– 14-18 pounds: 3.75 to 4.25 hours
– 18-20 pounds: 4.25 to 4.5 hours
– 20-24 pounds: 4.5 to 5 hours
Importance of Using a Meat Thermometer: Achieving the Ideal Internal Temperature
The best way to ensure your turkey is perfectly cooked is to use a meat thermometer. Insert it into the thickest part of the thigh and breast without touching the bone. The turkey is safe to eat when it reaches an internal temperature of 165°F (74°C).
Resting and Serving the Turkey
Resting your turkey after roasting is just as important as the cooking process itself.
Why Resting is Crucial for Juicy Meat
Allowing your turkey to rest for at least 20-30 minutes before carving is essential. This resting period allows the juices to redistribute throughout the meat, resulting in a more flavorful and moist turkey.
Explanation of Juice Redistribution and Its Benefits
When the turkey cooks, the juices are pushed towards the surface. Resting allows these juices to flow back into the meat, preventing them from spilling out when you carve. This ensures each slice retains its moisture, providing a succulent experience with every bite.
Carving Techniques for Presentation
Properly carving your turkey enhances its presentation and makes serving easier. Use a sharp carving knife for clean cuts. Begin by removing the legs and thighs, then move to the breast.
Step-by-Step Guide to Carving the Turkey
1. Remove the Legs: Cut through the skin connecting the leg to the body. Pull the leg away and slice through the joint to remove it.
2. Separate the Thighs: Follow the same method for the thighs, cutting through the joint where they connect to the legs.
3. Carve the Breast: Start at the breastbone and slice down towards the ribcage. Make uniform slices, and repeat on the other side.
4. Serve: Arrange the carved meat on a platter, garnishing with herbs or citrus slices for added color.
Ideas for Serving: Pairing with Sides and Gravy
Serve your roast turkey alongside traditional sides such as mashed potatoes, cranberry sauce, and stuffing. Don’t forget a rich gravy made from the drippings for extra flavor. A side of roasted vegetables or a fresh salad pairs beautifully, balancing the meal.
Conclusion
The Juicy Bliss Roast Turkey is not just a dish; it’s a centerpiece of holiday celebrations and family gatherings. With careful preparation, attention to detail, and adherence to cooking techniques, you can create a turkey that is moist, flavorful, and impressive.
We encourage you to try this recipe for your next special occasion, whether it’s Thanksgiving, Christmas, or a family reunion. The joy of cooking and sharing a delicious meal with loved ones is truly unparalleled. Embrace the experience, enjoy the process, and savor the rewards of your culinary efforts. Happy cooking!